Editing the Vocal layer
VoiceLive 3 – Reference manual (2014-03-29) 66
Remapping Loop Triggers
Loop triggers allow you to map a specific loop
to a specific button, PER PRESET. This can be
used for a loop you have saved and want to inte-
grate into every performance of a specific song
or can even be used to store an entire backing
track that you can associate with the Preset.
Remapping a Loop Trigger is slightly different
from the Vocal or Guitar effects because you
need to define a couple of additional parameters.
For more information about the Looper, see “The
Looper”.
First, you need to set which particular Loop (slot)
the trigger will use tracks from.
Next, you determine which track or tracks that
particular footswitch will trigger when pressed.
Essentially the Loop Trigger acts as a simple
start/stop for the tracks you have recorded.
The available options are Track A, Track B, Track
C, Track A&B and Track A&C.
! You can assign multiple footswitches to dif-
ferent loop triggers and switch between them at
will.
µMod footswitch remapped to triggering Loop
tracks A and C from Loop Slot 3
Delay footswitch remapped to triggering Loop
track B from Loop Slot 3
Keep in mind that tempo/metronome settings
are saved with each Loop. Accordingly, trigger-
ing a Loop using a remapped footswitch will in-
voke these settings. This means that when you
have mapped Loop tracks from two different
Loop slots to two footswitches and they have
different tempos, the other tempo-dependent
effects in your VoiceLive3 – such as Delay and
Rhythmic – will change tempo to follow the newly
activated loop.
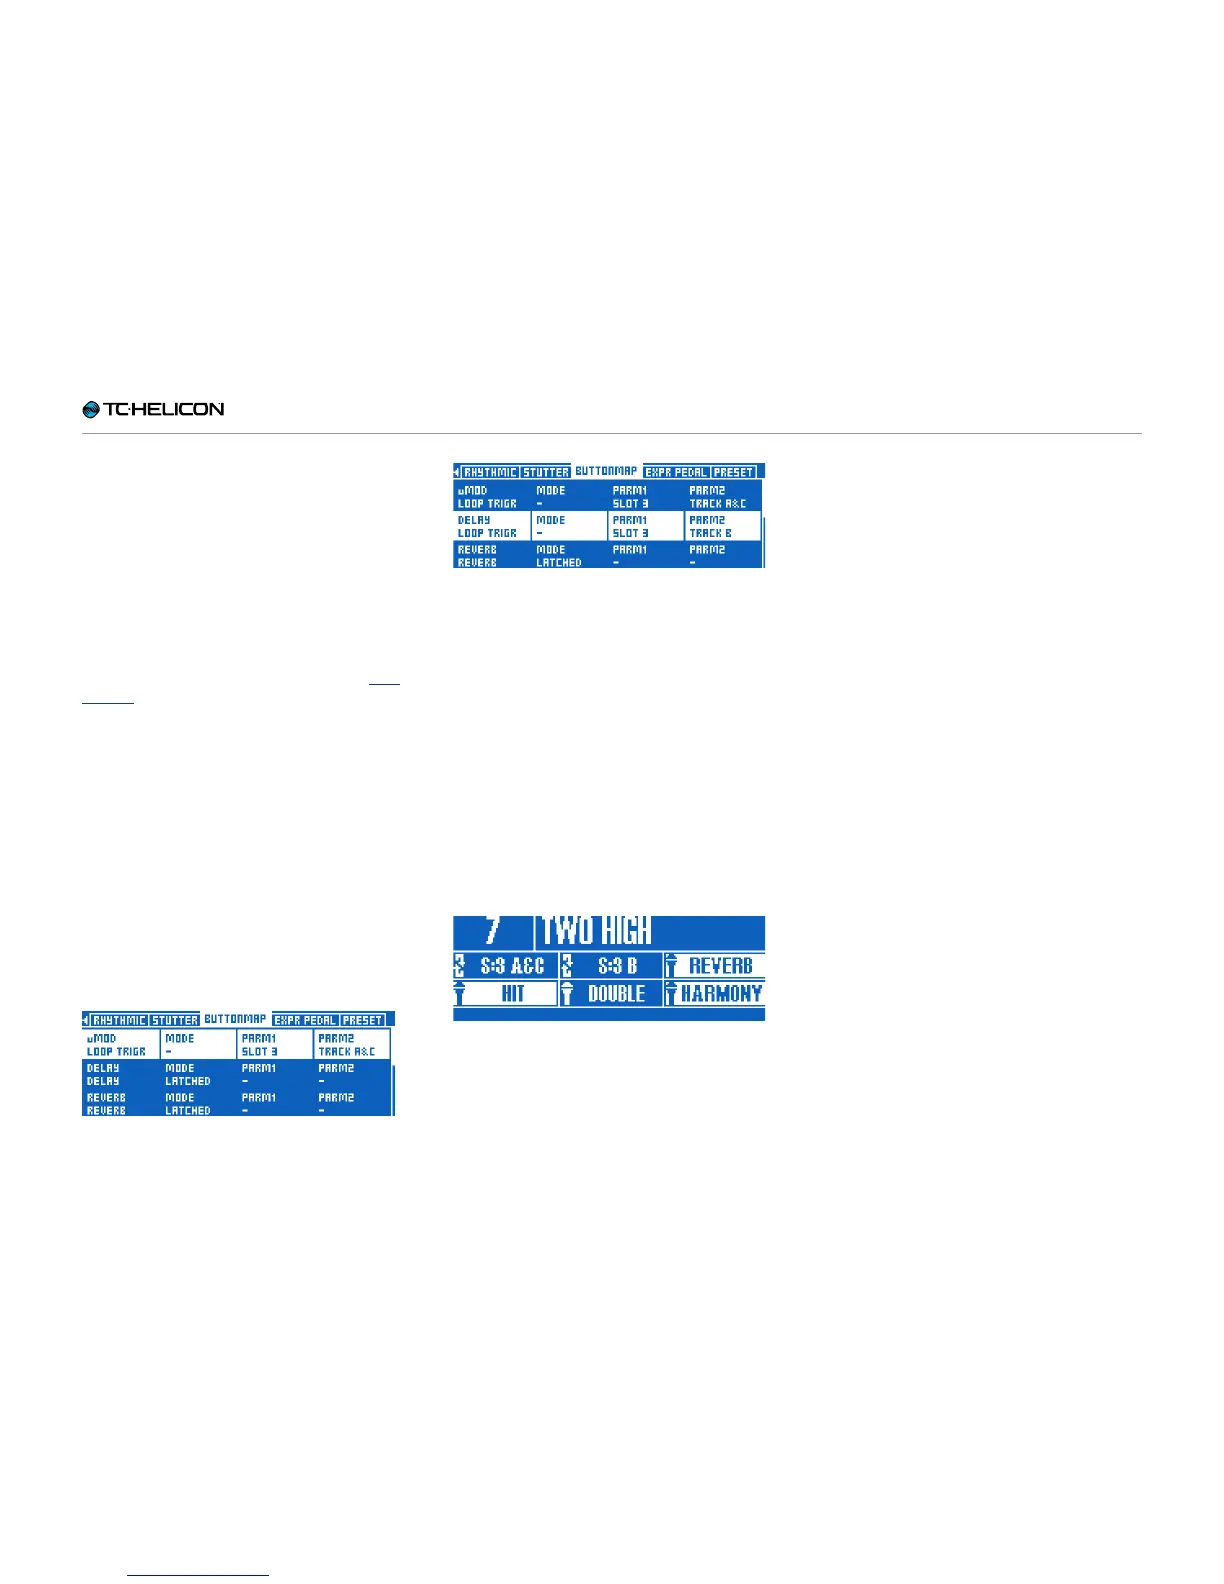
A footswitch remapped to a Loop trigger has a
special “loop” icon and shows which loop slot
and track is associated with it in the display.
µMod footswitch remapped to Loop Slot 3 /
Tracks A and C, Delay footswitch remapped to
Loop Slot 3 / Track B
 Loading...