17
Section III – Pipeline Not Under Pressure
1.0 Continued 1.2 Preparation
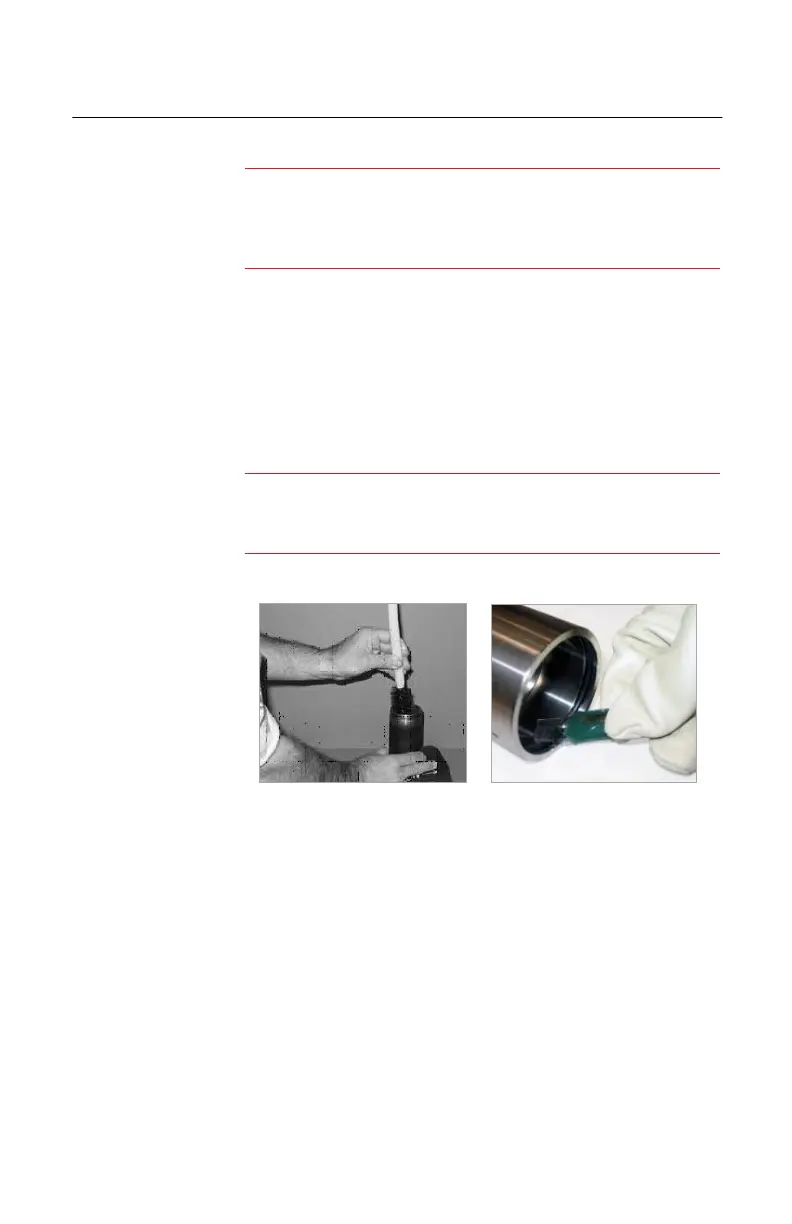
A. Using a “bottle” brush, clean the internal wall and
threads of the fitting thoroughly (Figure 3.2).
B. Spray the internal threads with a cleaning solvent
or light lubricant.
C. Apply a light coating of PTFE Grease Lubricant
(anti-seize) to the plug body O-ring and threads
(Figure 3.3).
1.3 Installing the PIG-SIG V Plug Assembly
A. Insert the plug body into the fitting and start
threads. Be careful not to cross thread.
B. Use a one-inch hex wrench or the PIG-SIG V
plug holder and crescent wrench to tighten
(Figure 3.4). The plug will become more difficult
to thread when the O-ring enters the fitting.
Tighten until the plug bottoms out.
NOTE:
Since the PIG-SIG V indicator operates using magnets, it is
vitally important that the internal threads of the fitting be
free from all chips left from the tap.
NOTE:
O-ring material selection must be suitable for service fluids
and temperature requirements.
Figure 3.2. Clean Internal
Threads Ring
Figure 3.3 Lubricate O-Ring
 Loading...