Recording in 4
Track Mono
Recording
with
a
microphone
When using
one
microphone, it is first plugged into the
LEFT-MIC
jack.
The recording
level of the
microphone is
controlled by the
white
(L
channel) MIC knob.
Recording from
a
phono
player,
tuner,
tape, etc.
Preamplifier
outputs from
the
phono
player,
tuner, tape
player
are first plugged
into
the L
jack
of the
LINE
IN. In
a
stereo
amplifier, the
connection
remains as it is and the
MODE
SELECTOR is
switched so
as to send only the left
channel signals to
the tape
deck
(
refer
to
your
stereo
amplifier
Operating
Manual).
The line recording level
is set
by the white
(L
channel) knob
of the
LINE control.
*
The black
(R
channel)
knob is
fully retarded.
Sound
mixing of mic.
with
the phono player,
tape
or
other
sound
With the
microphone
plugged
into MIC IN
and
the proper
sources
into LINE IN,
each signal is controlled
by
their
respective
knobs
(white
L knobs
only) to
set
the recording
signal
level.
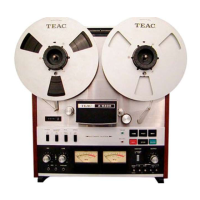
Set
the TAPE SPEED knob
to
desired
speed and thread
tape on the
machine.
Set
the MONITOR
switch to
SOURCE.
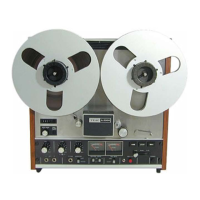
3
Set
the
MIC or LINE
level
control
(white
L
knobs
only)
so
that
the level
meter indicates
0 VU
at
peak
levels.
Be
careful
of howling
(refer
to
page
10, recording in 4
track stereo,
item 3-l).
4 Switch
on the
LEFT channel of
the REC. MODE. If
the
tape to be
used is of the high performance
type requiring
a larger
bias than regular
types,
set the REC.
BIAS to
HIGH.
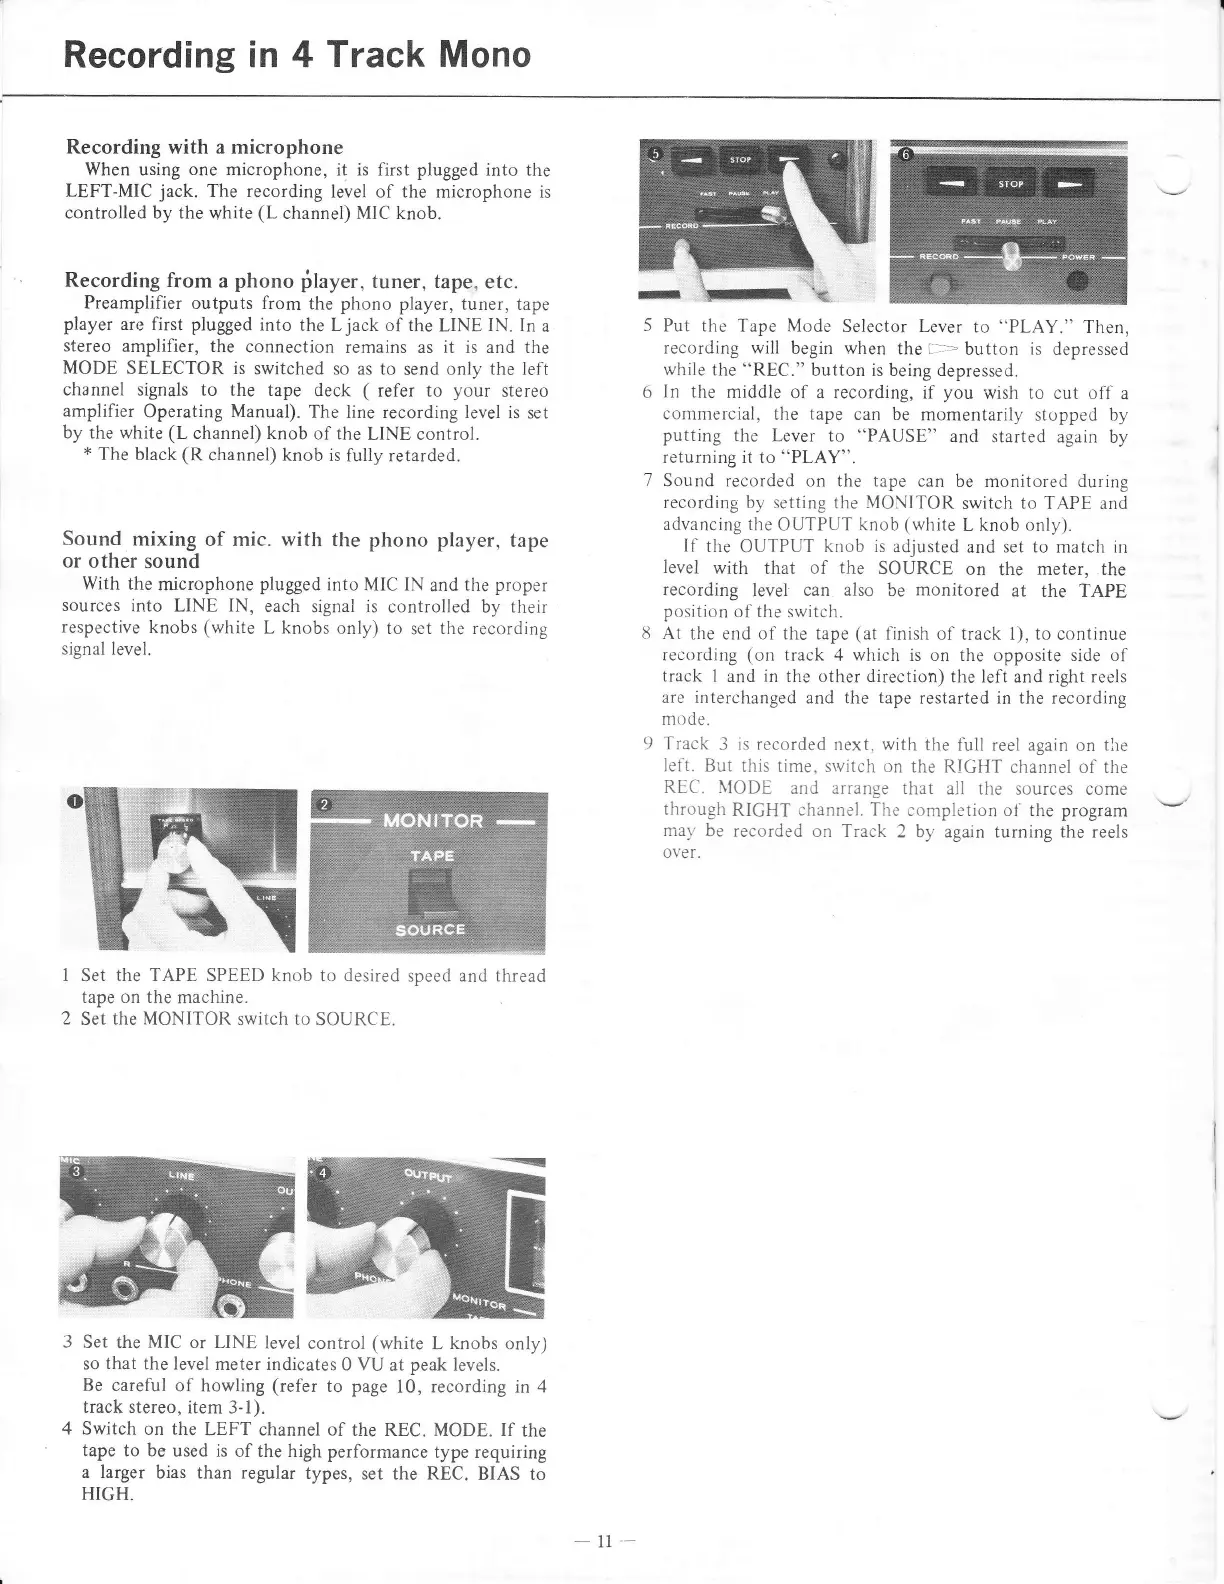
5
Put the Tape Mode
Selector Lever
to
"PLAY."
Then,
recording will
begin when
the
i
--
button
is
depressed
while
the
"REC."
button is being depressed.
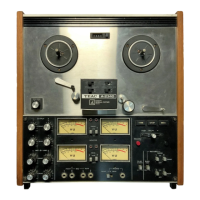
6
In the
middle
of a recording, if
you
wish to cut off
a
commercial,
the
tape
can
be momentarily stc,rpped
by
putting
the
Lever to
"PAUSE"
and started again
by
returning it to
"PLAY".
7
Sound recorded on the tape
can be monitored during
recording by setting
the
MONITOR
switch
to
TAPE and
advancing the
OUTPUT knob
(white
L knob
only).
Ii
the
OUTPUT
knob is
adjusted
and
set to match in
level
with that
of the
SOURCE
on
the
meter, the
recording
level
can also
be
monitored
at the TAPE
position
of the switch.
8 At
the end of the tape
(at
finish of
track 1), to continue
recording
(on
track
4 which is on the opposite side of
track
1 and
in
the
other direction)
the left and right reels
are interchanged
and the
tape
restarted
in the
recording
mode.
9 Track
3
is recorded
next, with
the full
reel again on
the
left. But
this time. srvitch on
the RIGHT
channel of the
REC. NIODE
and arrange that
all the sources
come
througl'r
RIGHT
channel. The
completion ol the program
may
be recorded
on Track
2 by again turning the reels
over.
-
1l--