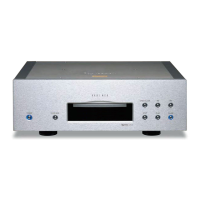
Before Using the Unit (2)
Placement of the unit
Choose the installation location of your unit carefully. Avoid placing o
it in direct sunlight or close to a source of heat. You should also
avoid locations that are subject to vibration, excessive dust, heat,
cold or moisture.
As the unit may become warm during operation, always leave o
sufficient space around it for ventilation.
Do not place the unit on a amplifier, a receiver or any other device o
that generates heat.
When the unit is turned on, if a TV is turned on nearby lines might o
appear on the TV screen depending on the frequency of the TV
broadcast. This is not a malfunction of the unit or the TV. If you see
such lines, move the unit and the TV further apart.
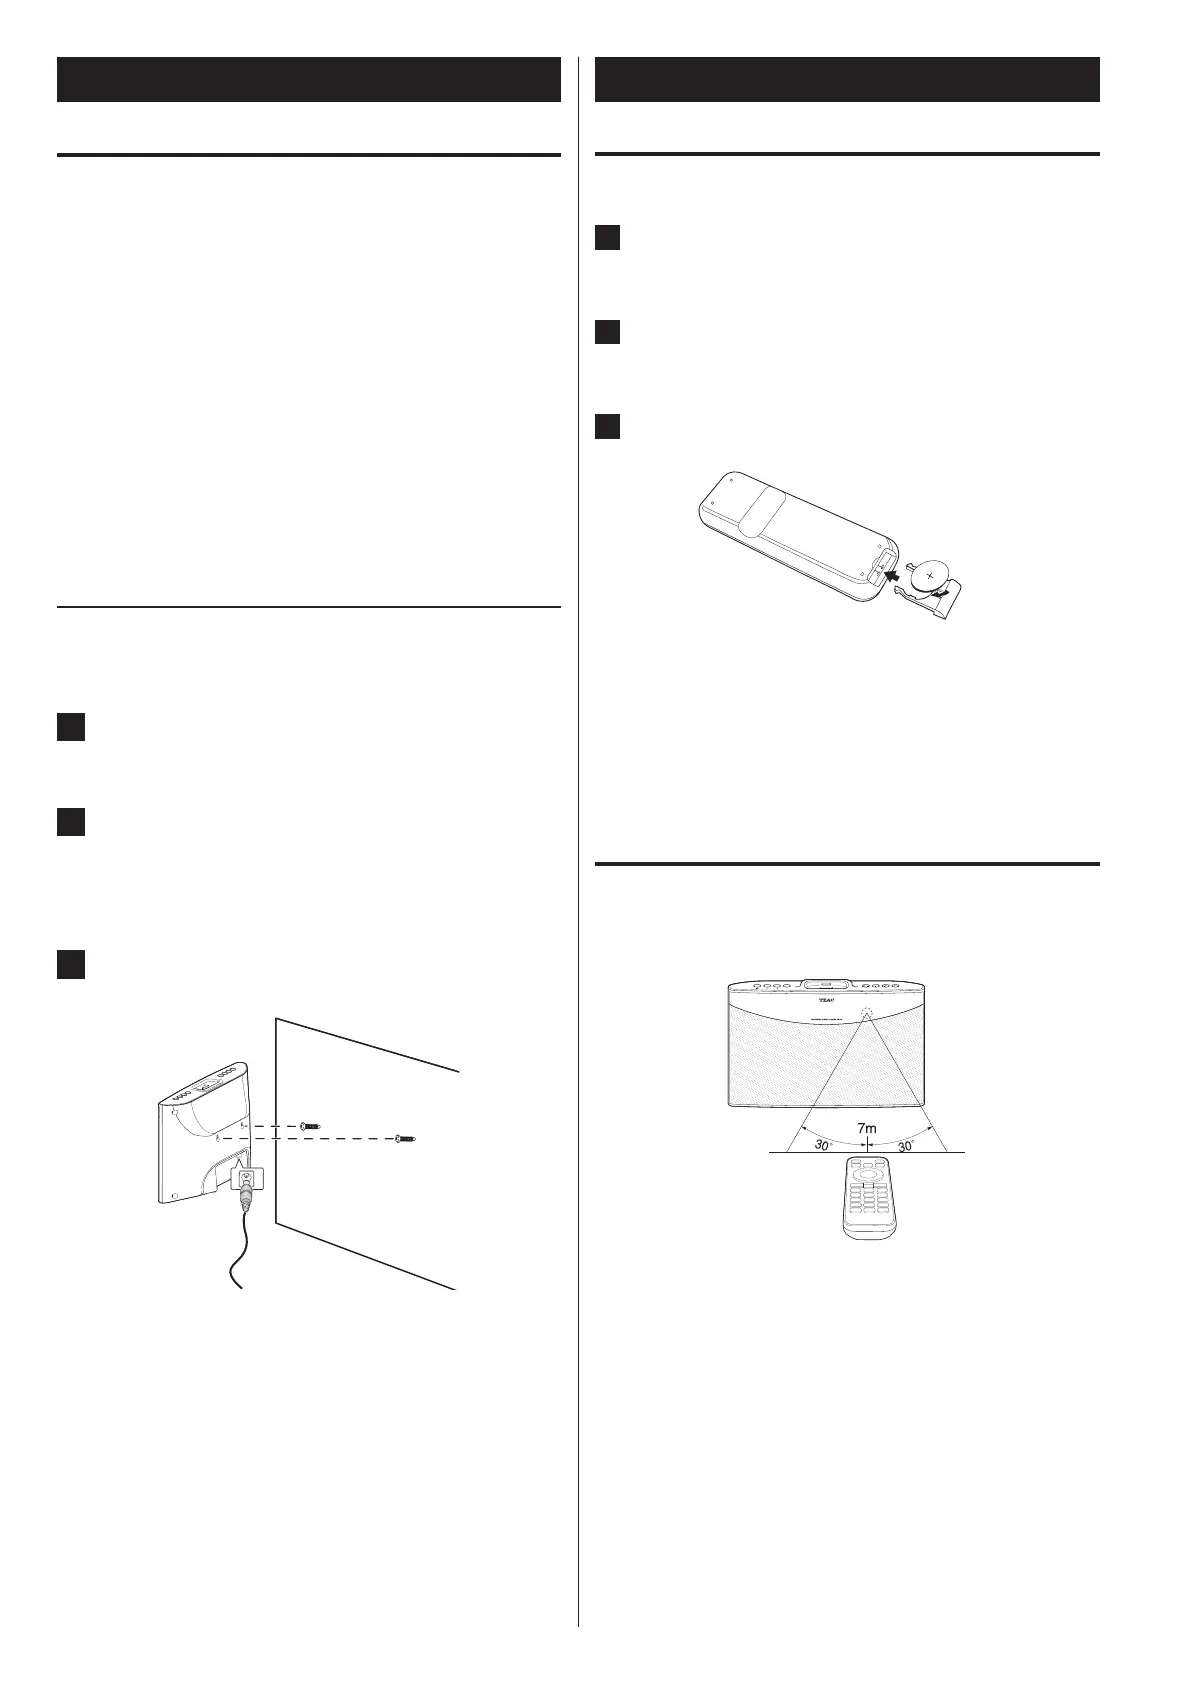
Installing the unit on a wall
You can mount the product on the wall using two grooves on the
back.
1
Connect the power cable.
2
Measure the distance between the 2 grooves and transfer
it to the wall. Drill two holes at the marked points, and
then insert two wall plugs and screws in the wall.
3
Mount the unit.
When choosing the anchors and screws, be sure that the head o
of the screws fit into the grooves on the rear of the unit.
Remote Control Unit
Inserting the battery
1
Open the battery tray.
2
Insert the included CR2025 battery into the battery tray.
3
Close the battery tray.
Make sure that the "+" on the battery faces up when you insert o
the battery with the rear side of the remote control facing up
as shown in the above image.
Caution
Remove the battery when it is not used for a long time. o
Operating range of the remote control
Use the remote control within a range of about 7 m (23 feet) and
angles of up to 30° aiming at the remote control sensor.