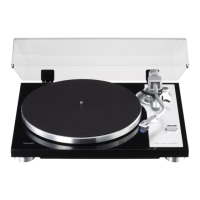
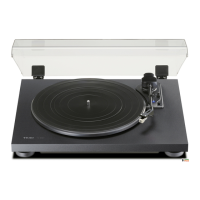
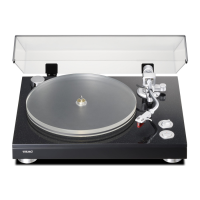
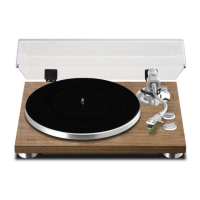
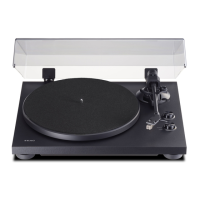
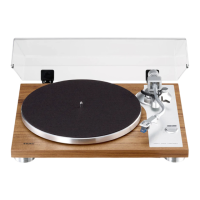
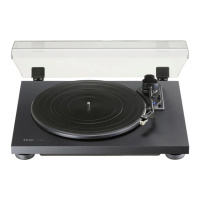
Dust cover
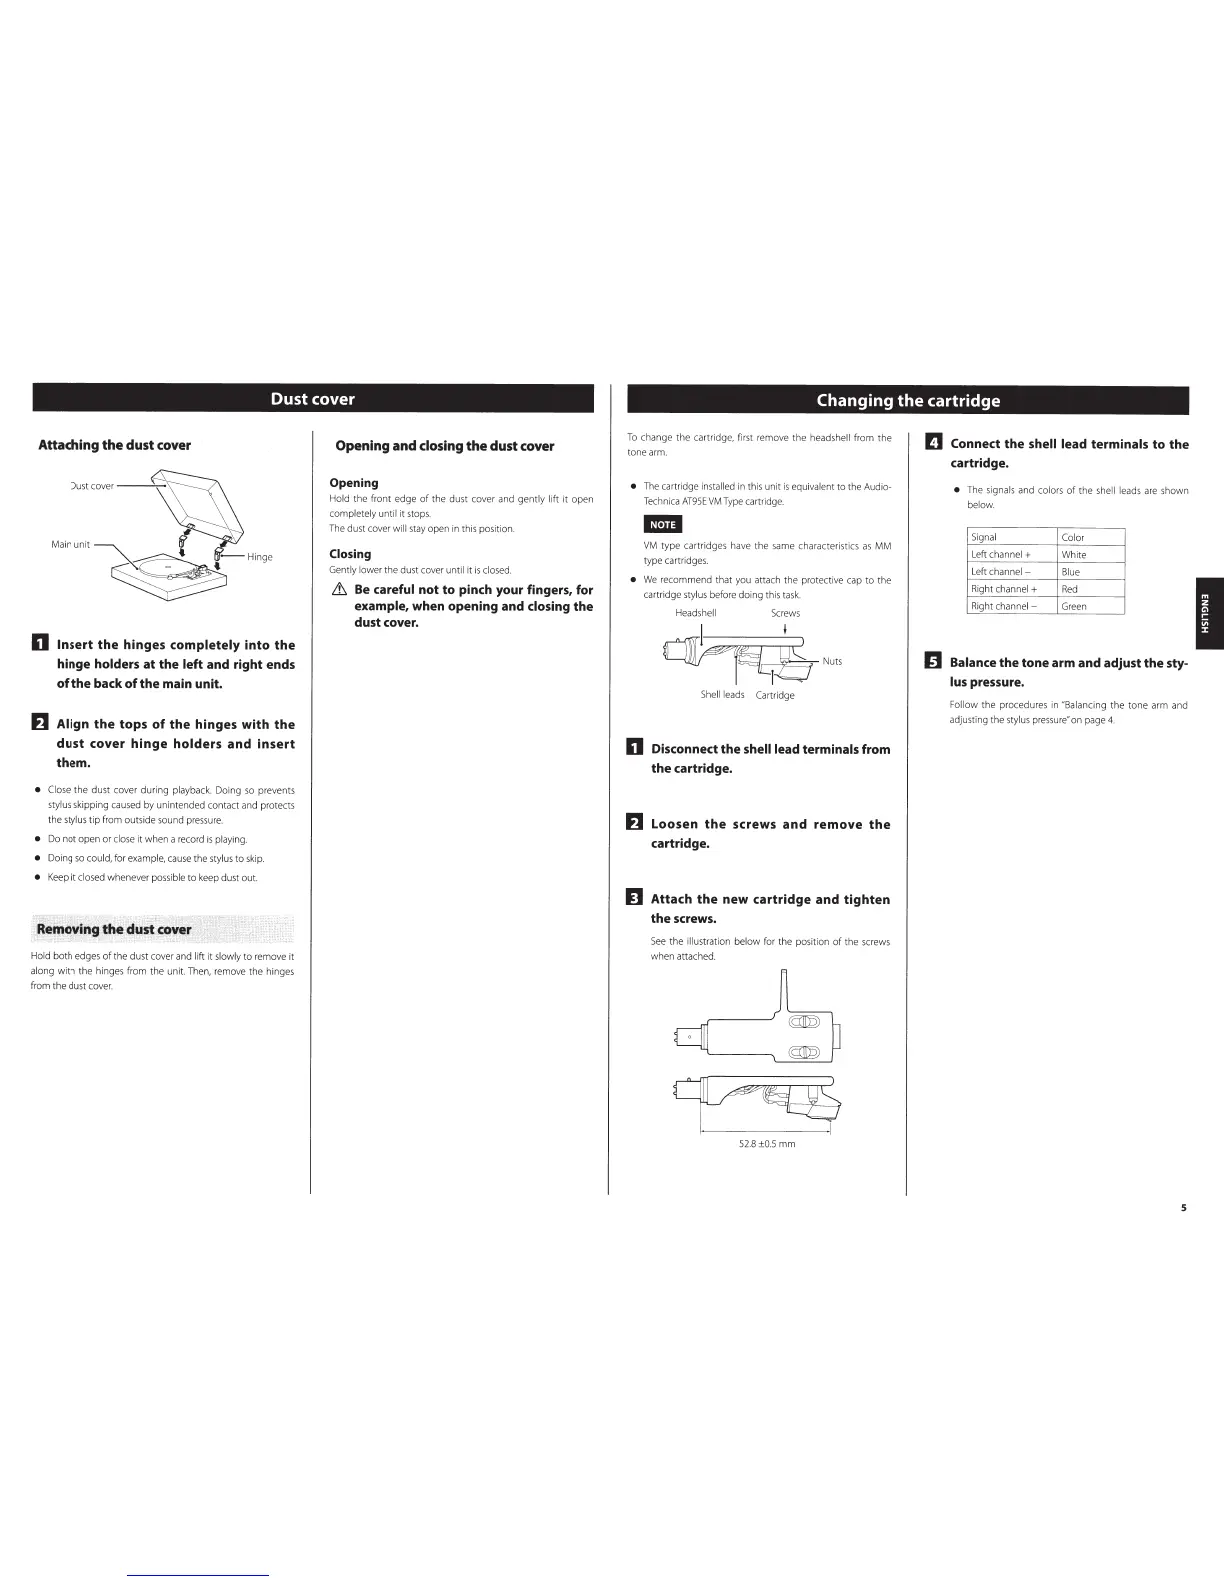
Attaching
the
dust cover
n
Insert
the hinges completely into
the
hinge holders
at
the left and right ends
of
the back
of
the main unit.
IJ
Align
the
tops
of
the hinges with
the
dust cover
hinge
holders and
insert
them.
• Close
the dust cover during playback.
Do
ing
so
prevents
stylus skipping caused by unintended conta
ct
and
pro
tects
the styl
us
t
ip
from
ou
tside sound
pressure.
•
Do
no
t
ope
n or
close
it
when a record is pl
ay
in
g.
•
Doing
so
coul
d,
for example, cau
se
the stylus to skip.
•
Keep
it closed whenever possible
to
keep dust ou
t.
Hold
both
edges
of
the dust cover and l
ift
it
sl
ow
ly
to
r
em
ov
e
it
along wi
th
the hinges from the unit. Then, remove the hinges
from the dust cover.
Opening
and closing
the
dust cover
Opening
Hold the front edge
of
the dust cover and gently l
if
t it open
completely
unt
il
it
stops.
The dust cover
wi
ll
sta
y op
en
in
th
is position.
Closing
Gently
low
er the du
st
cover
unt
il it is
closed.
Lh
Be
careful not
to
pinch your fingers, for
example,
when opening and closing the
dust cover.
Changing
the
cartridge
To
change
the
cartridge, first remove the headshell from
th
e
tone arm.
•
The cart
ri
dge in
stal
led in this unit is equi
va
lent to the Audio-
Techni
ca
AT95c
VM
Type
ca
rtridge.
VM
type
ca
r
tridg
es have
th
e same characteristi
cs
as
MM
type
ca
rtridges.
•
We re
comm
end that you attach the protective
ca
p
to
the
ca
rtridge s
ty
l
us
before doing t his
ta
sk.
H
ea
d
she
ll Screws
l
I
~
"
""
She
lll
eads Cart
ri
dge
n
Disconnect the shell
lead terminals from
the cartridge.
IJ
Loosen
the
screws
and
remove
the
cartridge.
n
Attach
the
new cartridge and tighten
the
screws.
Se
e t he ill
us
trati
on
bel
ow
for the position
of
th
e
scr
ews
when attached.
52.
8±
0
.5
mm
II
Connect
the shell
lead terminals to the
cartridge.
•
The sign
al
s and colors
of
the
sh
ell leads are sh
ow
n
belo
w.
Si
gnal
Col
or
Le
ft
channel + White
Left channel -
Blue
Right ch
an
ne
l+
Red
Right c
ha
nnel - Green
Balance the tone arm and adjust the sty-
lus
pressure.
Fol
low
th
e proce
du
res in "
Bal
ancing the
to
ne arm and
adjusting the stylus pr
ess
ure" on page
4.
5
I


 To Next Page