10
Operation
General Overview
NOTICE:
THE BURNER VENTURI TUBES (SEE
FIGURE 13, PAGE 11) SHOULD BE INSPECTED FOR
SPIDER WEBS AND OTHER OBSTRUCTIONS PRIOR
TO EACH USE. IF ANYTHING IS FOUND, CLEAN THE
TUBES COMPLETELY. A CLOGGED TUBE CAN LEAD
TO A FIRE BENEATH THE GRILL.
NOTICE:
NEVER OPERATE THE GRILL WITHOUT
THE RADIANT GLASS PANELS PROPERLY
INSTALLED AS DESCRIBED ON PAGE 6. TO AVOID
BREAKAGE, CAREFULLY REMOVE THESE RADIANT
PANELS WHEN MOVING THE GRILL (EVEN WHEN
SIMPLY ROLLING IT A SHORT DISTANCE).
Burner Ignition and Operation
Procedure:
WARNING: Turn Burner Output Knobs and other gas
supply openings to the "OFF" position immediately if
you smell gas at any time during performance of this
procedure.
1. Open the grill hood. Ensure all Burner Output
Knobs are in the "OFF" position and that there is
nothing on top of the Cooking Grids.
2 For LP gas, open the Gas Cylinder Valve by turning
the Handwheel counter-clockwise.
(See Figure 6, Page 8)
For Natural gas, open the gas valve in the main line.
3. Depress and rotate the Burner Output Knob to
HIGH. (See Figure 10, Page 10)
4. Push the Spark Igniter Button while checking for
flame. Flame may be visually seen by looking into
the Flame Observation Holes in the front of the grill.
(See Figure 11, Page 10) Also one can generally
hear the burners ignite and then feel warmth rising
to the cooking surface at the front and back of the
Radiant Glass Panels when ignition occurs. If flame
is not present and ignition does not occur in 10
seconds, turn Burner Output Knob to "OFF" and
wait 5 minutes before attempting to relight the grill.
After waiting 5 minutes repeat steps 3 and 4.
5. FOR MAXIMUM COOKING SPEED AND
SEARING INTENSITY, preheat the grill by
maintaining the Burner Output Knob at HIGH for 1
to 2 minutes with the hood open, then close the hood
and continue operation at HIGH for an additional 12
to 13 minutes to accomplish a total preheat time of
13 to 15 minutes on HIGH.
FOR SLOW COOKING, preheat by maintaining the
Burner Output Knob at HIGH for 3 to 5 minutes
with the hood open. Then, rotate Burner Output
Knob to desired cooking level.
6. To extinguish the flame, depress and rotate the
Burner Output Knobs to OFF.
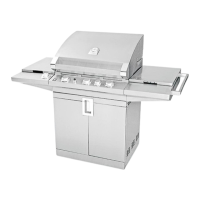
Figure 10. Burner Output Knob
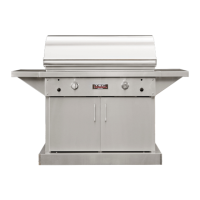
Figure 11. Grill Front Components (Sterling G-
3000 FR shown)