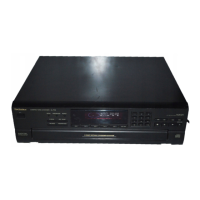
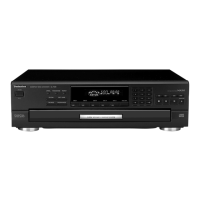
SL-EH60
|
Mi
Operation
Checks
and
Main
Component
Replacement
Procedures
ete
4.
This
section
describes
procedures
for
checking
the
operation
of
the
major
printed
circuit
boards
and
replacing
the
main
components.
2.
For
reassembly
after
operation
checks
or
replacement,
reverse
the
respective
procedures.
Special
reassembly
procedures
are
described
only
when
required.
3.
Select
items
from
the
following
index
when
checks
or
replacement
are
required.
4.
Refer
the
parts
No.
on
the
page
of
“Main
Component
Replacement
Procedures”,
if
necessary.
e
Contents
*
CD
Changer
Disassembly
/
Reassembly
page.
1.
Removal
for
the
CD
changer
Unit.
seeeeccreescccccecccccceccesccccccsccvessccesevescce
6,7.
2.
Removal
for
the
traverse
UNit.
secre
eeccecccesececccesssccesecseseccsccccccesesesoscess
&
3.
Disassembly
for
the
CD
changer
Unit.
ssseseesesseseecscccseccccsscccscccsesscscevecnsese
BY,
4.
Reassembly
for
the
CD
changer
unit.
s*+sssesseeccscecccrccccccsccccsccscsesececceesce
I~
13,
5.
Inspection
for
the
CD
changer
unit.
Cero
e
creer
eaneeccesssereseseeeeeseceeeeeeseeseseeseety
*
Checking
Procedures
for
each
P.C.B.
1.
Checking
for
the
main
P.C.B..csereccrereeesccsscccsscscccscccccesscscccesscsvcvesssce
sd,
2.
Checking
for
the
operation
P.C.B..
Cee
e
reece
rerereeeeseeseesreeeseeeeeHeseeeeeeeeeeDeeeD
14,15.
3.
Checking
for
the
servo
P.C.B..eeeeeeceseresereesccssececcsccessccesessescvccsececes
15,16,
*
Main
Component
Replacement
Procedures
1.
Replacement
for
the
traverse
deck
ass'y.seeeeesessercoccscccsccsccscccsscescccesecesee
i647,
Hi
CD
Changer
Disassembly
/
Reassembly
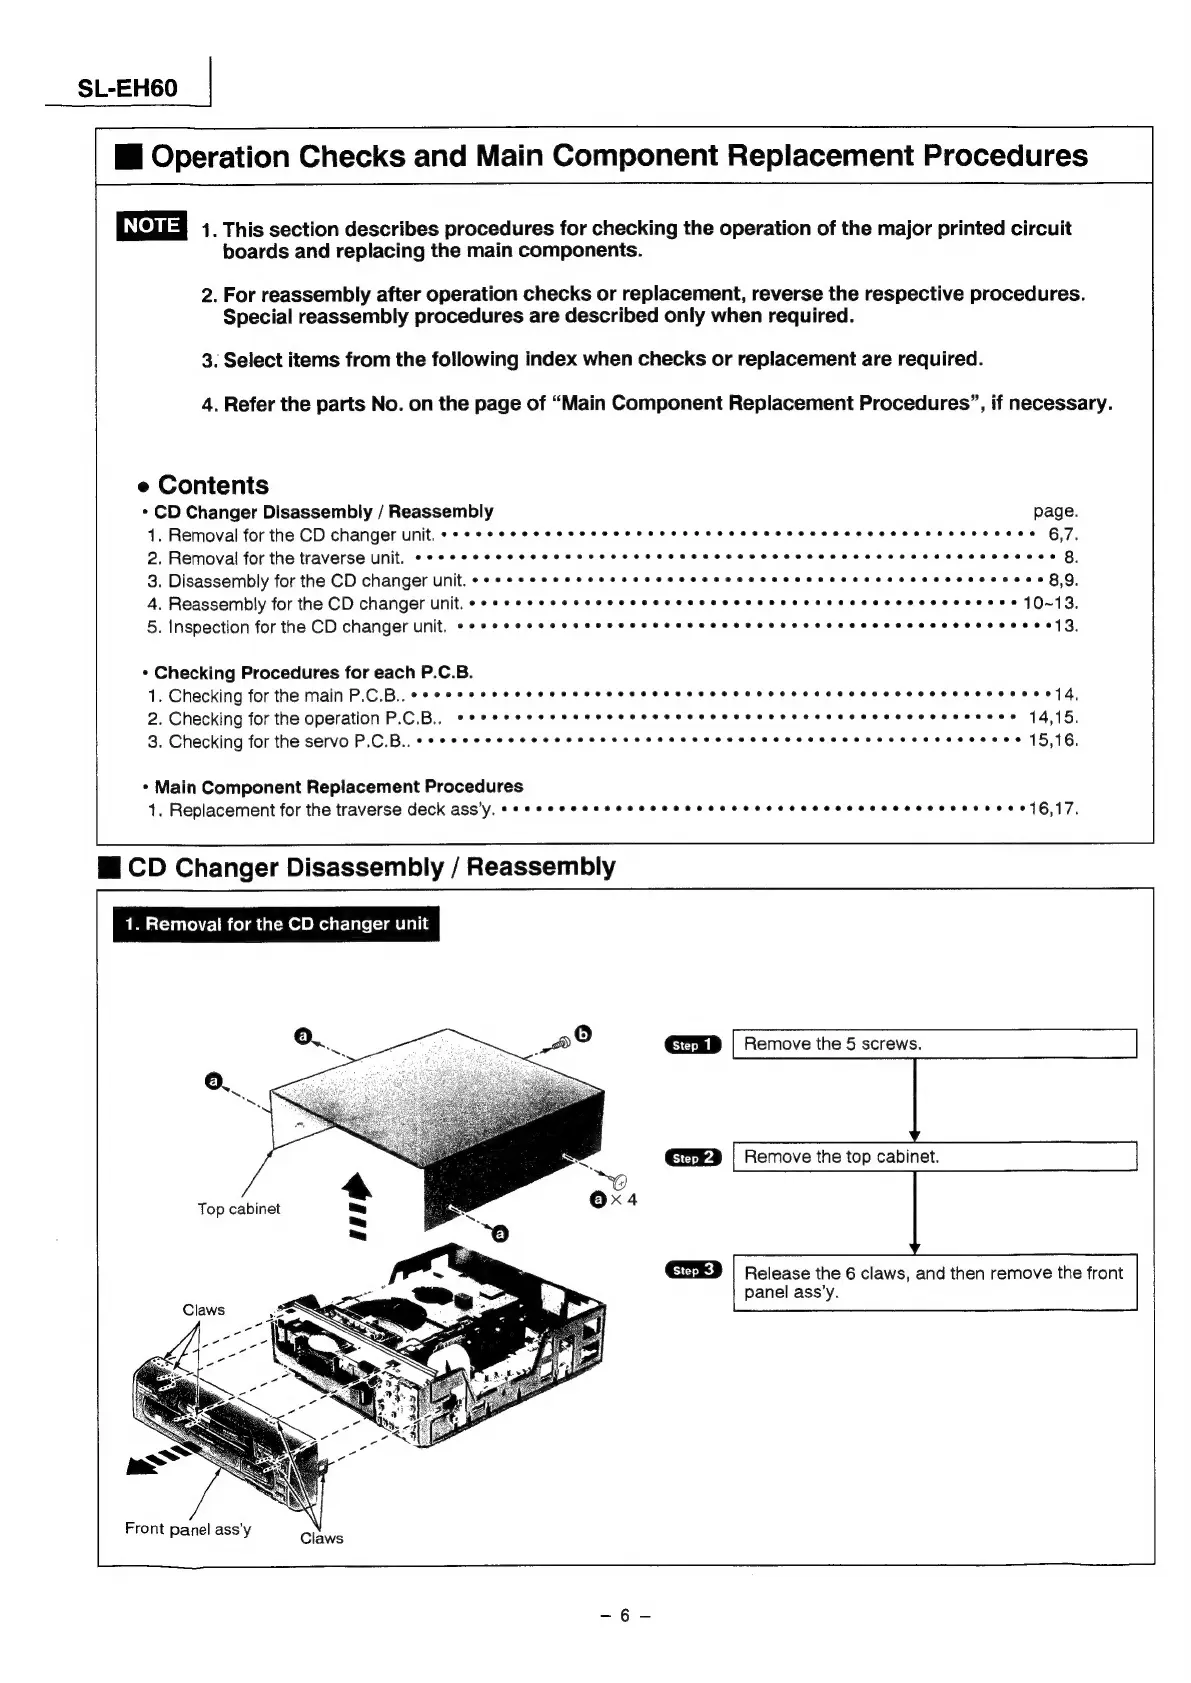
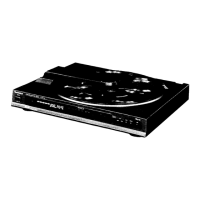
1.
Removal
for
the
CD
changer
unit
Remove
the
5
screws.
Remove
the
top
cabinet.
Top
cabinet
Release
the
6
claws,
and
then
remove
the
front
panel
ass’y.