16
Network settings (Continued)
Basic
Setting the network from the setup
menu (When not using apps with
this unit)
• To stream music files with this unit using
Chromecast-enabled apps ( 17), set up the
network setting using Google Home app.
( 16)
■
Using the WPS button
“WPS”
If your wireless router supports WPS, you can
set up a connection by pressing the WPS button.
• A compatible wireless router may have the
WPS identifier mark.
• Complete the settings within 2 minutes while
“WPS” is displayed.
• When “Wi-Fi Setup” is displayed when turning
on this unit, press [
] to cancel the network
setting and start the setting again.
1 Press [SETUP].
2 Press [
], [ ] repeatedly to select
“Network” and then press [OK].
• When “Wi-Fi Menu” screen is displayed,
press [OK].
3 Press [ ], [ ] to select “On” and
then press [OK]. (The wireless LAN
function is enabled.)
4 Press [
], [ ] to select “WPS Push”
and then press [OK].
• “WPS” blinks. Complete step 5 within
2 minutes.
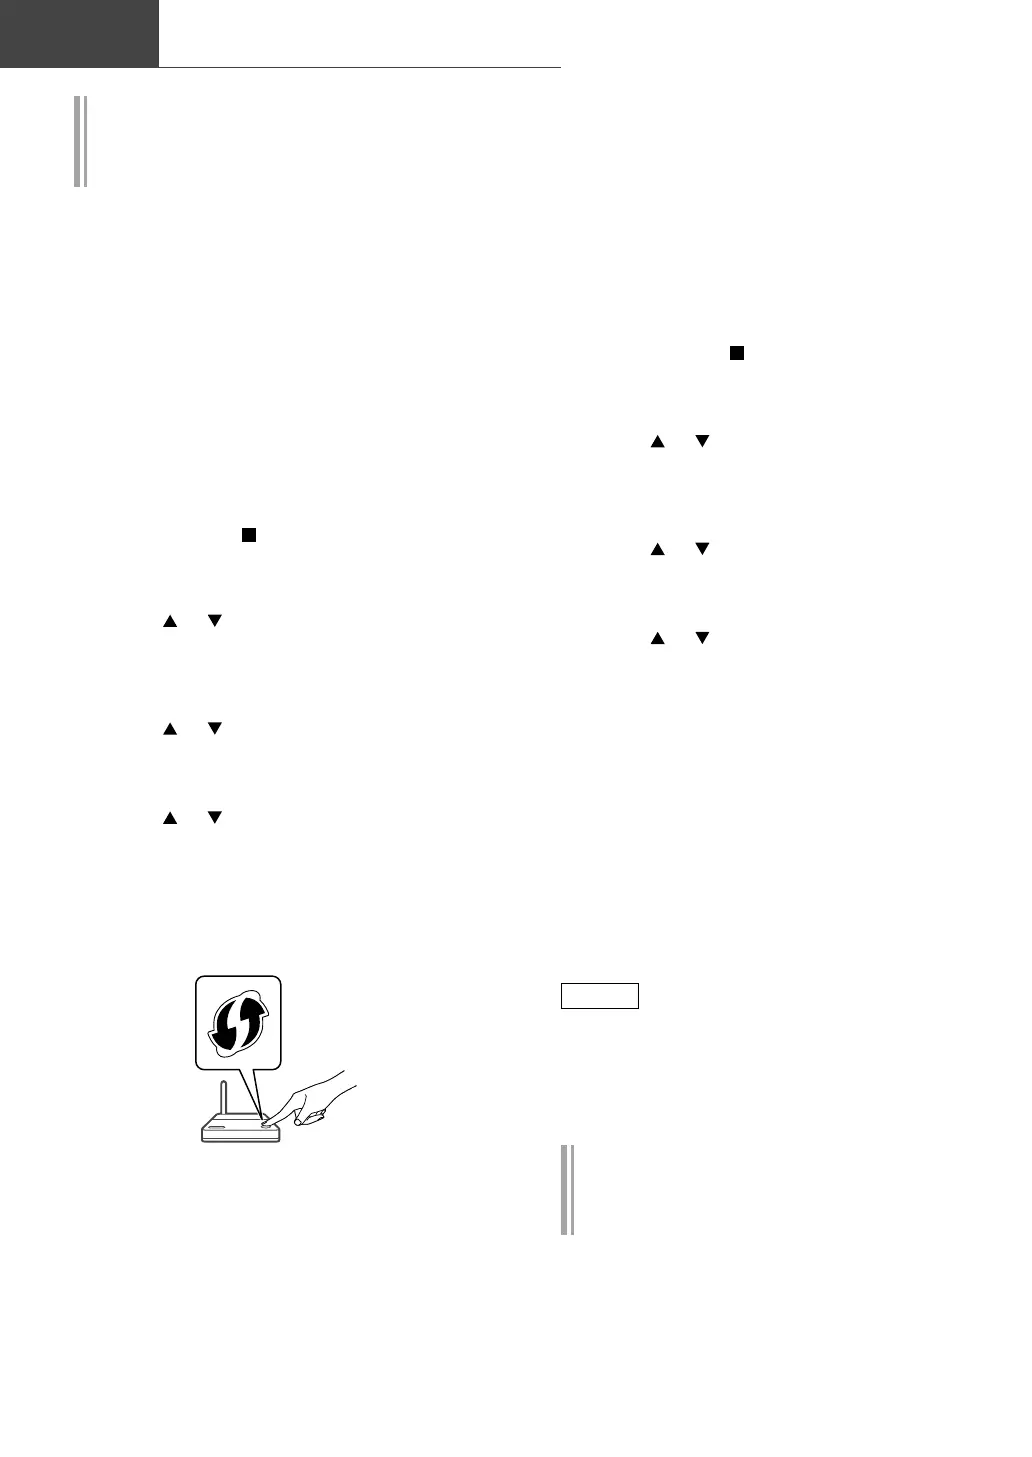
5 After “WPS” is displayed, press the
WPS button on the wireless router.
Example:
• “Linking” blinks.
• When the connection is established,
“Success” is displayed.
- “Fail” may be displayed if the connection
was not complete. Try this method again
from the setup menu. If “Fail” is still
displayed, try other methods.
6 Press [OK] to exit the setting.
■
Using the WPS PIN code
“WPS PIN”
If your wireless router supports WPS, you can
set up a connection by entering the WPS PIN
code.
• For details on how to enter the PIN code, refer
to the operating instructions of the wireless
router.
• Complete the settings within 2 minutes while
“WPS PIN” and the PIN code are displayed.
• When “Wi-Fi Setup” is displayed when turning
on this unit, press [
] to cancel the network
setting and start the setting again.
1 Press [SETUP].
2 Press [
], [ ] repeatedly to select
“Network” and then press [OK].
• When “Wi-Fi Menu” screen is displayed,
press [OK].
3 Press [ ], [ ] to select “On” and
then press [OK]. (The wireless LAN
function is enabled.)
4 Press [
], [ ] to select “WPS PIN”
and then press [OK].
• The PIN code is displayed. Complete step 5
within 2 minutes.
5 Enter the PIN code into the wireless
router from PC, etc.
• “Linking” blinks.
• When the connection is established,
“Success” is displayed.
- “Fail” may be displayed if the connection
was not complete. Try this method again
from the setup menu. If “Fail” is still
displayed, try other methods.
6 Press [OK] to exit the setting.
Note
• Depending on a router, other connected
devices may temporarily lose their connection.
• For details, refer to the operating instructions
of the wireless router.
Setting the network from the setup
menu (When using app with this
unit)
1 Press [>INPUT<] to select
“Chromecast built-in”.
2 Press [SETUP].