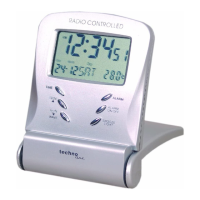
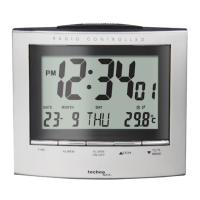
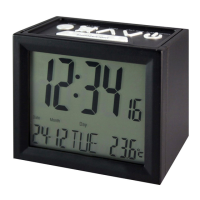
Part B:
B1: MODE button
B2: SNOOZE button
B3: ALARM button
B4: +/12/24 button
B5: -/C/F/
button
B6: RESET button
Part C:
C1: Wall Mount Hole
C2: Battery Compartment
C3: Stand
3. Getting Started:
3.1 Main Unit:
Slide open battery compartment cover [C2]
Insert 4 x AA size .
Replace battery compartment cover [C2]
Use a pin to press the RESET [B6] button on the rear of unit, the unit is now
ready for use.
4. Time and Alarm Setting
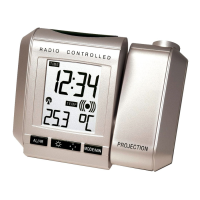
4.1 Radio Controlled Clock:
After batteries inserted, the clock automatically starts to scan the DCF time signal.
flashes,
Indicat
ing now is receiving
DCF signal
turns on,
Indic
ating signal received
successfully
disappear,
Indicat
ing signal reception
failed
The clock auto
matically scans the time signal at 3.00 a.m. every day to maintain
accurate timing. If recepti
repeats again at 4.00 a.m. 5.00a.m. and6.00a.m.
5)
for 3 seconds. Each reception takes about 5 minutes. If receptions fail, scanning
English - 2
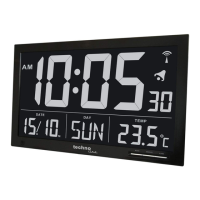
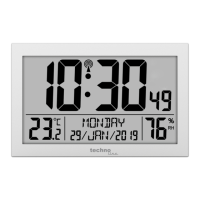
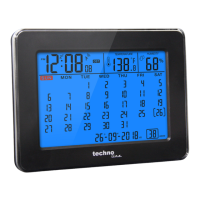
Part A:
A1: Radio Controlled Icon
A2: Time Display
A3: Temperature
A4: Date, Day of Week
A5: Indoor Humidity