CSBCryoEMFacilityTF20OperatingInstructionsSEC
05/02/16
I. StartUp(Donotproceediftheseconditionsarenotmet.PleaseremembertonotifyEMmanagerof
anyconcernsorproblems)
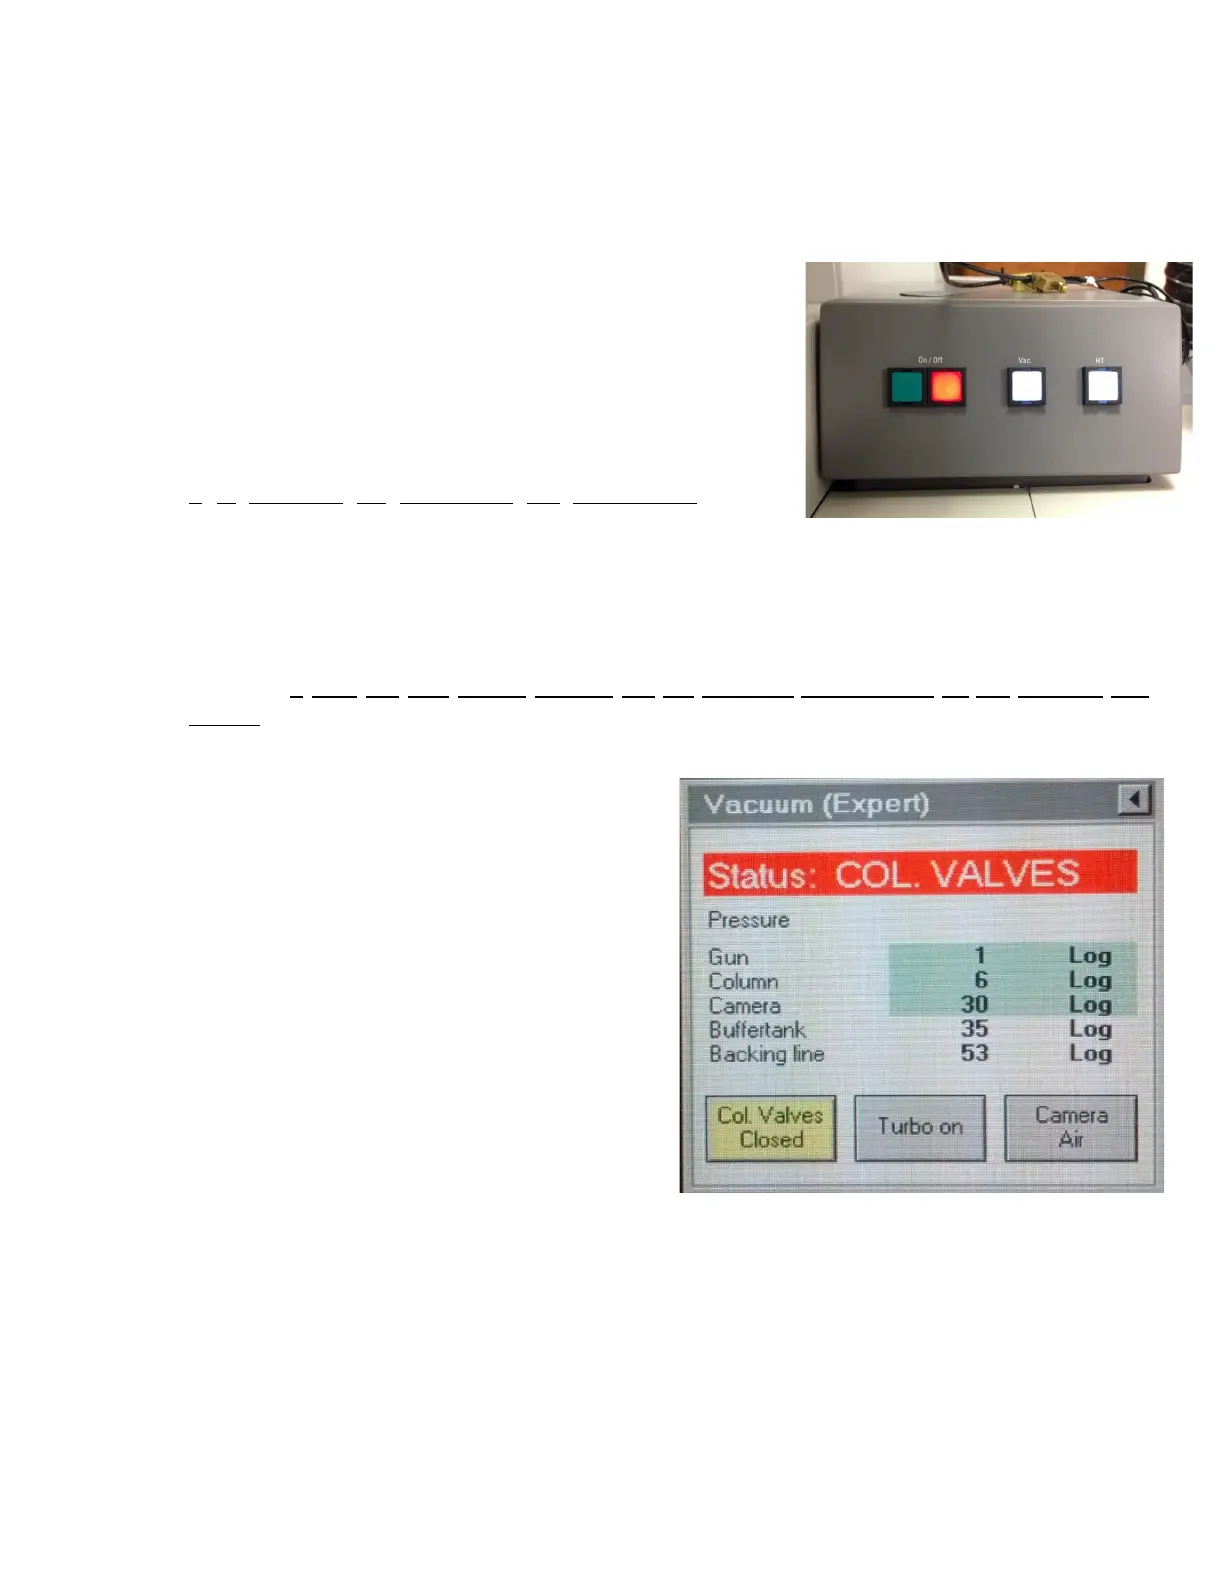
1. Check that the Vac and HT buttons are lit on microscope
panel. If the Vac and/or HT buttons are not lit, please contact
labmanagerimmediately,donotproceedanyfurther.
2. Ensure that the camera unit is on (check side cabinet, on the
left of the microscope). All 3 switches on the box should be
on (in the up position) and temperature should read 25°C.
(DoublecheckwithEMManagerifunsure)
3. Log in to the microscope computer using your username
and password. Do not insert foreign objects on this computer,
it is essential for controlling the microscope (do not
charge your phone or other electronic devices; do not insert
USB or external hard drives; only retrieve data from support
computersittingbehindthecurtain(dataiscopiednightly)).
4. Open the Tecnai User Interface and Digital Micrograph applications by double clicking on the
icons.
5. Check that the High Tension (HT), Operate and Power buttons are lit (yellow) on the Tecnai User
Interface. If they are not, please contact the lab manager immediately, do not proceed any
further.
6. Verify that the microscope is at the appropriate operating voltages (HT at 200kV and extraction
voltageat3850V).
7. Check that the microscope status says Column
Valves (button on user interface is yellow). This
means that the column valves are closed (For
the column valves, yellow = closed; grey =
open).
8. Check the Vacuum Overview page by clicking
on the Tecnai User Interface lower right menu.
IGP1 should read 6 and IGP4 should be at or
near 1 (unless it's the summer, in which case it
will be hovering around 610). The IGPs
maintain the vacuum on different parts of the
microscope. IGP1 and IGP 4 maintain the
vacuum on the column itself, therefore, to
minimize contamination of the sample and
(more importantly) of the column, the
microscopeshouldONLYbeoperatedwhenthesevaluesareintheoptimalrange.