Installation (Continued)
PITLESS ADAPTER INSTALLATIONS
In this system, connection of piping in
the well to the system piping is by
means of the pitless adapter (See
Figure 9, Page 7).
Lower pump and pipe into well; pitless
adapter half on discharge pipe slides
into receiver attached to well casing
below frost line. Piping in well is much
the same as with a standard well seal; to
pipe system from well to house,
simply install the correct length of
plastic pipe and the appropriate fittings.
STANDARD WELL SEAL
INSTALLATIONS
In this system, the piping in the well
extends through the well seal and is
connected above ground to the system
piping by means of a tee or elbow (See
Figure 9, Page 7). This system provides
a sanitary, easily accessible installation.
IMPORTANT: A standard well seal
must be protected from freezing.
1. On a STANDARD PRESSURE TANK
INSTALLATION, assemble bleeder
orifice and pipe assembly as shown
in Figure 10A, Page 8.
On a PRECHARGED TANK
INSTALLATION, assemble system as
shown in Figure 10B, Page 8 (no
bleeder orifice required).
2. Attach unit used to plastic pipe
with two stainless steel hose
clamps. Tighten clamps securely.
NOTE: Be sure to assemble the tee to
the pipe above the well seal to prevent
dropping the pipe and pump down
the well as you lower it.
3. Assemble eyebolt (for safety rope),
lockwasher and nut in the tapping
on underside of well seal.
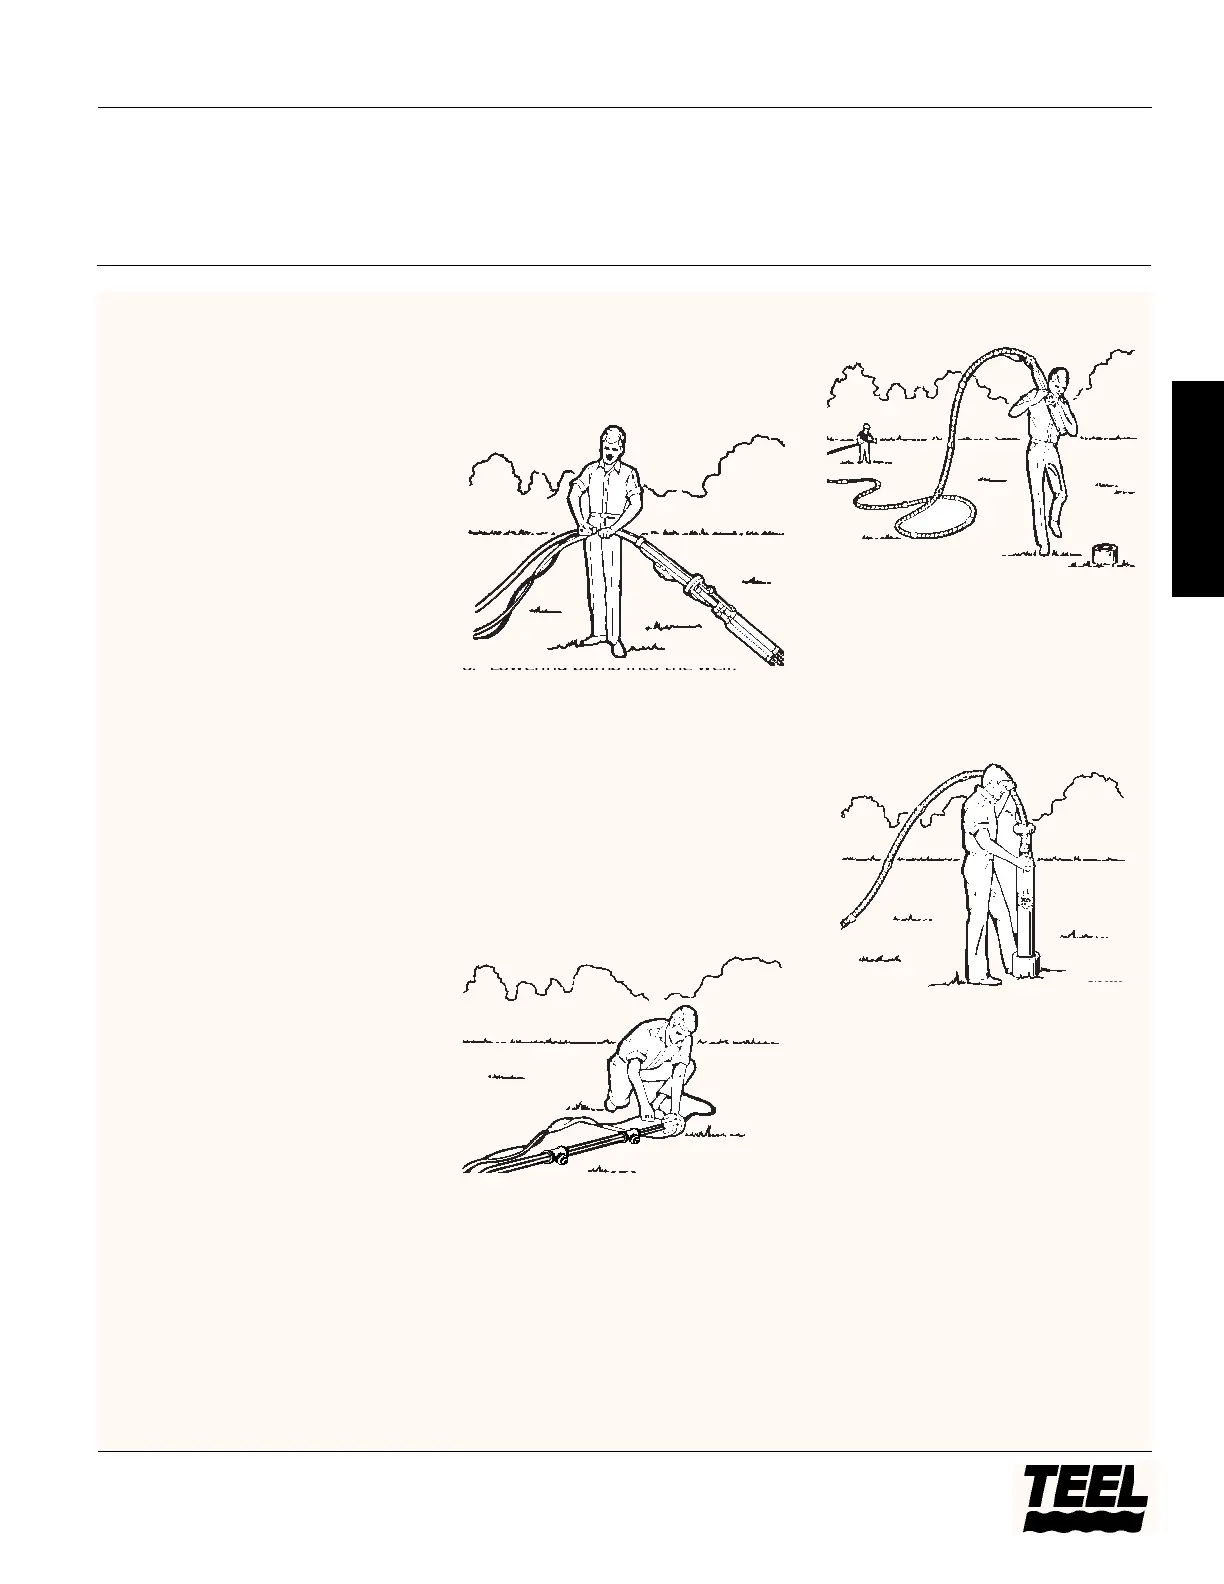
4. Tape electrical cable to the pipe
about every five feet (See Figure
11). Use only 1
1
⁄2 to 2 wraps of tape
to allow the cable to move slightly.
Tape spliced connections to the
pipe to eliminate rubbing against
well casing. Leave four to five feet
of slack at the upper end to allow
for plastic pipe stretch.
5. Tie safety rope to top of pump in
holes provided. Tape end of rope
to prevent unraveling. Tape safety
rope to pipe every 20 feet, making
sure there is no slack in rope. Tie
securely to eyebolt on bottom of
well seal (See Figure 12) and tape
end of rope. The complete
assembly is now ready to be
lowered into the well.
6. Lowering pump into the well:
IMPORTANT: Never support the
weight of pump and piping by the
electrical cable, as this weight will
break the cable connections. A helper
will be needed to handle the other
end of the assembly.
a. Lift the pump with the plastic
pipe and wire cable assembly
over your shoulder. BE SURE you
do not kink the plastic pipe (See
Figure 13).
b. Guide pump and piping into the
well. BE SURE you protect the
electrical cable when lowering
unit to avoid cuts, nicks, scrapes
or other damage by the edge of
the well casing (See Figure 14).
c. Have an assistant bring the
piping assembly toward you as
needed. Keep the pipe, cable,
and rope free of dirt, grass, or
other foreign matter.
d. Well seal installation: When
the entire assembly is in the
well, make sure seal is seated.
Tighten the four bolts in the
well seal evenly.
Pitless adapter installation:
Attach, to the top of the pitless
adapter, a length of pipe which
will reach to within 6”-8” of the
well head. Use this as a handle
(adding a second length with a
90° elbow on top and a 12”
length of pipe projecting to one
Models 4P847A thru 4P851A, 4P852 thru 4P865, 4RH01 thru 4RH06,
4RG76 thru 4RG84, 4RG94 thru 4RG97 and 4RG99
9
Teel Operating Instructions and Parts Manual
®
E
N
G
L
I
S
H
Figure 11
Figure 12
Figure 13
 Loading...