1. Connect a supported probe to an input channel.
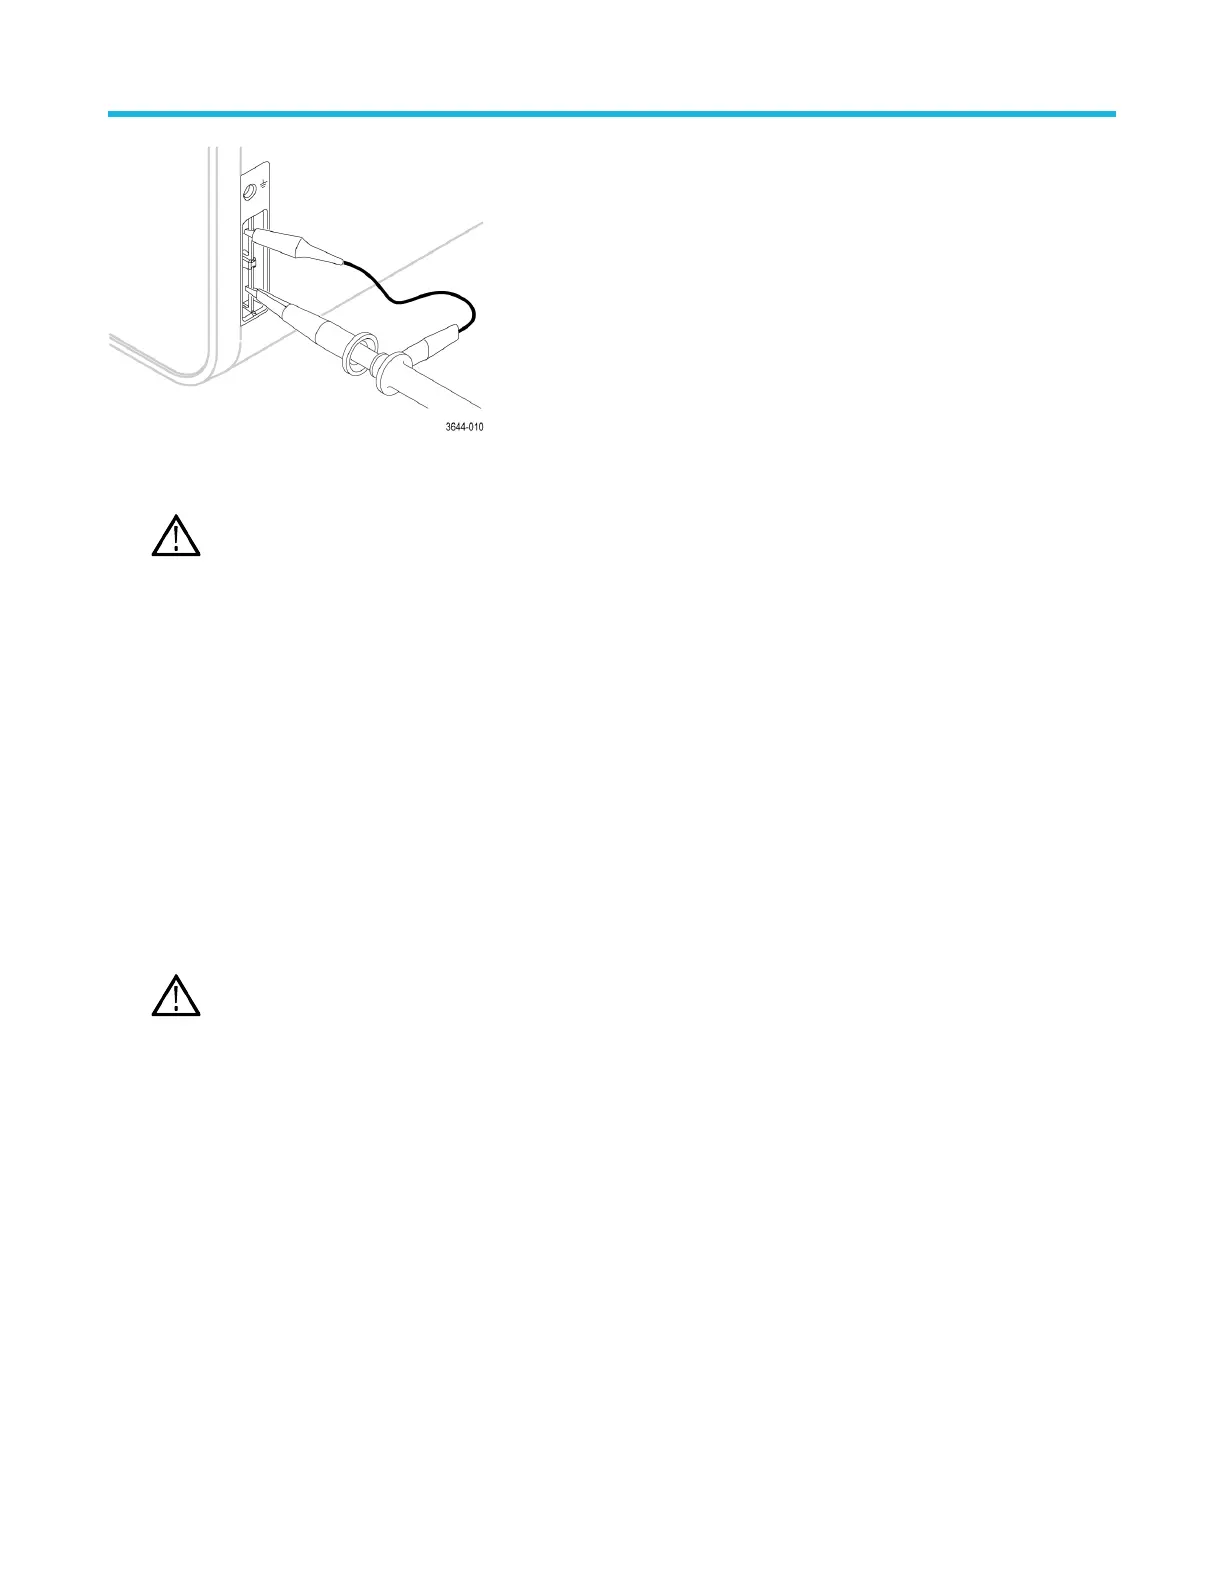
2. Connect the probe tip and ground lead of the probe to the PROBE COMP terminals.
Note: Connect only one probe at a time to the PROBE COMP terminals.
3. Turn off all channels.
4. Turn on the channel to which the probe is connected.
5. Push the front-panel Autoset button. The screen displays a square wave.
6. Double-tap the badge of the channel that you want to compensate.
7. Tap the Probe Setup panel.
If the Probe Compensation Status says Pass, the probe is already compensated for this channel. You can move the probe to another
channel and start again from step 1, or connect a different probe to this channel and start from step 1. If the Probe Compensation
Status says Default, continue with this procedure.
8. Tap Compensate Probe to open the Probe Compensation dialog.
9. Tap Compensate Probe to run the probe compensation.
10. The probe compensation is finished when the Probe Compensation Status displays Pass. Disconnect the probe tip and ground from
the PROBE COMP terminals.
11. Repeat these steps for each supported passive probe that you want to compensate for this channel.
12. Repeat these steps to compensate supported probes on other channels of the oscilloscope.
Note: For most accurate measurements, open the Probe Setup panel and verify the Probe Compensation Status is Pass
whenever you attach a probe to a channel.
Connect to a network (LAN)
Connecting to a network allows you to remotely access the instrument.
W
ork with your network administrator to obtain the required information to connect to your network (IP address, Gateway IP address,
Subnet Mask, DNS IP address, and so on).
1. Connect a CAT5 cable from the instrument LAN connector to your network.
2. Select Utility > I/O on the menu bar to open the I/O configuration menu.
3. Obtain or enter the network address information:
• If your network is DHCP-enabled, and the IP address field does not already show an address, tap Auto to obtain the IP address
information from the network. DHCP mode is the default mode.
• If your network is not DHCP-enabled, or you need a permanent (non-changing) IP address for this instrument, tap Manual and
enter the IP address and other values provided by your IT or system administrator resource.
Configure the instrument
44

 Loading...


