PS2520 Series Adjustment Procedures
62
Handheld and Benchtop Instruments Basic Service
9. Enter the DMM reading on the power supply keypad and press (
). The
power supply readout will return to normal in approximately 5 seconds. The
calibration is complete.
Output 3. Use the following steps to calibrate OUTPUT 3.
1. Press (SHIFT) OUT 3; verify that the “3” indicator lights up on the display.
2. Press (SHIFT) CURRENT
.
3. Enter the calibration password on the keypad:
PS2520 & PS2520G: enter 2520 (
)
PS2521 & PS2521G: enter 2521 (
)
4. Verify that the power supply readout displays cL00, indicating calibration
mode.
5. Configure the DMM to measure DC volts autorange.
6. Connect the DMM positive and negative leads to the corresponding
OUTPUT 3 (+) and (–) terminals.
7. Press (
) on the power supply keypad. Verify that the power supply readout
displays cL10 (voltage offset calibration).
8. Enter the DMM reading on the power supply keypad and press (
).
9. Verify that the power supply readout displays cL11, indicating voltage
full-scale calibration.
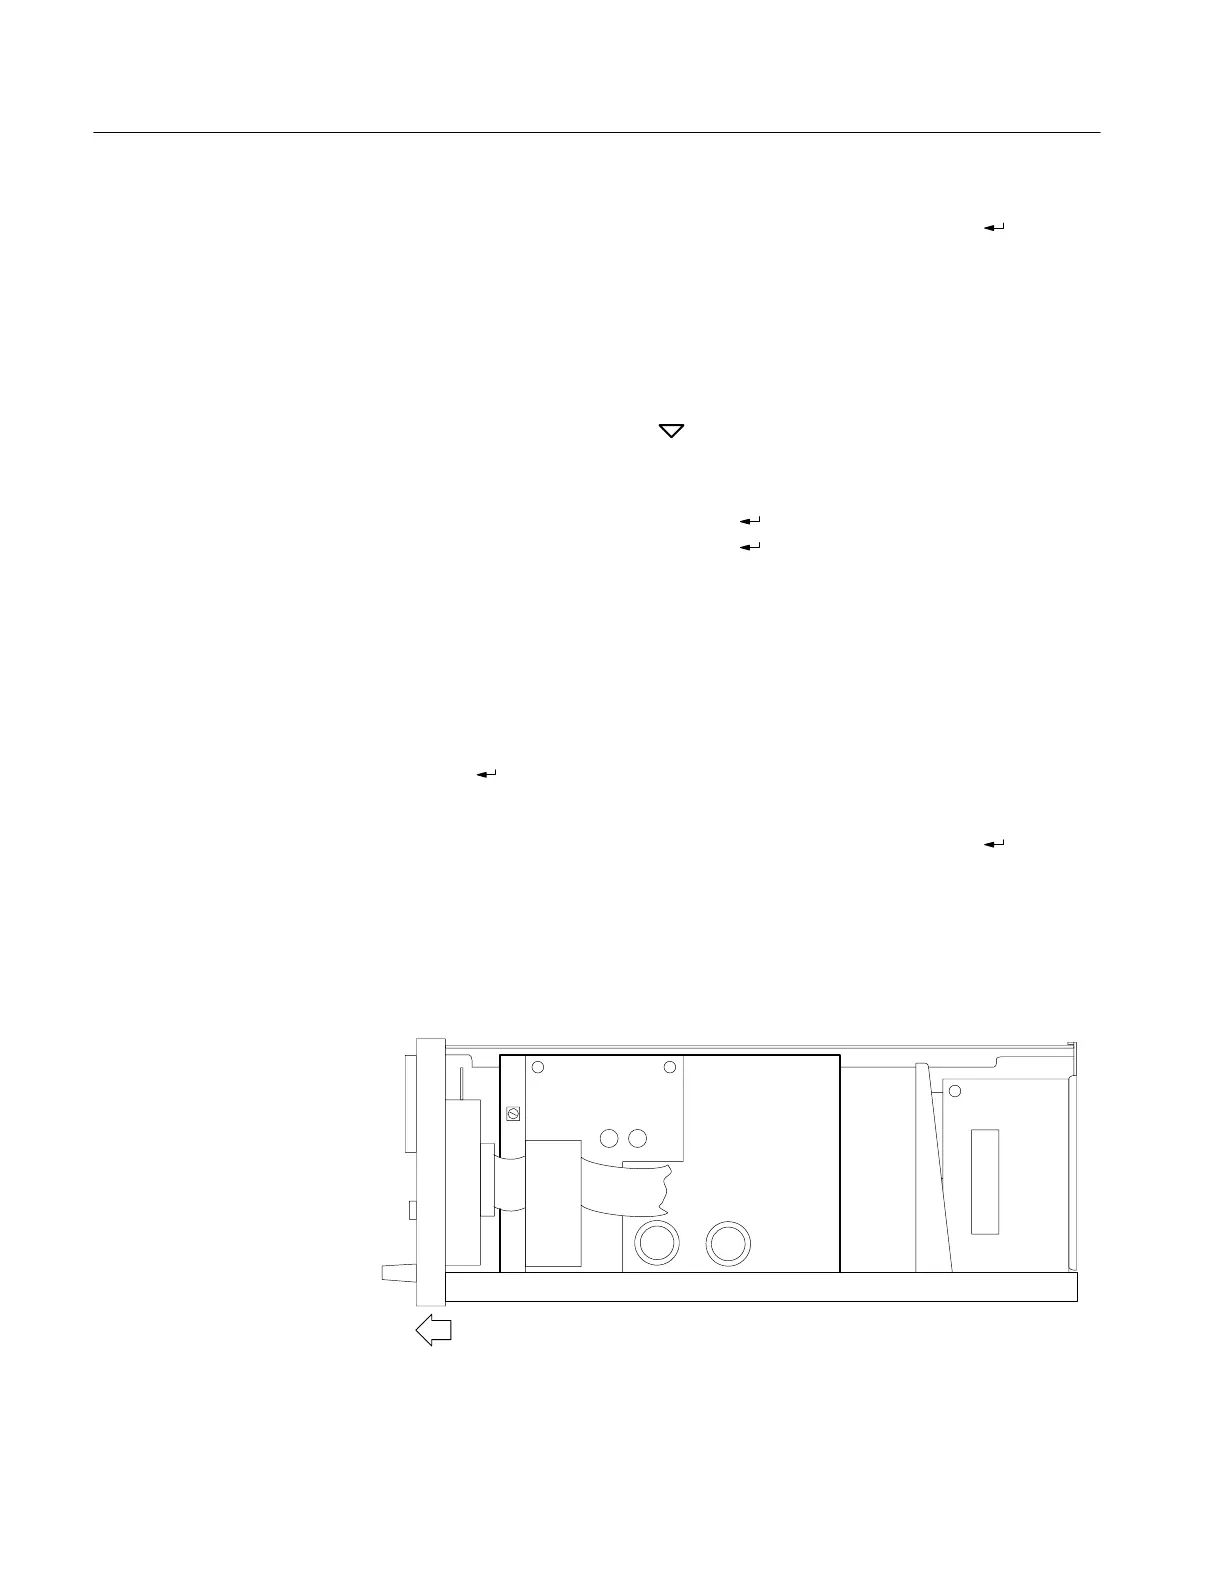
10. Adjust VR401 for a DMM reading of 6.5 V. See Figure 14 for the adjust-
ment location.
Instrument
front
VR401
Figure 14: VR401 Adjustment Location
 Loading...


