Removal and Replacement
6–28
TDS 340A, TDS 360 & TDS 380 Technical Reference
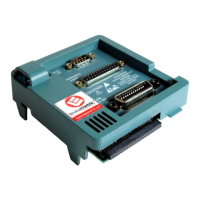
Option 14 Assembly
Required tools: a screwdriver with a size T-15 TorxR tip (Items 1 and 2) and a
3/16 inch nut driver (Item 7).
1. Set the oscilloscope so its top is down on the work surface, with its front
facing towards you.
2. Disconnect the main board communications cable (J601) at the floppy
interface board. Remove the cable from its cable clamp (see Figure 6–16).
Refer to Page 6–20, step 3, for instructions on how to remove the floppy
interface board.
3. Disconnect the video cable (J703) at the main board.
4. Remove the two screws connecting the assembly to the chassis (see
Figure 6–16) using a screwdriver with a size T-15 Torx
R tip.
5. Set the oscilloscope so its bottom is down on the work surface, with its rear
facing towards you.
6. Disconnect power cable J4 from the power supply.
7. Using a screwdriver with a size T-15 Torx
R tip, remove the two screws on
the left side of the assembly (see Figure 6–16).
8. Now remove the two screws on the rear panel that fasten the assembly to the
chassis.
9. Pull the assembly towards the front of the instrument and up and out of the
chassis. Carefully route the cables through their holes in the chassis.

 Loading...


