Removal and Replacement
6–10
TDS 340A, TDS 360 & TDS 380 Technical Reference
Front Panel Knobs and Shafts
Required tool: a pair of angle-tip tweezers (Item 8).
1. Set the oscilloscope so its bottom is down on the work surface and its front
is facing you.
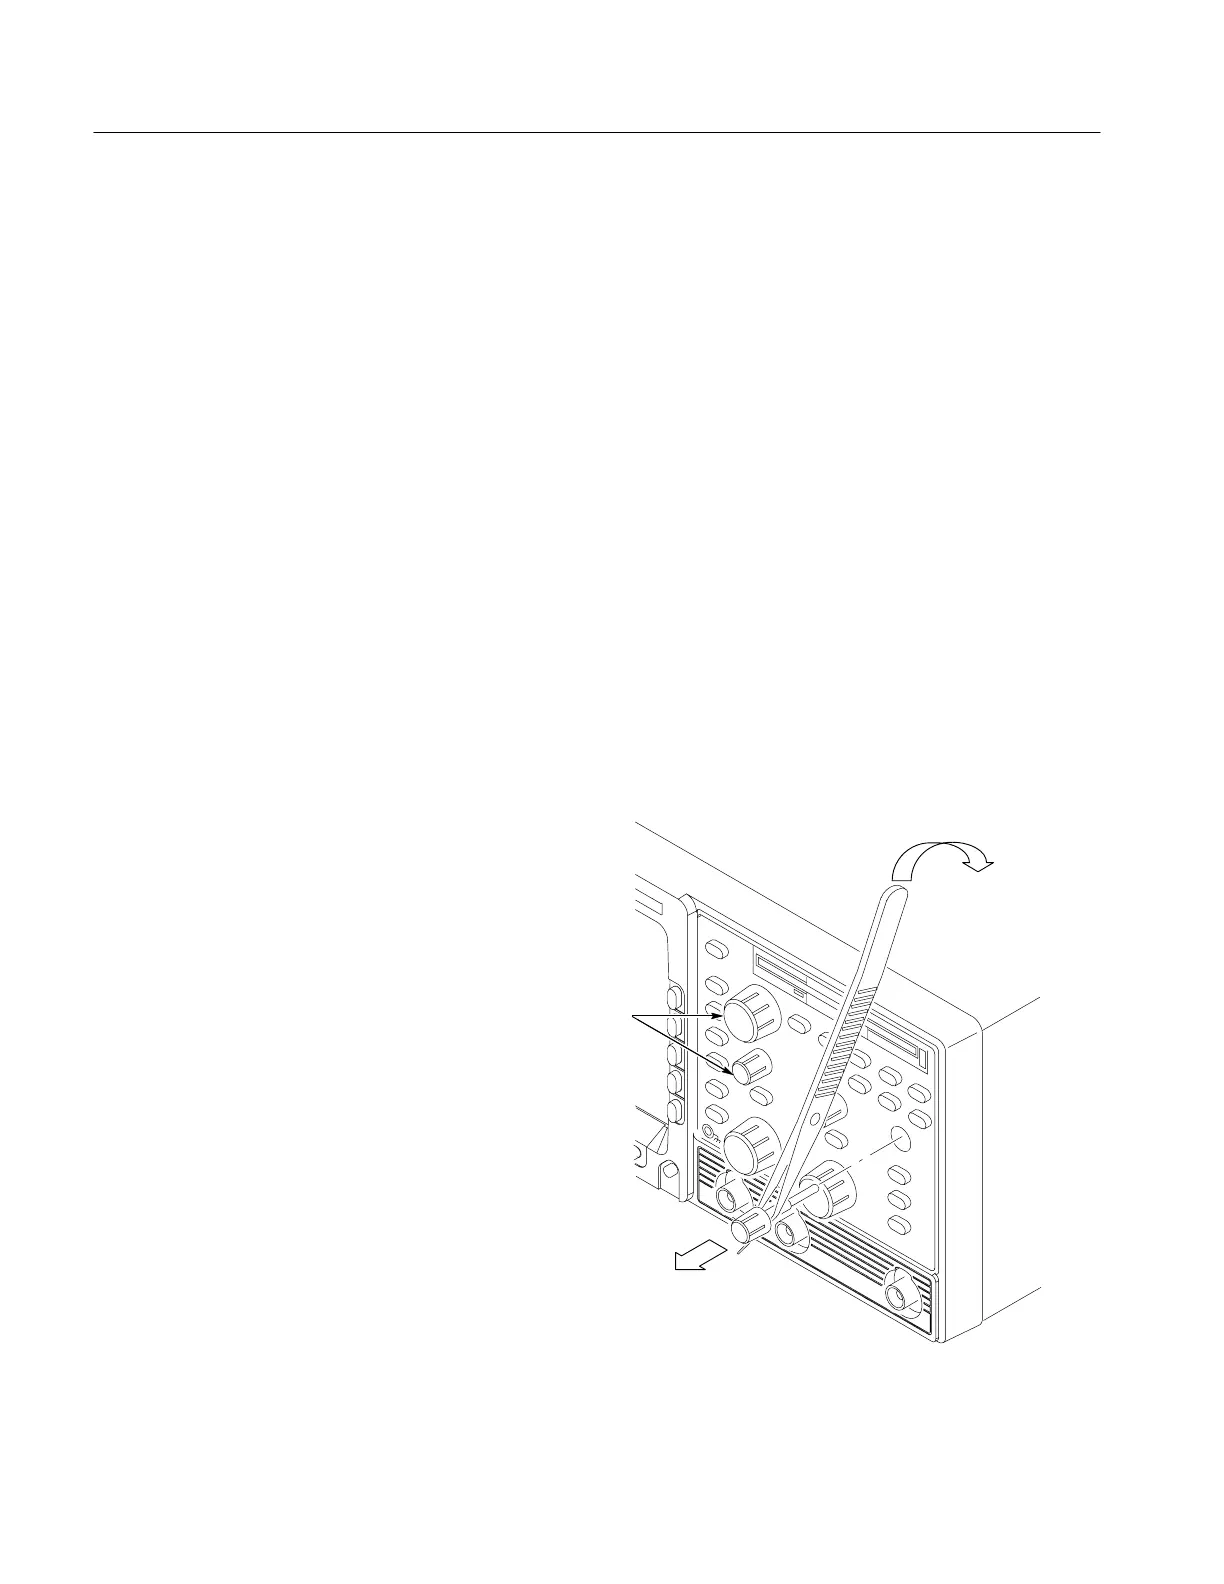
2. Refer to Figure 6–4. Grasp the knob you want to remove and pull it straight
out from the front panel slightly to create some clearance between the base
of the knob and the front panel.
3. Insert the tweezers between the knob and front panel and use them to remove
the knob and its shaft. Pull the shaft out of the knob to remove.
4. Reinstallation:
a. To reinstall, align the inside of the knob to the end of the shaft and push
it in until it snaps.
b. Insert the shaft of the assembled knob into its hole in the front panel
assembly until it stops.
c. Rotate the knob while lightly pushing inwards until the shaft slips into
its receptacle. Push all the way in to seat the knob assembly.
When reinstalling the knobs
note there are two sizes. Be
sure to reinstall the proper size
knob in the proper location.
Figure 6–4: Knob and shaft removal
 Loading...