Measuring Waveforms
TDS 684A, TDS 744A, & TDS 784A User Manual
3–89
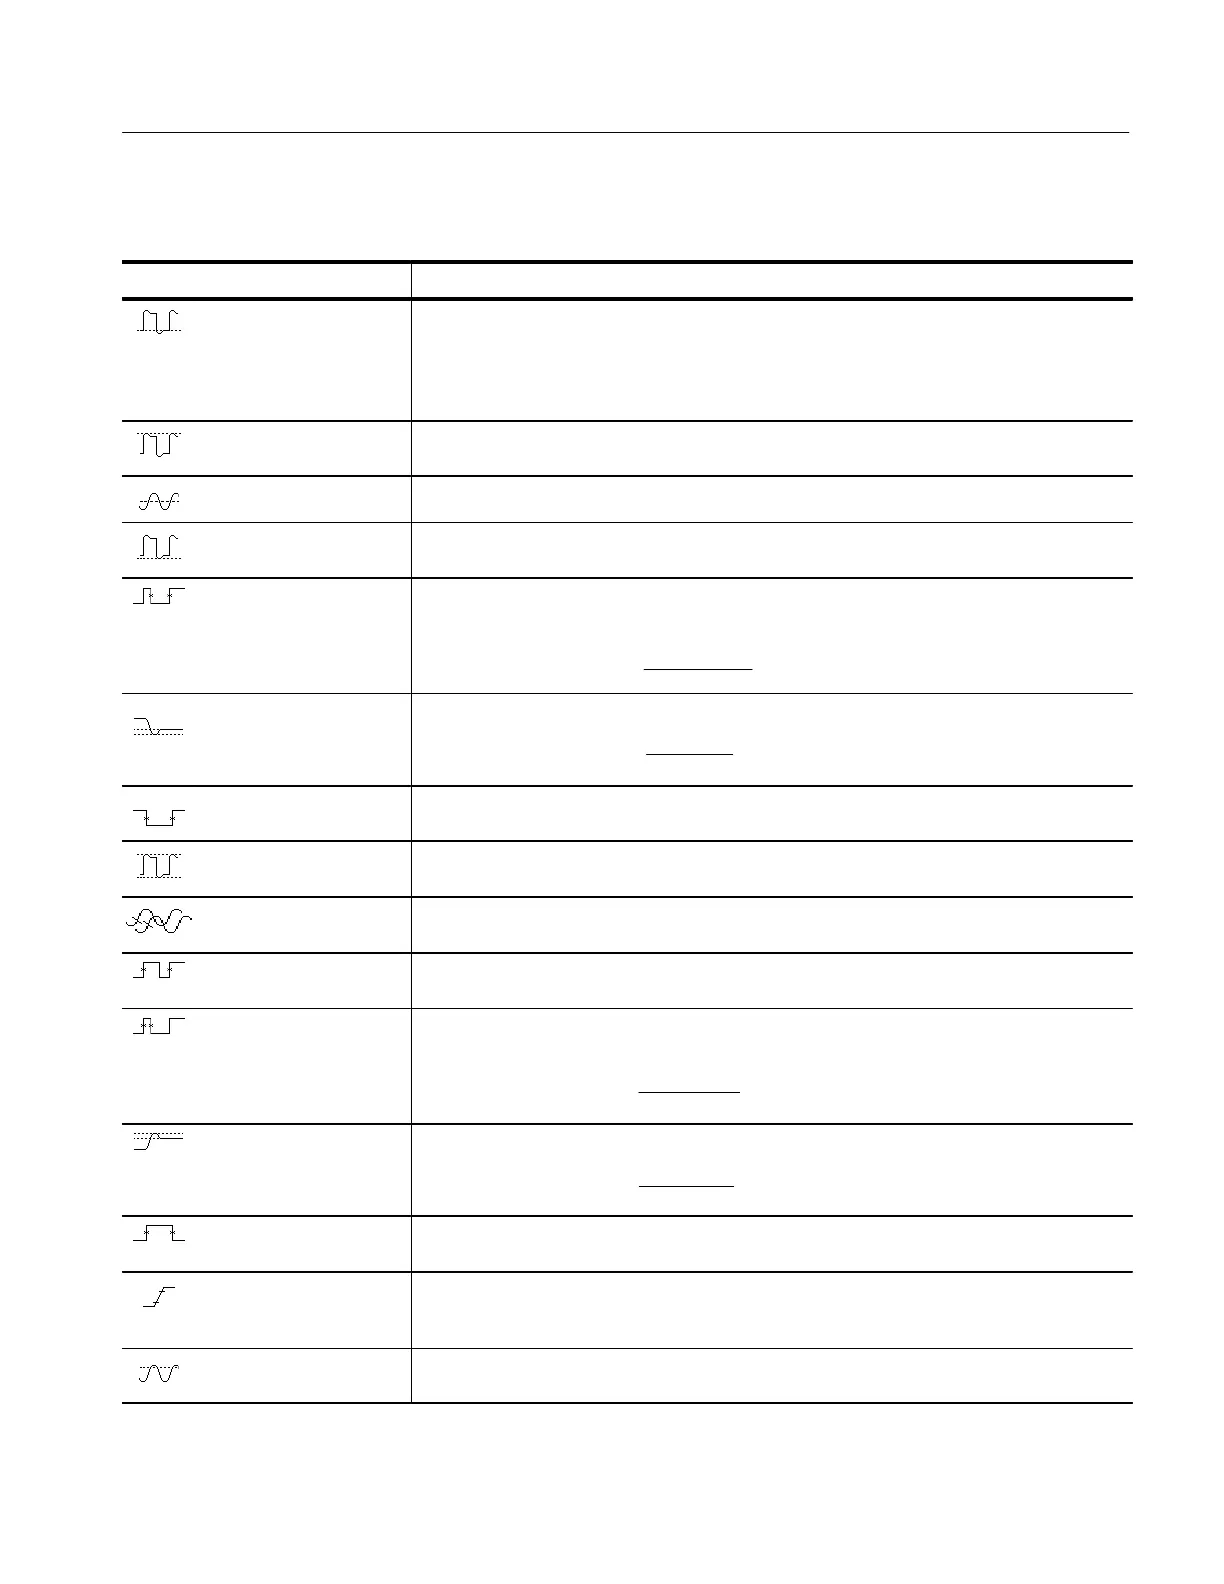
Table 3–9: Measurement Definitions (Cont.)
Name Definition
Low The value used as 0% whenever High Ref, Mid Ref, and Low Ref values are needed (as in fall
time and rise time measurements). May be calculated using either the min/max or the histogram
method. With the min/max method it is the minimum value found. With the histogram method, it
refers to the most common value found below the midpoint. Measured over the entire waveform
or gated region.
Maximum Voltage measurement. The maximum amplitude. Typically the most positive peak voltage.
Measured over the entire waveform or gated region.
Mean Voltage measurement. The arithmetic mean over the entire waveform or gated region.
Minimum Voltage measurement. The minimum amplitude. Typically the most negative peak voltage.
Measured over the entire waveform or gated region.
Negative Duty Cycle Timing measurement of the first cycle in the waveform or gated region. The ratio of the negative
pulse width to the signal period expressed as a percentage.
NegativeDutyCycle +
NegativeWidth
Period
100%
Negative Overshoot Voltage measurement. Measured over the entire waveform or gated region.
NegativeOvershoot +
Low * Min
Amplitude
100%
Negative Width Timing measurement of the first pulse in the waveform or gated region. The distance (time)
between MidRef (default 50%) amplitude points of a negative pulse.
Peak to Peak Voltage measurement. The absolute difference between the maximum and minimum amplitude
in the entire waveform or gated region.
Phase Timing measurement. The amount one waveform leads or lags another in time. Expressed in
degrees, where 360 comprise one waveform cycle.
Period Timing measurement. Time it takes for the first complete signal cycle to happen in the waveform
or gated region. The reciprocal of frequency. Measured in seconds.
Positive Duty Cycle Timing measurement of the first cycle in the waveform or gated region. The ratio of the positive
pulse width to the signal period expressed as a percentage.
PositiveDutyCycle +
PositiveWidth
Period
100%
Positive Overshoot Voltage measurement over the entire waveform or gated region.
PositiveOvershoot +
Max * High
Amplitude
100%
Positive Width Timing measurement of the first pulse in the waveform or gated region. The distance (time)
between MidRef (default 50%) amplitude points of a positive pulse.
Rise time Timing measurement. Time taken for the leading edge of the first pulse in the waveform or
gated region to rise from a Low Ref value (default = 10%) to a High Ref value (default = 90%) of
its final value.
RMS Voltage measurement. The true Root Mean Square voltage over the entire waveform or gated
region.
 Loading...