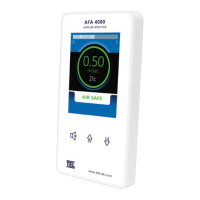
AFA4000/1 Airflow Monitor / p.91
7.2 Auto Sash Controller 1, 2 or 3 position.
This section describes the calibration of the Auto Sash Controller from the
AFA4000/1/AS.
Note: Refer to section 7.4 to calibrate the Auto Sash Controller from the Auto Sash keypad
1. From the Run Screen press and hold the Mute button for 5 seconds until the Main
Menu is displayed.
Note: When you go from the main menu to the run screen, a note briefly appears
saying ‘calibration required’.
2. Use the ↑ / ↓ buttons to select Set Up Auto Sash. The display shows the message TEL
SASH CLOSER.
3. Press the Mute button to display the current Hardware and Software version, for
example, 1. HW2.0 FW1.1.
4. Press the ↓ button to scroll down and select Setup Menu and press Mute.
5. Enter the password (the factory default password is 1-0-0-1) and press Mute to
continue.
6. In the Setup menu the controller displays System Profile.
7. Use the ↓ button to scroll through the menu, select Sash 1 Settings and press Mute.
8. In the S1 Settings menu, the display will show 1. S1 Enabled and on-screen
instructions.
9. Set the sash to the centre opening, for example, 250 mm.
10. Press the ↓ button to find which arrow represents the sash closing and press Mute.
This step shows the controller which direction the motor needs to drive to close the
sash.
11. Close the sash and press Mute. This step sets the sash position sensor output, 0 V
position.
12. Fully open the sash and press Mute. This step sets the sash position sensor output, 10
V position.
13. Set the sash to the lower position, for example, close and press Mute.
14. Set the positions as required:
 Loading...