2-2 NetBlazer Installation 90453-02 Rev A0
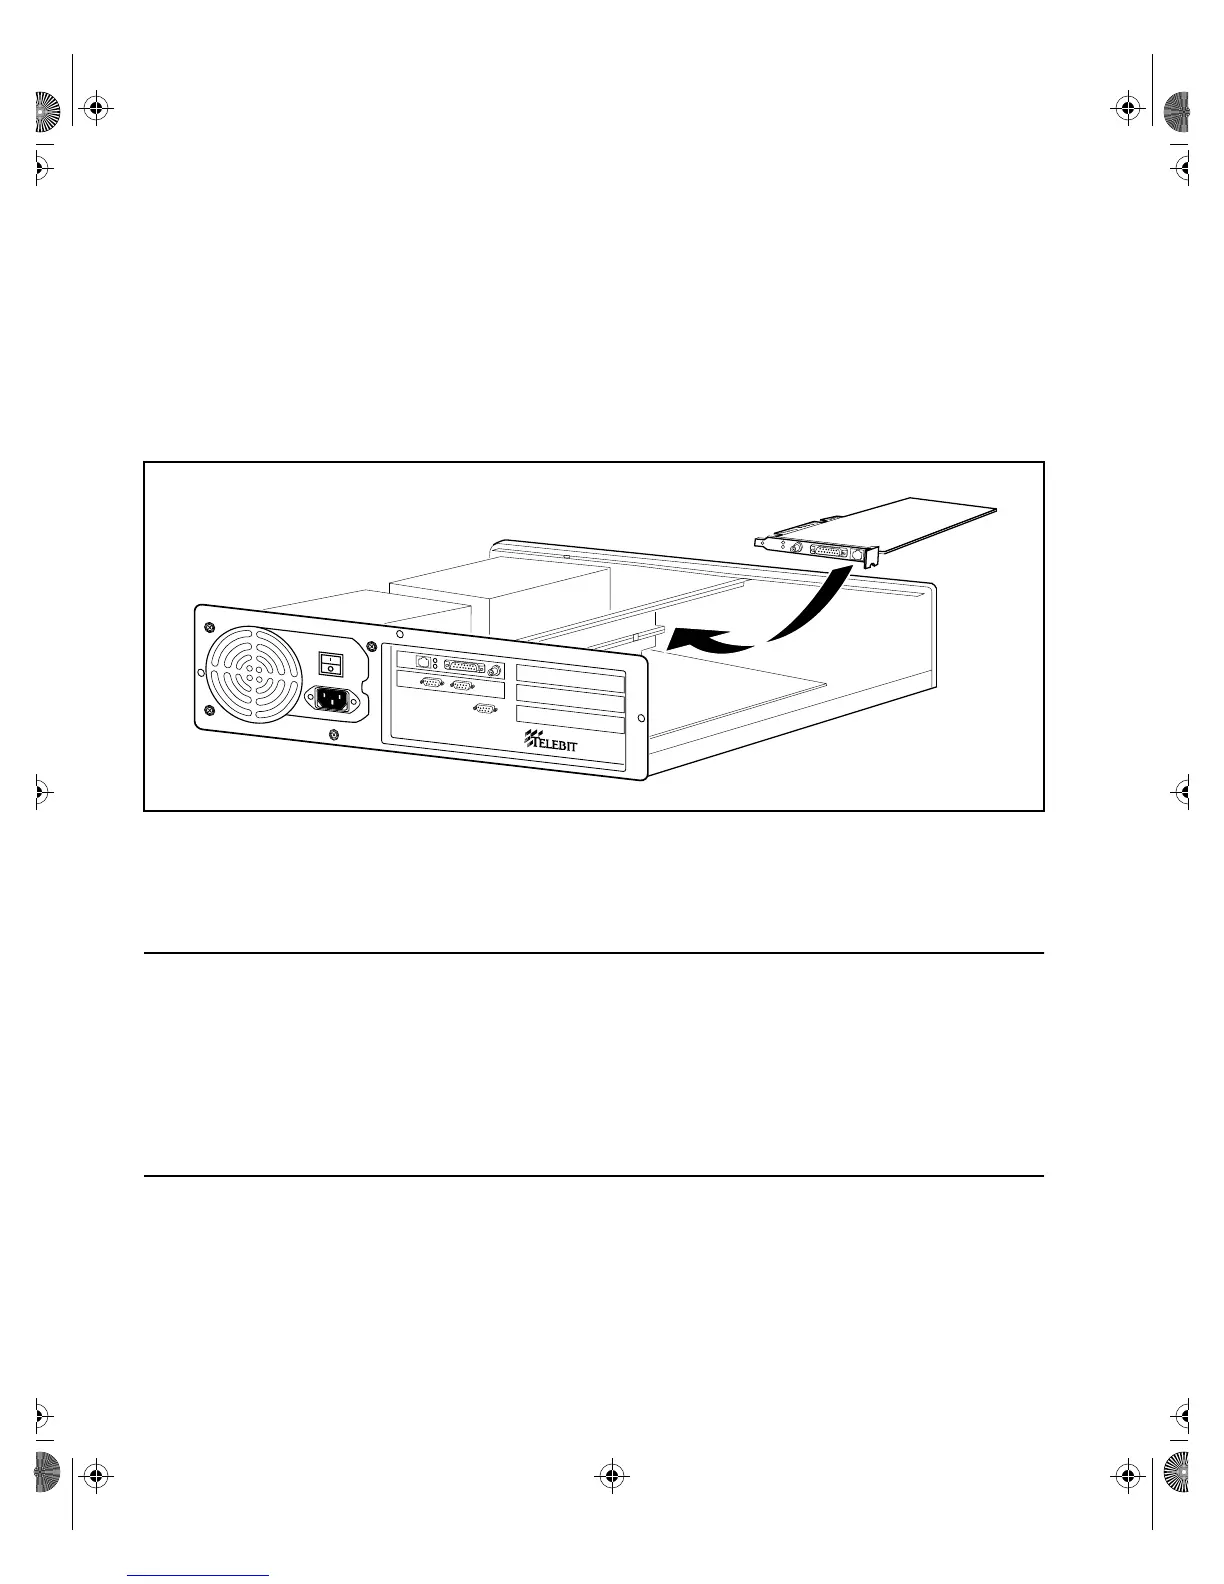
2. As shown in Figure 2-1, carefully guide the board into its slot so that
the board’s edge connector is aligned with the slot connector and the
cable connectors extend through the slot opening. Then, firmly press
on the top edge of the board until it is securely mated with its con-
nector.
3. Replace the option-board mounting screw.
Figure 2-1. NetBlazer STi Option Board Installation
Closing the NetBlazer STi Case
Lower the top cover onto the NetBlazer STi so that the notches in the guide
rails on the inside of the top cover align with the side edges of the front
panel. Slide the top cover back into position and replace the three cover
mounting screws.
Installing a NetBlazer 40i Option Board
First, make sure that the boards are properly configured (refer to the
separate option board document as necessary). Then, perform the following
steps to install an option board in the NetBlazer 40i:
NetBlazer
®
Book Page 2 Thursday, March 27, 1997 10:55 AM