2-4 NetBlazer Installation 90453-02 Rev A0
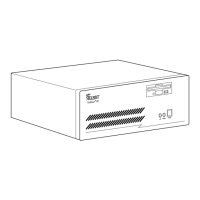
Closing the NetBlazer 40i Case
Lower the top cover onto the NetBlazer 40i so that the notches in the guide
rails on the inside of the top cover align with the side edges of the front
panel. Slide the top cover back into position and replace the three cover
mounting screws on the back of the case.
Optional Rackmount Kit
For rackmounted systems, Telebit offers an optional rackmount kit for both
the NetBlazer STi (model number NBRK-STI) and NetBlazer 40i (model
number NBRK-40i).
Follow the instructions provided with the rackmount kit to install your Net-
Blazer in a rack.
Applying Power to the NetBlazer
1. Insert the NetBlazer System Diskette in the floppy diskette drive.
2. To turn on your NetBlazer, toggle the power switch on the back
panel to on (1).
In a few seconds, the Power LED blinks. Then, the floppy diskette
drive light comes on.
With the NetBlazer System Diskette in the floppy diskette drive, the
NetBlazer boots.
Turning Off the NetBlazer’s Power
If you turn off power to the NetBlazer, do not turn it back on right away.
Wait a few seconds.
Book Page 4 Thursday, March 27, 1997 10:55 AM