2 Installation
Telecells are manufactured in many different forms. Each form is utilised dependent upon
the environment it is to be fitted.
Prior to installation, check the column and report any safety or installation maintenance
issues to the installation project manager so that a repair can be scheduled.
2.1 Installation Tasks
The following are the available Telecell variants and steps for installation:
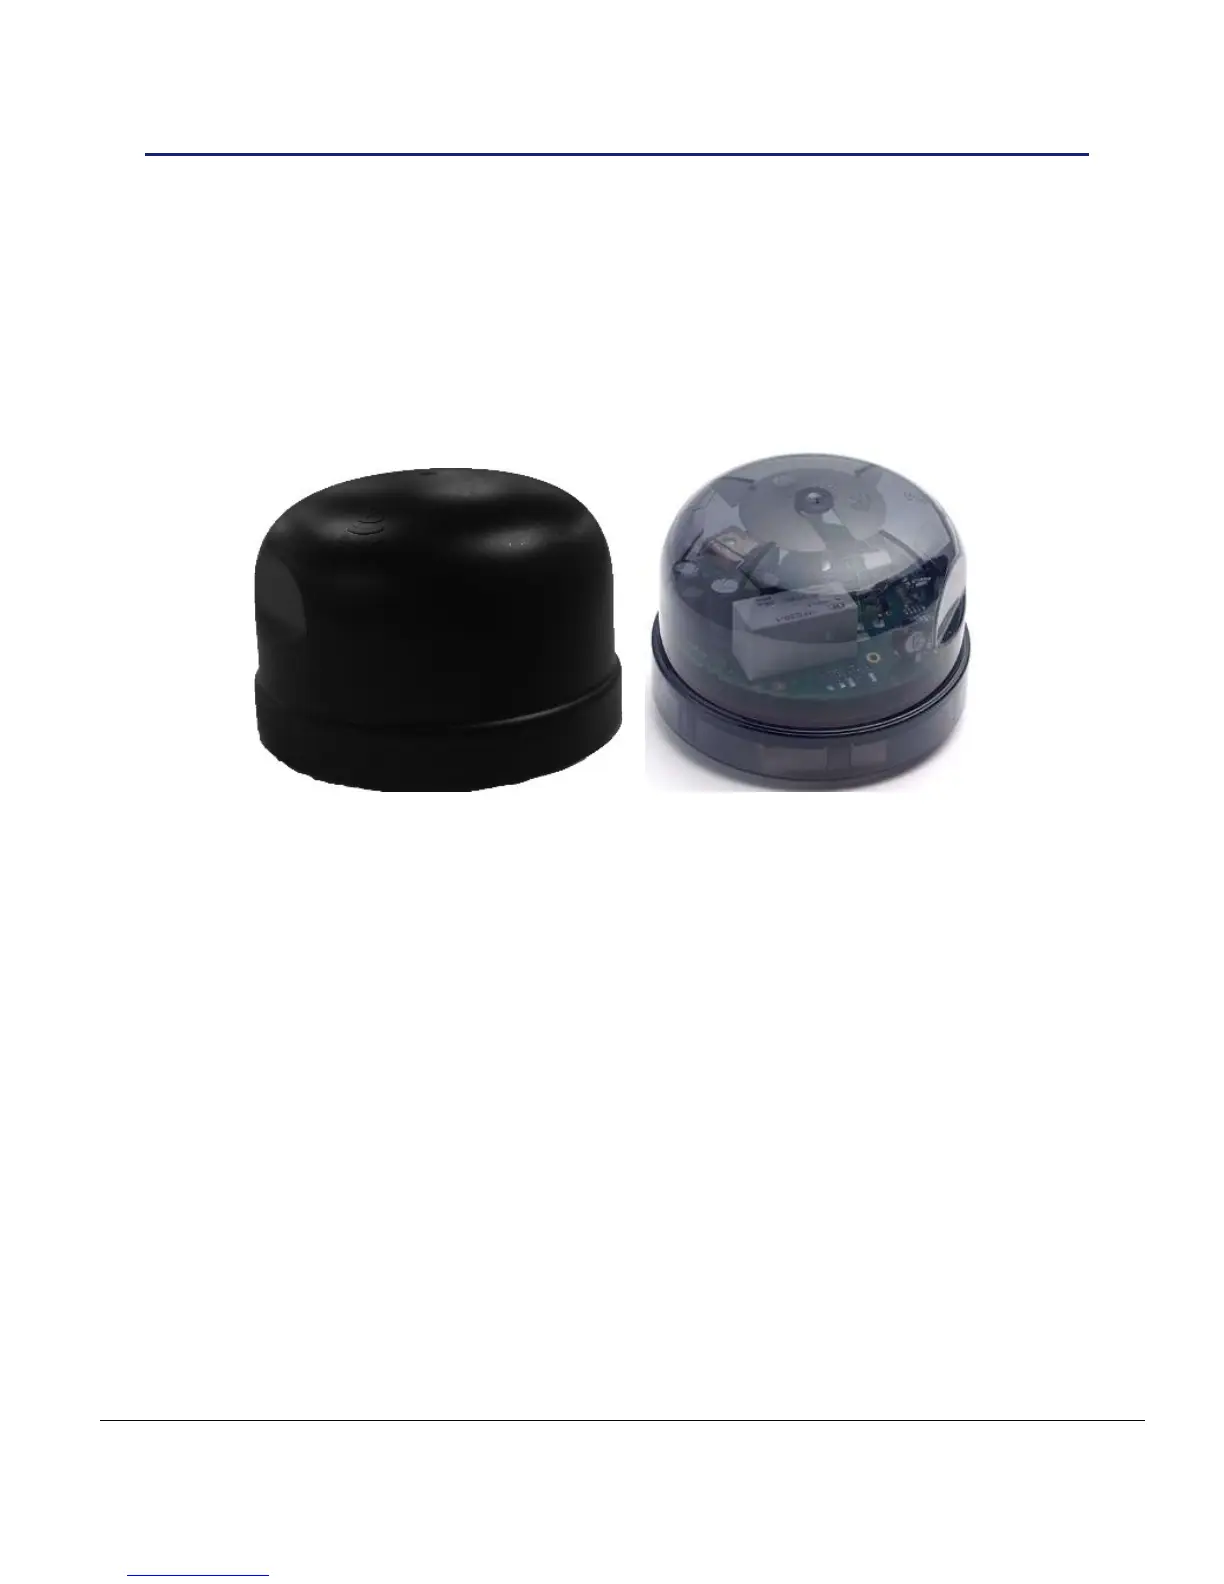
Plug in locking type (external)
ALERT: Ensure to fit the plug in locking type socket correctly following supplier guidelines
1) Align the plug in locking type pins with the socket and insert. The Neutral pin on a
Telecell is wider and will only fit the hole next to the ‘N’ marker on the socket, twist
and lock.
2) To lock the Telecell in place, push down and twist clockwise. Pull the Telecell up
to confirm it is installed correctly. For wiring information see section 2.2.
3) Turn on the mains supply to the Telecell and observe the Power On / DIM / Off
test cycle as described in section 1.7.1. It will turn on for 50 seconds, then turn off.
If dimmable: on 25 seconds, dim 25 seconds, then turns off.
4) Record the necessary data as detailed under section 1.7. Data capture will be
dependent on available tools, for example: paper based or import via PDA.
5) Affix the Telecell labels described in section 1.7 as necessary.