SIMPO - BASIC INFORMATION
Page 28 of 48
Simpo Addressable Panel
- menu ADDRESSING has 3 submenus Set Address, Change Address and Start Self Addressing
(in the future there will be 4-th menu – Auto Addressing)
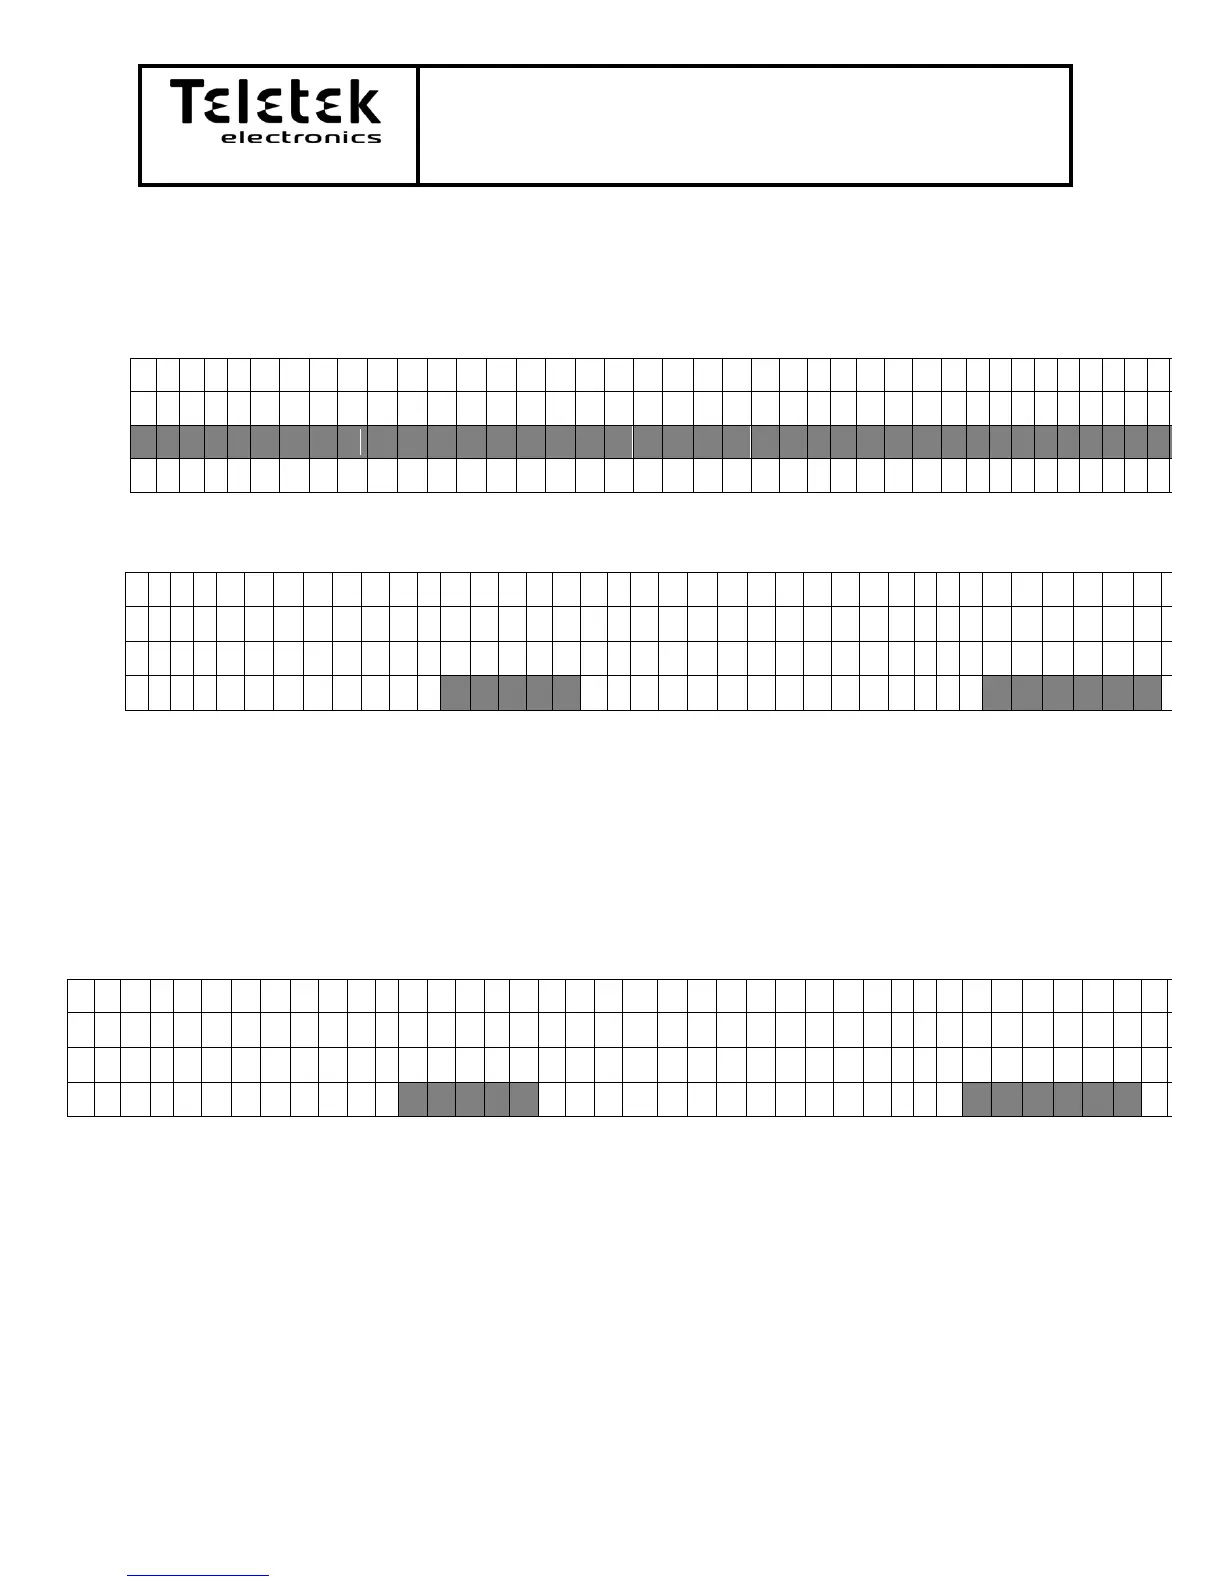
- Submenu Set Address looks as follows:
In this menu an address can be set to new device for the system. The Apply button will appear only
the following requirements are met: there is a device with no address and the address which is
chosen is empty.
When the addressing is successful there will be a text “Successful” on the LCD screen. The apply
button will disappear. In case of no addressing “Error” message will appear.
Number change is done by use of the arrow buttons .
- Submenu Change Address looks as follows:
In this menu an address can be set to an already existing device for the system. The Apply button
will appear only the following requirements are met: there is a device on the selected address and
the new address is empty.
Number change is done by use of the arrow buttons and the jump over Address and New
Address with the use of the arrow buttons
When the change of the address is successful there will be a text “Successful” on the LCD screen.
The apply button will disappear. In case of no addressing “Error” message will appear.