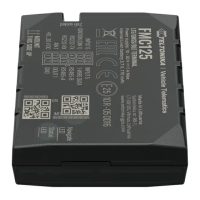
https://wiki.teltonika-gps.com/view/FMB125_First_Start
FMB125 First Start
Main Page > Advanced Trackers > FMB125 > FMB125 First Start
GNSS/GSM/Bluetooth tracker with external GNSS, internal GSM antennas, RS232, RS485
interfaces and internal battery
Contents
1 How to insert SIM card and connect the battery
2 Battery placement after complete device disassembling
3 2x6 socket pinout
3.1 PC Connection (Windows)
3.2 How to install USB drivers (Windows)
3.3 Configuration (Windows)
3.4 Quick SMS configuration
4 Mounting recommendations
5 Installation photos
6 Safety information
6.1 Precautions
How to insert SIM card and connect the battery
Gently remove FMB125 cover using plastic pry tool from both sides.1.
Note: To properly open a new case please watch this video.
Insert SIM card as shown with PIN request disabled or read Security info how to enter it2.
later in Teltonika Configurator. Make sure that SIM card cut-off corner is pointing forward to
slot. SIM slot 1 is closer to PCB, SIM slot 2 is the upper one.
Connect battery as shown to device. Position the battery in place where it does not obstruct3.
other components.
After configuration, see “PC Connection (Windows)”, attach device cover back.4.
Device is ready to be installed.
SIM card insertion/removal must be performed when device is powered off – external voltage
and internal battery disconnected. Otherwise SIM card might be damaged or device will not
detect it.

 Loading...