Chapter 2 – Using Cascade Control
Page 8 TestEquity F4T Controller
Navigating and Understanding the User Interface
Home Screen – No Profile Running
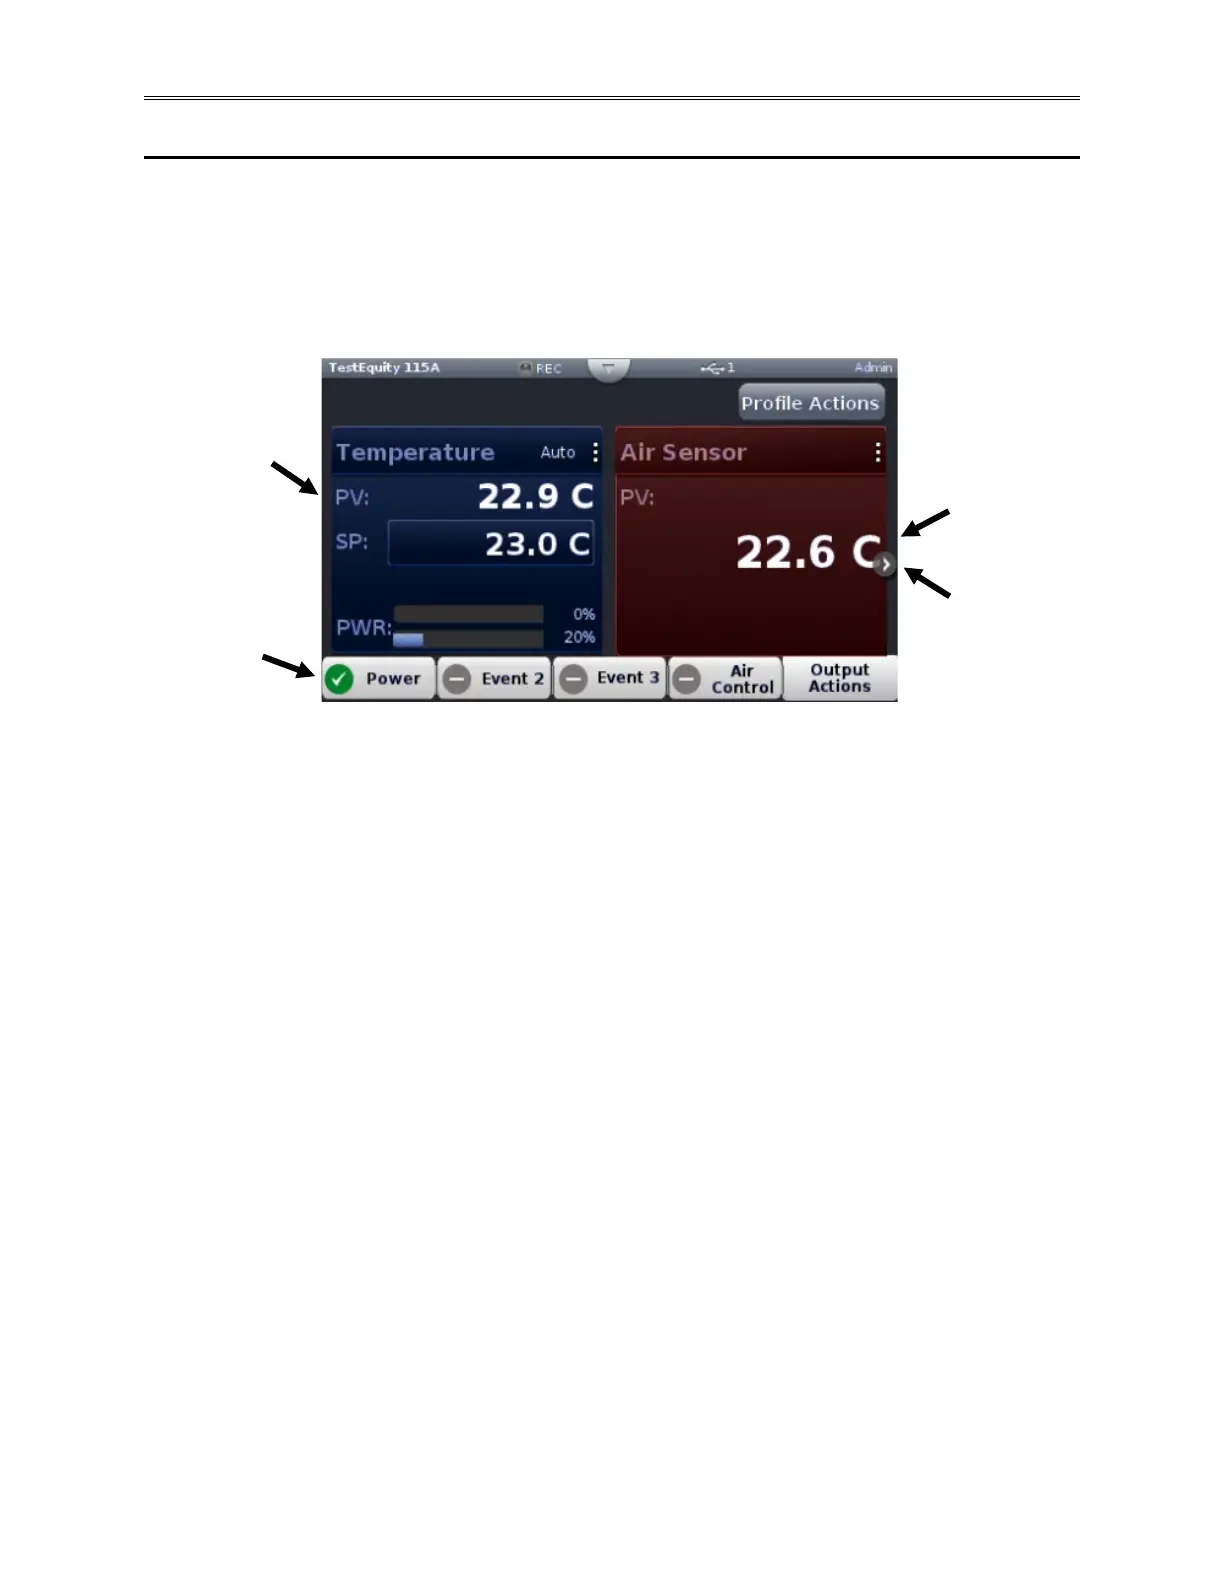
After powering up the controller a white screen will appear first while initializing. Once the
startup process is complete the Home Screen will be presented as shown below. The image
below shows the Home screen for a TestEquity Temperature Chamber with Cascade Control
while it is NOT running a profile.
① Temperature PV (Process Value): The Temperature page displays the actual Part
Temperature for PV. This is the Outer Loop.
② Air Sensor PV (Process Value): The Air Sensor page indicates the actual Air Temperature
for PV. This is the Inner Loop.
③ Output Widget Bar: Function keys or output status (ON/OFF). The control mode can be
easily changed from Part Temperature Control or Air Control by pressing the Air Control
key. The default condition is shown above, with the controller operating in Part Temperature
Control mode (no green check mark in the Air Control box). See page 9 for more
information.
④ Next Page: The Home screen has been setup to display multiple pages (loops). The left and
right arrows on each side of the home screen provide navigation from one to the other. Each
of the subsequent two pages has been configured by TestEquity to be a full-screen view of
just the Temperature page or the Air Sensor page respectively.
Please refer to the F4T Touch Screen Controller User’s Guide for further details on how to
navigate and use the F4T Controller.