HE.9843_J © 03/2008 4
MAP 1
GB
Instruction Manual
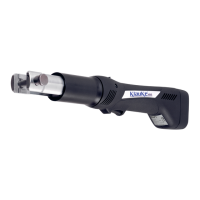
The crimping head can be smoothly turned by 330° around the longitudinal axis in order to gain better access to tight
corners and other diffi cult working areas. (pic. 11)
The tool incorporates an LED display to indicate the battery capacity and service intervals.
The tool is very light weight and provides a good handling through an ergonomic design.
4.3 The light diode display
This tool is equipped with a special circuit board incorporating several important features to inform the user about the
current status of the unit. The diode (pic. 1, 5) signals in the following cases:
Signal Duration When it occurs What it means
a few seconds of fl ashing battery insertion self check – O.K.
glowing for 20 seconds after crimp battery discharged
* fl ashing for 20 seconds (2Hz) after crimp return for service
20 sec. Glowing and fl ashing intermittently after crimp Battery fl at and service required
* Remarks:
- Does the diode signal periodically at the end of a working cycle for approx. 20 sec the unit must be returned to an authorised Service Center for
Service as soon as possible.
5. Remarks in respect of the determined use
5.1 Operation of the tool
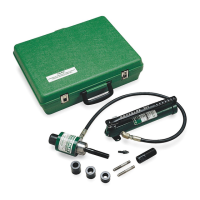
First you have to select the right pressing jaw (pic. 3+4), respectively dies, for the intended application.
Then disengage the locking pin (pic. 1, 8) by pushing the head of the pin towards the jaw holder and turn the head
anti-clockwise. When reaching the stop the locking pin will automatically pop out spring loaded. The selected jaw is
inserted into the head and the locking pin must be pushed against the spring force into the head until it engages. With
jaws for interchangeable dies the dies will be inserted laterally into the jaw while pulling the die lock.
After the fi tting has been mounted on the tube the jaws are opened by compressing the rear end of the jaw and then
positioned on the fi tting (see pic. 10-30).