rev 12/98 5 - 7 09-367
SERVICE section 5
FRAME
1. Check for loose or missing fasteners after first 10
hours. - Every 100 hours thereafter.
•
Torque transaxle mount bolts 60 - 65 ft. lbs.
Torque wheel hub bushing bolts to 192 inch lbs.
ToTorque in three increments until specified
torque is reached.
•
Torque all standard hardware bolts to standard
grade 5 spec.
•
Steering cylinder mount bolts, front... torque to
105 ft. lbs., rear... torque to 230 ft. lbs.
•
Center link bolts, torque to 230 ft. lbs.
Tighten 1” center bolt to 560 ft. lbs. max.
• If ROPS equipped, torque bolts to 80 ft. lbs. Do
not cut, weld, drill or modify roll bar in any way.
Replace if roll bar becomes bent or damaged.
2. Do not remove guards, shields or lock straps.
• Repair or replace any broken parts.
• Keep frame parts clean, it makes it easier to find
loose or broken parts.
•
If used in toxic areas, wash after each use -
fertilizer, manure, etc., can cause corrosion of
aluminum parts.
3. Keep parking brake adjusted properly.
•
Ensure that brake holds unit from creeping.
4. Lubrication
•
Grease all fittings as recomended on chart.
•
Grease PTO slider bracket pivot and apply
grease to PTO slider bracket saddle and rod
every 25 hours.
•
Use Chain Lube,WD40 or light motor oil to
lubricate all pivot points, hood hinges, tie rod
ends, center link, etc. every 25 hours.
•
Grease drive shaft U-joints every 100 hours.
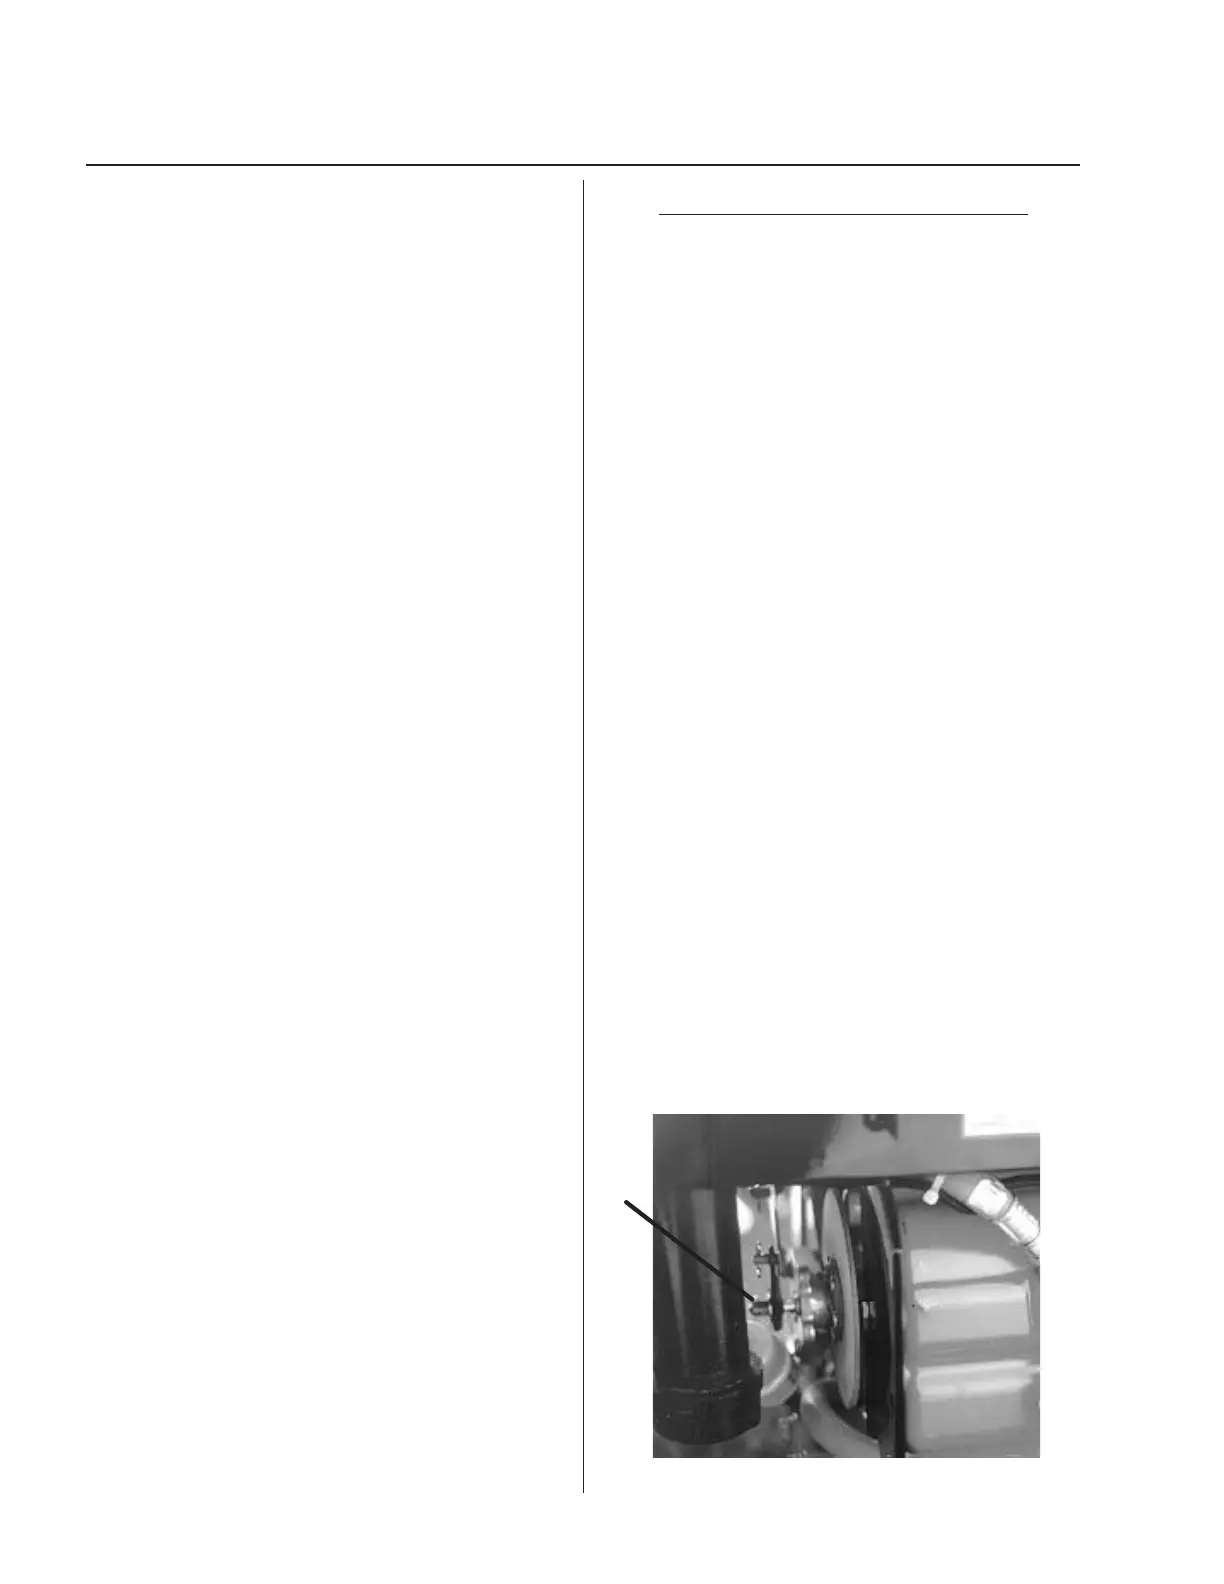
PARKING BRAKE ADJUSTMENT
The parking brake is a dry disc type located on the
rear transaxle. As the friction pads wear it may be
necessary to adjust the brake. (see Photo 11)
NOTE: Check brake disc periodically to ensure it
will float on the brake shaft. Remove and coat with
never-sieze annually.
To Adjust The Brake:
1. Release the brake and remove the cotter pin from
the adjusting nut.
2. Tighten the adjusting nut carefully until the disc
cannot be moved freely by trying to rotate the disk
by hand, then back off just far enough to allow the
disk to move freely.
3. Align nut and re-install cotter pin.
To Replace Brake Pads:
1. Remove the two bolts which fasten the brake
assembly to the transaxle. Caution: There are two
loose pins and a backing plate which may fall out
upon dis-assembly. Be sure these are in place
before assembling the brake.
2. Slide the disk off the brake shaft. Note: A woodruff
key in the shaft must stay in place.
3. Replace inner pad and install disk on the brake
shaft. It must slide freely on the shaft.
4. Back off brake adjustment nut, replace outer pad in
housing and reinstall the assembly to the
transaxle.
5. Adjust brake.
Photo 11 - Parking Brake Adjustment
1