Do you have a question about the Thermador S272T and is the answer not in the manual?
Steps to safely detach the oven from its wall mounting.
Detailed procedure for safely removing the oven door.
Instructions for removing the oven's front trims and bottom trim.
Guide to disconnecting the control panel and ribbon cable.
Steps to remove the front vent cover and oven light switch.
Procedure for removing front, top rear, and heat shield covers.
Instructions for removing rear panels and disconnecting specific wires.
Steps to remove the blower and its bracket from the plenum.
Using templates to mark and drill new mounting holes on the plenum.
Mounting the new bracket and reinstalling the blower assembly.
Detaching the top plenum from the upper oven can cell.
Procedure to convert the top oven cell with new vent tube and catalyst.
Disconnecting and lifting the top oven cell off the mid plenum.
Steps to remove the blower and bracket from the middle plenum.
Using templates to mark and drill holes for the middle plenum.
Mounting the new bracket and reinstalling the blower to the middle plenum.
Detaching the top plenum from the middle oven can cell.
Steps for converting the lower oven cell with a new vent tube.
Securing the converted plenum and covering the old vent tube hole.
Instructions for reassembling all oven components after conversion.
Detailed procedure for correctly reinstalling the oven door.
Procedure for recalibrating oven temperature after installation.
| Control Type | Electronic |
|---|---|
| Self-Cleaning | Yes |
| Convection | Yes |
| Temperature Range | 100°F - 550°F |
| Fuel Type | Electric |
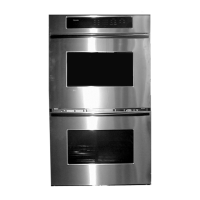
| Installation Type | Built-In |
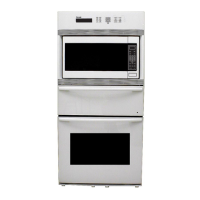
| Color | Stainless Steel |
| Interior Lighting | Yes |
| Number of Oven Racks | 2 |
| Depth | 24.5 inches |