Disassembly
and
Reassembly
(Flev.
7. 12lO1)
manufnctured by Themo
King, but lhey are all hcld
on by a
single
bolt threaded into the end of the conpressor
crank-
shafl. Once this bolt is removed, the
coupling or clutch can
be removed from rhc shaft. Remove
the bolt and rhen usc
a
puller
to rcmovc thc coupling
or clutch.
CAUTION: as. a puler
to rcmove the drit'e
cou-
plins
or pu
cr
fton
the crunkhafL PuAer
(P/N
2U-139)
or
pu
et wuh handte
(P/N
204-991)
ue availablc
tor
use on conprcstu.
couplinss wilh
threadcd holes. DO NOT
use a hanncr to
pound
thc
couptins ot
pu
et oJJ. Thit s'i
damase the
lnstallation
Thermo King empbys
a hpcrcd
joint
lo secure rhe
drive
coupling or dnlc
pulley
to the compr€ssor shdr. This
has
two dvantages: first
il
pr€vcnts
any loosencss
that might
occur
as
when
using i sliding fit on a shafi.
The second
advantage is lhal whcn torqucd pmperly
the fricrion
berwccn
thc two tap€rs can be used ro drive
rhe compressor
A key is uscd in
thc tapered
ioint
to
guarmree
propcr posi-
tioning
of lhe coupler to the compressor,
and to the engine
or driv€
pulley.
Using r kcy
can also
prevent
slippagc
bctween the iaper surfmes in case
ofextreme shock loads. If
the trpers are rllowcd
to slip,
galling
of the surfaces
occurs.
Grllcd surfaces
nalic disassembly difficult.
aod reassem-
bling galled pans will
not assure
prop€r
aligoment.
Keyways
are cut
with
a tool which leaves
a radius at the end
of lhe keyw:ty. Ifrhe key
being installed is
pushcd
onto
rhe
rdius at the
end
ofthe
keyway. the taper will nol seat prop-
erly md th€
coupling
will
wobble. This cruses str€ss
ro be
pul
on the crankshafl and reduces its life.
Make sure keys
are of lhe correct length to fit entirely
in their respective
keyway
prior
to installation.
The
following
procedure
should bc
used to install a com-
pressor
coupling onto
the compressor shaft.
l. Clean the
compressor shafl and raper
and the rap€red
bore of lhe coupling with a solvent
lhal leaves no oily
residue. such as naphtha,
lacquer thinner, bral€
clcaDer
or lhe like.
2-
Inspect both m ing surfaces
for burs. oxidarion md
other surtuce inrperfections.
Dress wirh
crocus cloth if
necessary and reclean
as required.
NOTE: Do not sand o.lop
.he tapcred a.ea as
component
fftcturc
nar nsull
L
Using
no
lubricants. set thc
coupling on the crank-
shaft and align the keywry
using the Keywry Tool
(P,4.,1
:0,1-972)- lnscn
the tapercd end of
ihe lool inro
the keyway
and
gently
move thc coupling
on the shafi
whilc
pressing
th€ lool imo rhc keyway.
This will
align thc keyway in the crankshaft wi(h
thd keyway in
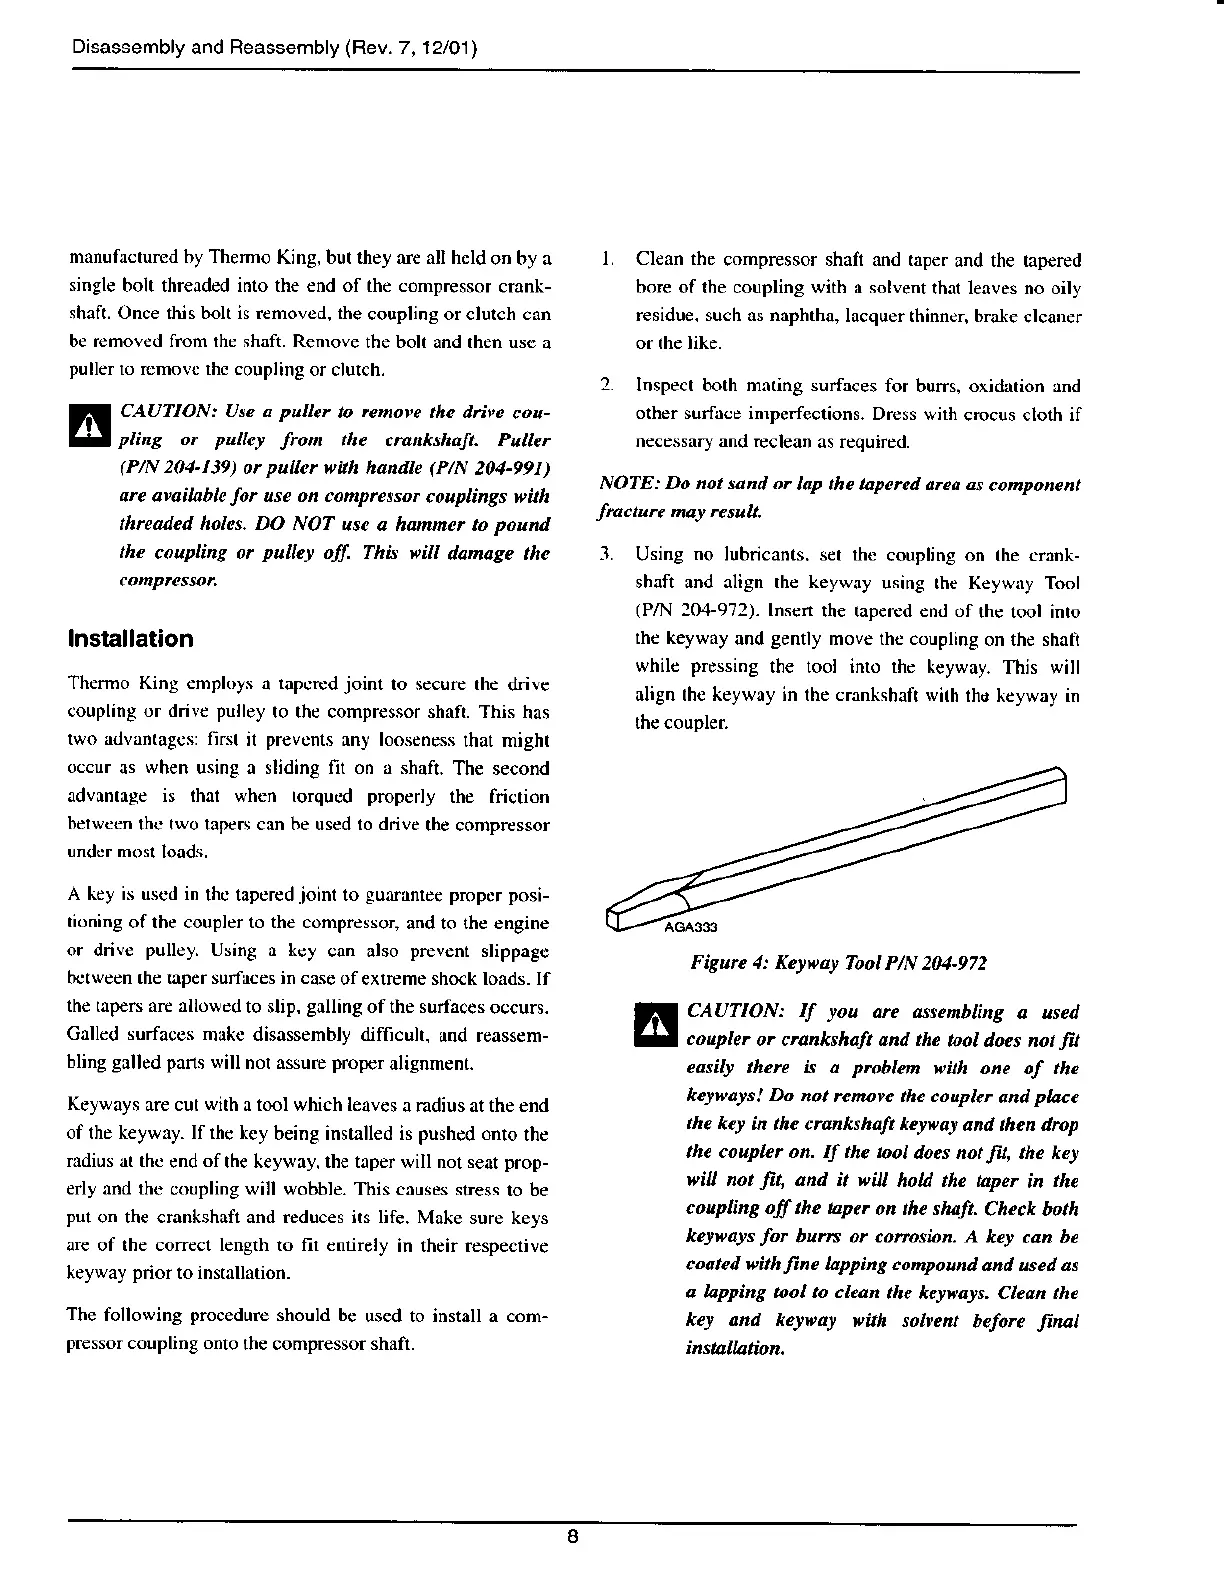
Figurc 1: Ke!*at
Tool P/N 2M-972
CAUTION: If you
arc assenbhns
a used
coupler
or crunkshalt and tho tool
does nol
fi
eosily ,hen k a pnbln wilh
one o[ the
kcli,als! Do
not renmve the coupb
and
pla.(
the kq
in the crunkshalt kerwar
and then drop
the couplcr on. If the tool
does not
fir,
the kef
|'iA
not
lit,
and it eil
hoA the taper
in
thc
coupdng ofl the bper
on the sh4ft.
Check both
keywrs
for
buns ot corrosion. A
her can be
c.ntetl |'ilh
Jine
lappins tonaound
and used a!
a lapping
tool to clean the
keru)aJs. Clean the
ket and kelwar
virh solyent bclon
linat