Disassembly
and Beassembly
(Flev.
7, 12101)
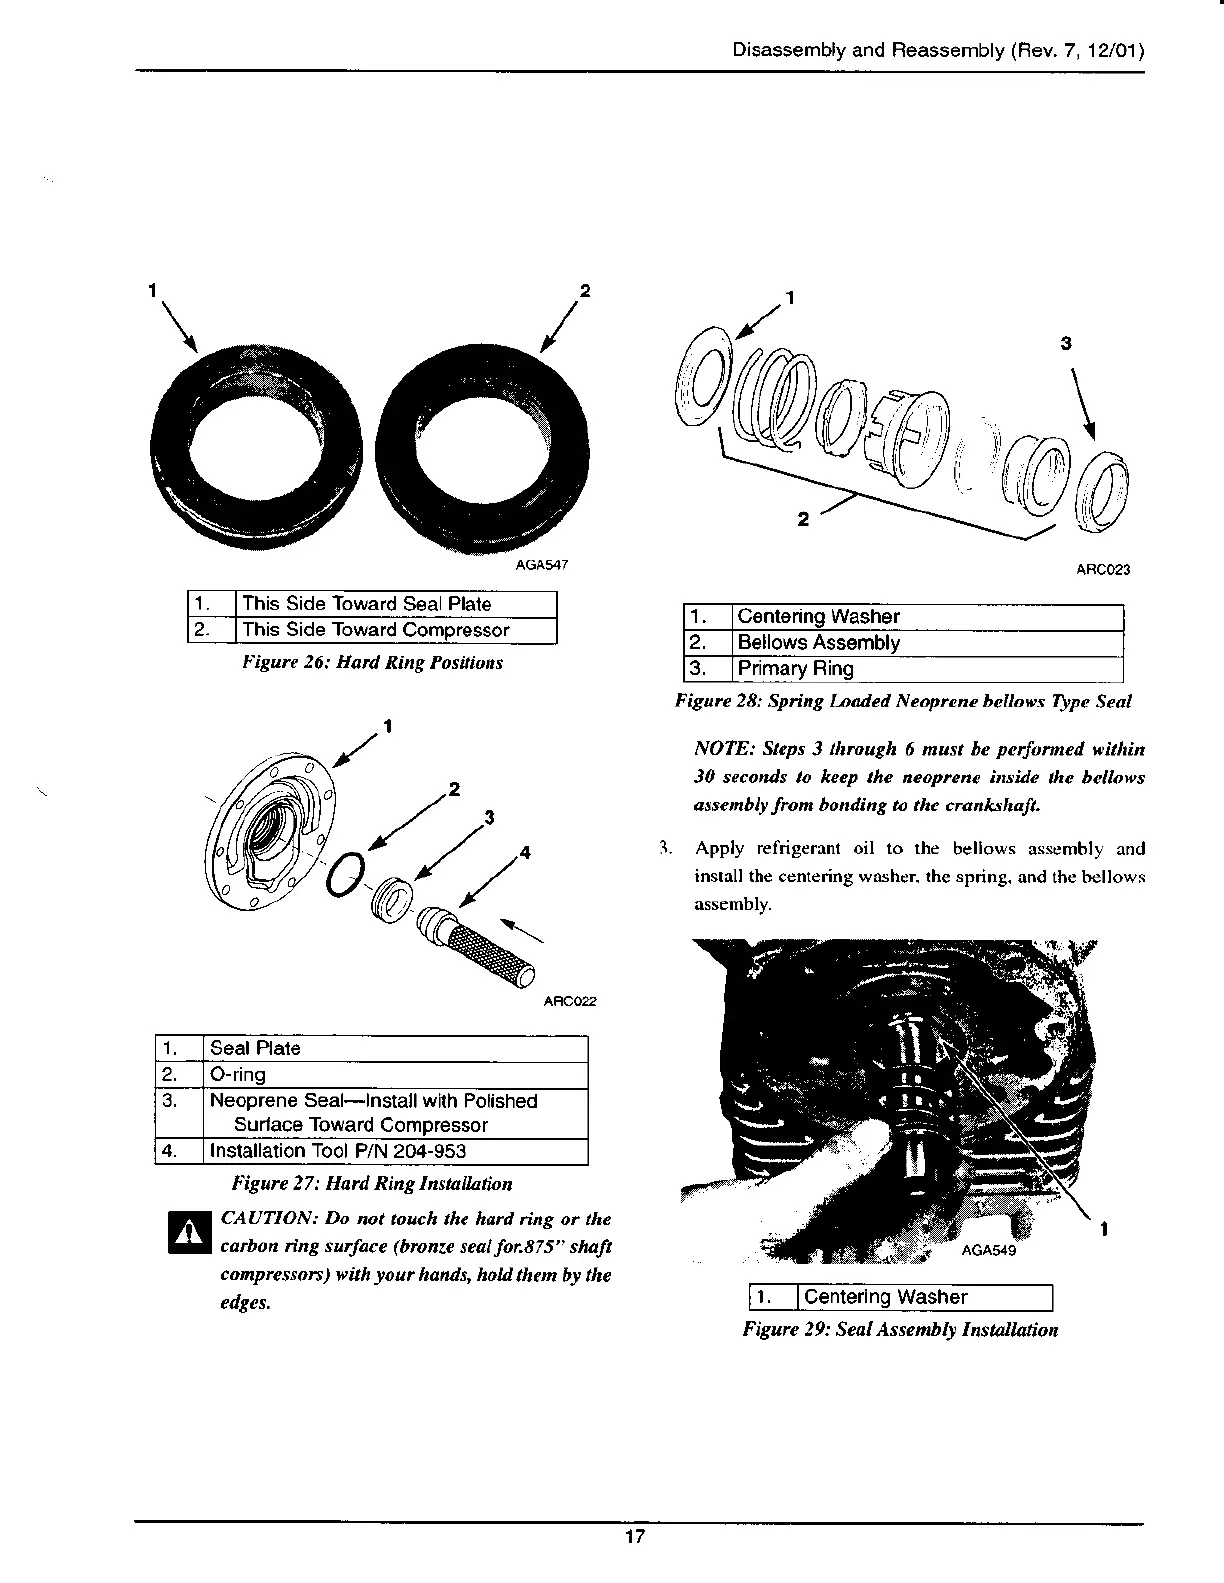
1.
This Side Toward
S€al
Plale
2. This Side Toward
Compressor
I'isure 26: Hord
Ring Positions
,/'
t'igure 27: Had RinC Installztian
CAUTION: Do
not touch the ha nng or the
cafion nne su4a.e tbrcnze
seal
IoE875"
shaIt
compres.ors, \'ith
Jout
hannt hod th(n
by the
edgcs.
^e
Figwe
28: Spring baded Neorycnc bc ows Tlpc
Seal
NOTE: Stops
3
through
6 must be
pedorrncd
eithin
30 seconds to keep the ncopftnc i,tside
thc be o|9s
assel,Ibry
Iron
bondins tn thc cran*rhaIt.
3. Apply refrigerant oil to the
bellows assembly and
installthe centering washer. the spring.
and the bellows
'1.
C€nledno Washer
2. Bellows Assembly
3. Primary Ring
1.
lCenlerinq
Washer
Figure 29: Scal Assemb, Insu
arion
Seal Plale
2. O-ring
3. Neoprene Seal-lnstall wilh
Polished
Sudace Toward
Comoressor
4. Installation Tool
P/N 204-953
17