Disassembly and Reassembly
(Rev.
7. 12101)
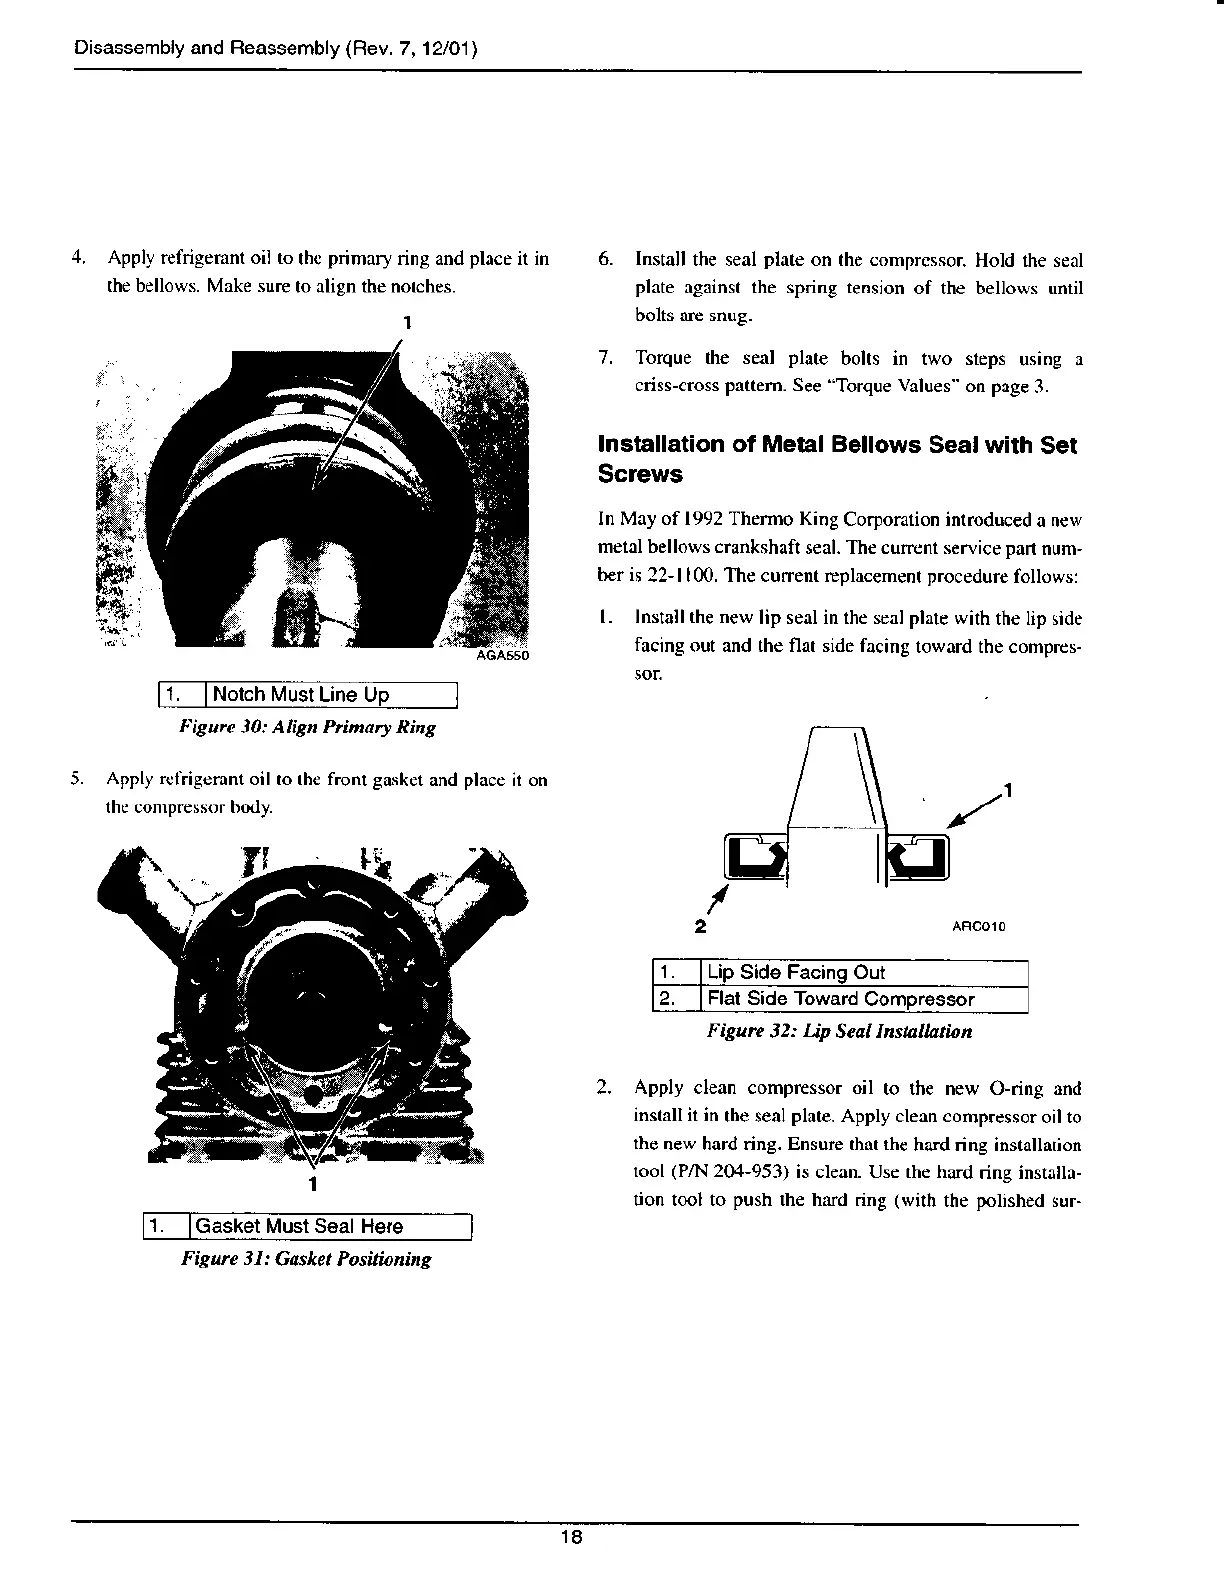
Apply relrigerant oii to
tbc
primary
ring and
place
it in
the bellows. Make sure
to align the nolches.
I
6. Install
the seal
plate
on lhe comprcssor.
Hold the seal
plate
againsl the spring tension
of the bellows undl
7. Torque lhe seal
plate
bolts in two sleps
using a
crisycross
pfltem.
see
Torque
Vrlues
on prge
L
Apply rclrigerant
oil ro rhe front gasket
and
place
it
lhe compressor body.
1.
lNorch
Must
Line Up
l'isutc
30: AlE himary Rins
1.
lGasket
Must S6al H€re
Figure 3I:
Caslet Positianing
Installation of Metal Bellows
Seal with
Set
Screws
In May of 1992 Thermo King
Corporalion int.oduc€d
a new
metal bellows crankshafi
seal. The current service pan
num,
ber is
22-l 100. The curren( replacement procedure
follows:
l. Install the new
lip seal in the scal plare with
the lip side
facing
out and the flfl side facing
loward the comprcs-
2.
Lip Side Facing Out
2.
Flat
Side Toward
Comoressor
Figu?e
32:
Lip
Seal InstaUatian
Apply clean compresso. oil
to ihe new O-ring rnd
inshll it in
the $eal
plate.
Apply clean conpressoroil
ro
the
new hard ring. Ensure that thc
hard ring installarion
tool
(P,N
204,953)
is clean. Use the hard
ring installa-
tron tool to
push
the hard ring
(wilh
the
polished
sur-
18