Disassembly
and
Reassembly
(Rev.
7, 12l01)
Remove the
yellow prolccrive
cap. Clean the hard ring
and
the
primary ring
(bronz€
ring) with the nlcohol
wipes
found in
package
labeled
'1".
Then clean the
polixhed
mating surfaces of bolh rings
with
the
lint free
dry
wipes
from
pnckage
number
":
. Apply clean com-
pressor
oil
to the
polishcd
surfices of lhe seal. rhe lip
scal. md thc sc.rl
plnte
gNker liom lhe
package
number
''3
before nssembling.
1.
3.
Tap the sump with a sofl hammer or
punch
1() loosen
CAUTION: Do not
pry
or dnec anr objc.t
between the
sump
an.l the
co,npressor
hodr.
Remove bolts from the mounting bnckcl and rcmole
the oil
pickup
scrccn.
Remove the O-ring from the oil intake holc.
6.
Instnll
the seal
plate
and
gaskel
lo lhe comp.essorbody.
Do not bump the sell hnrd ring on lhe end ol lhe crank-
shali during arsembly.
?. Install
thc seal
plate
mounling bohs and
washers.
Torqu( thc
'(rl plrr(
hulr' in lwo st(p" u\ing a
criss-cross
pattcm.
Ser
"Torque
Vrlues on
page
3.
OIL SUMP
AND
OIL
PICKUP
SCREEN
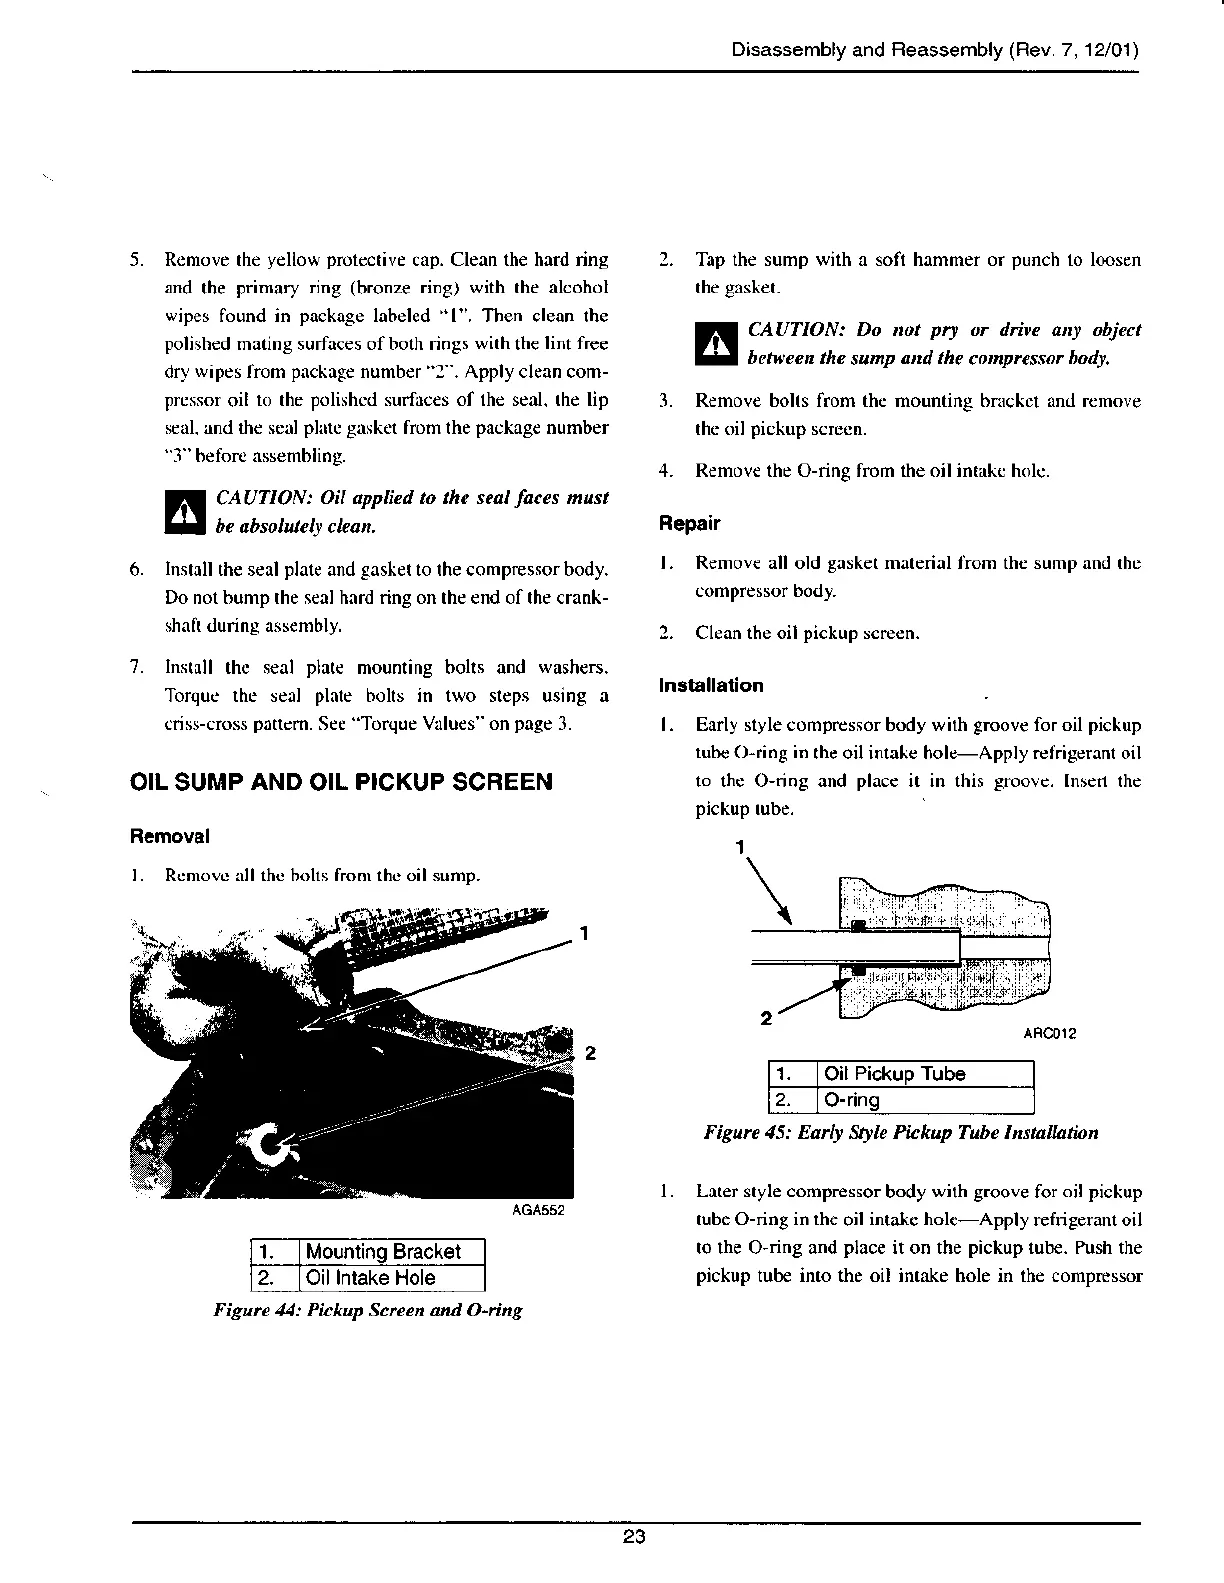
Rcmoval
L Rcmovc rll lh. bohs fron the oil sump.
CAUTION:
Oil applied to the seal
fa.es
nust
Repair
l. Remov€ all old
grsket
material liom thr sump rnd the
compressor Dooy.
2. Clean the oil
pi€kup
s€reen.
Installation
l. Early style comprcssor body with
groov€
foroil pickup
tubr O-ring in
the oil inlakc hole-Apply refrigeranl oil
to thc O-ring and
place
it in this
groove.
Insen rhe
Oil
Pickup Tube
2.
O-dng
I
Mountinq
Bracket
2. Oil lntake Hole
Figun 45: Ea4 Sttle Pickup Tube Instalhtinn
Later style compr€ssor
body
with g.oove
for
oilpickup
tube O-ring in the
oil
intake hole-Apply
refrigeranl oil
to the O-nng and
place
it on the
pickup
tub€. Push the
pickup
tub€ into the oil intake hole in the compressor
Fieun 14: Pickup Scften a d O-nng
23