Disassembly
and Reassembly
(Flev.
7. 12101)
Repair
l. Inspecl
the oil
pump
coverand housing for daimse md
2. lnspect
the oil
pump
cover and housing for din. debris.
chips, and buffs. Carefully remove
any
contamrnation-
Use a clean shop wipe md solvent
(clean
Stodard
sol
venl
or clean mineral spin$)
and
wipe
the oil
pump
housing nnd
pump
cover clean.
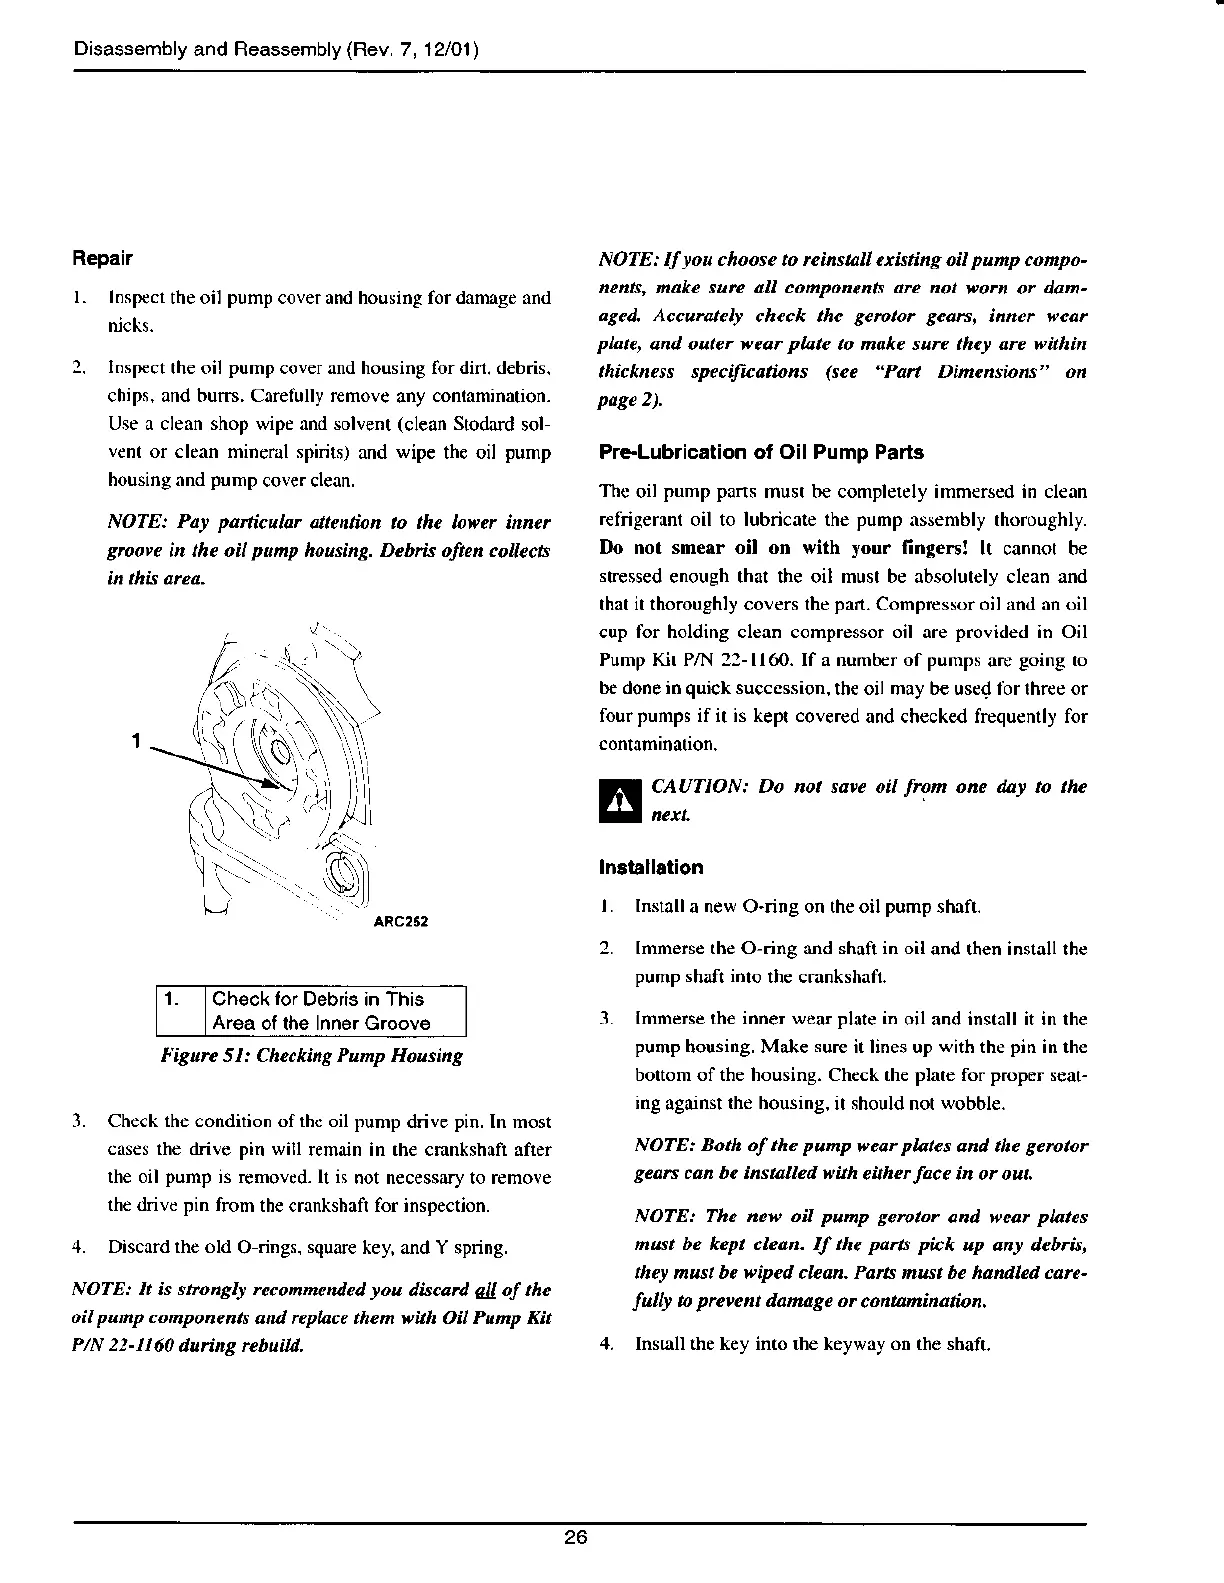
NOTE: Pa!
pa,ttular
dtention to the lover inncr
gmove
in the oil
panp
housinq. Deb* often colkcti
NOTE: II
Jou
choose .o rcinst^ll oxkting oil
pntp
compo-
nents, makc sufe all conponenls are not
wo or dam-
ogetl.
Accuratel| chcck the
Cemtor
gears,
inncr weat
plote,
and outer veor
plate
to nake sun theJ are within
thickness speciieations
(see
"Pad
Dimensions" on
page
2).
Prc-Lubrication ot Oil Pump Parts
Thc
oil
pump pans
must be completely immersed in clean
refrigeranl
oil to lubricate the
pump
nssembly thoroughly.
Do no. smear oil on with
your
finge.s!
lt cannot be
stressed
enough thar the oil must be absolutely clean and
that it thoroughly covers the
part.
Compressor oil and an oil
cup for holding clean compressor oil are
provided
in Oil
Pump Kir P,4'{ ::-ll60. If r numbcr of pumf\ .r. going ro
b€ done in
quick
succession,
the oil may b€ used lbrlhree or
four
punps
if it is keF covered
and ch€cked frequenlly for
CAATION: Do no. save oil
fron
one dal t'
thc
Inatallalion
L lnstall
a new O-ring on the oil
pump
ihaft.
2. Imnerse the O-ring nnd shaft in oil
and then inslall lhe
pump shafi inlo
the crankshaft.
1.
Check
lor
Debris in This
Area
of the lnn€r Groove
F-igurc 5I: Chocking Punp Housing
Immerse the inner wear plale i.
oil and install it in lhe
punp
housing. Make
surc
it lines up
with
the
pin
in the
boltom ofthe housing. Check the
plate
for p.oper seat-
ing
againsr
lhe housing,
it should not
wobble.
NOTE: Both of he pump
v'ear
plates
and the
gerotor
g.afs
can he insta e.l wilh
either
face
in or ou..
NOTE: The nc$' oil punp
serotor
ond wear
plltes
must be kept clean. Il the pa.tt pitk
up anr de,'.is,
ther nust be wiped clcan- Pa|A must be hannled care-
fulb
ta
prevent
dan age or
contamindion.
Insrall the key into rhe keywry on the shafr.
-t.
3. Check the condition ofth. oil purnp
drive
pin.
In most
c$es the drivc pin will
remain in rhe cnnkshaft after
the oil
pump
is removcd- 11 is
not necessary to remove
$e drivc pin from
the crankshafr for inspectron.
L DNLfld thc old O nngs.
'qurre
ley. Jnd Y
spring.
N0TE: It is stronslr reconnended
Jou
dircad
ellof
thc
oil punp conponena
and rcplace them N'ith Oil Punp Kit
P/N 22-1160
durinq rchuiu.
26