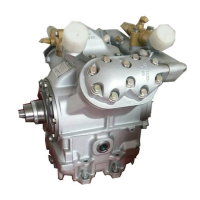
Disassembly
and Reassembly
(Rev.7,
12101)
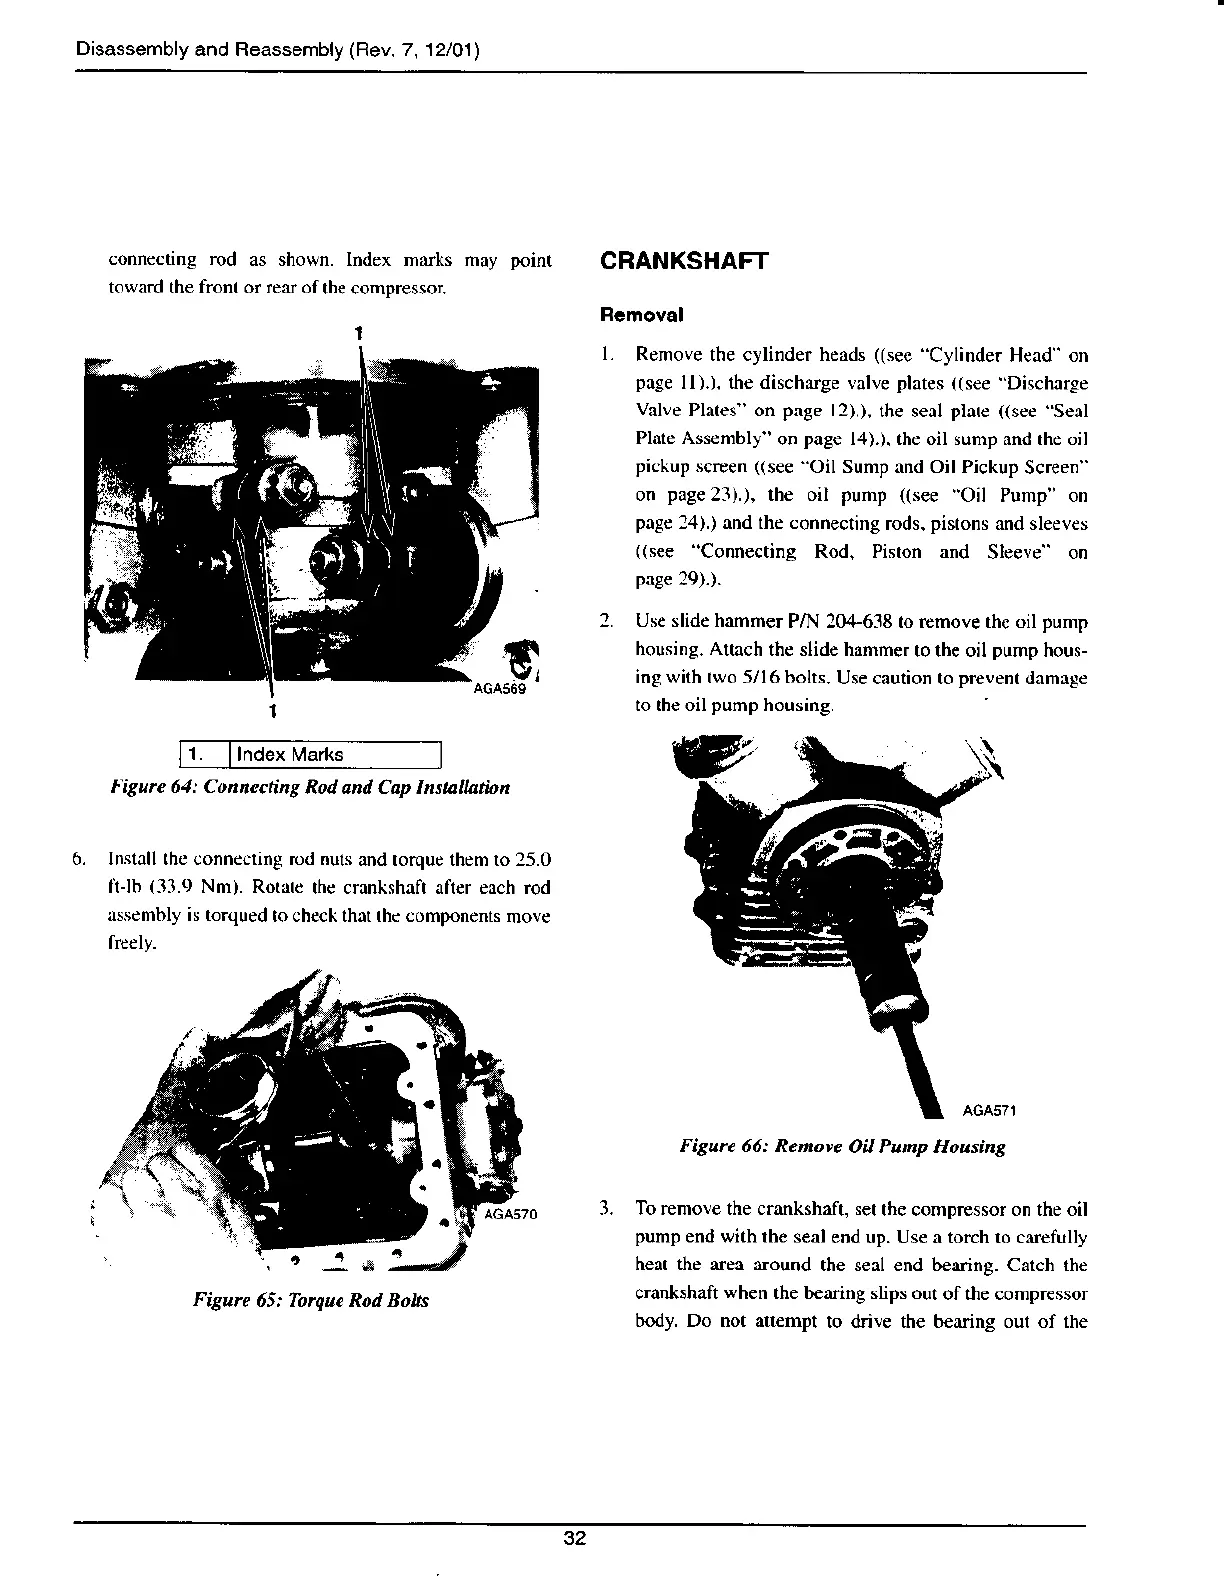
connecting rod
as sho$'n. lndex marks
toward the fiont or rear of
the compressor.
CRANKSHAFT
Rcnoval
l-
Remove the cylinder heads
((sec
Cylinder Head on
page
ll).). the dischirge valve plates
((see
Dischnrge
Valve
Plales" on
page
l2).),
the seal
plare
((see
Seal
Plate Assembly"
on
page
l,l).). the oil sump and rhe oil
pickup
screen
((see
"Oil
Sump and Oil Pickup
Screen'
on
page
2l).), the oil
punp
((see
Oil Punp" on
page:4).)
and the connecting
rods.
pistons
and sleeves
((se€
'Conn€cting
Rod, Piston and
Sleeve on
page
29).).
2. Use slide hamm€r
PN 20+638 to remove thc oil
punp
housing. Auach
the slide hamme.
ro the oil
pump
hous-
ing
with
lwo 5/16 bolts.
Use caution to
prevent
damrge
to th€ oil
pump
v;
I'igurc 61: Connccting
Rod and Cap Insta ation
Install lhe connecting rud nuls
and rorque them to 25.0
lilb
(13.9
Nm). Rot e
the crankshaft afl€r each rod
Nsembly is torqued
toch€ck th
rhc comF)nenb
move
treely.
1.
I lndex Mafts
Figure 66: Remove
Oil Punp Housing
To remove the crankshaft, set
the compressor on the oil
pump
end with rhe seal
end up. Use a torch.o carefully
heat the area nound
the seal end bearing. Catch the
crantshaft
when
the bearing slips out
of the compressor
body. Do not a[empt
to drive the b€aring out of the
Figure
65: Toryue Rod Bolts