1.
Handle
2.
Upper lenses
1.
Hall element sensor
4.
Position
sf
the Hall element sensor
Figure
12.
LiAing the detector frame
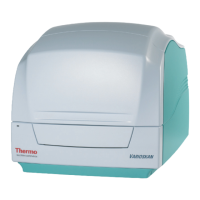
Disinfect the instrument in case
of
hazard of infectious agents as follows:
Turn the
pwer
off
and unplug the instrument.
Use
disposable gloves
Clean
the
instment outside, the track Fig.
11:l)
and the plate canier
(Fig.l1:2)
with
a
disposable cloth
dampened either with
40
%
ethanol
or
1
%
gluhraldehyde.
emove the
two
screws (Fig.
11:3,
11:4)
of the measuring assembly cover and remove the cover. Clean the
track Fig.
11.5)
inside the measuring assembly and the eight focusing lenses at the end of the optical fibre
bundle (Fig.
11:7)
as
above.
The upper lenses are situated under the detector hame (Fig.
11:X).
Remove the two detector frame fastenen
with washers
(Fig.
11:9).
LiA the detector frame from the handle
(Fig.
121).
Clean
the
upper lenses
(Fig.122)
by the same way
as
focusing lenses.
Artisan Technology Group - Quality Instrumentation ... Guaranteed | (888) 88-SOURCE | www.artisantg.com