Unpack Mulliskana
EX
carefully and cheek for any damage that may have been caused during transporCltion
maged or missing, contact the local Labsystems representative.
Keep
the
original package for future transpor(ation
Locate Multiskan
EX
to
avoid expasure to excess dust, vibrations, strong magnetic fields, direct sunlight,
dr
ex~clssive moisture
or
large tern
rahlre fluctuations.
Leave sumcienl clearance
(10
em) at bath
sides
ofthe unit for adequate air circulation
Remove
(he
two cover retaining screws
(Fig.12)
and
liA
up
the
cover.
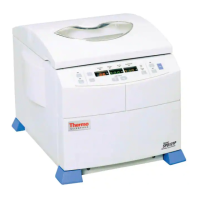
1.
Ins(Purnent cover
6.
Transfer rails
2.
Retaining screws
of
the
instrument cover
9.
Track
3.
Meamring assembly cover
8.
Printer (option)
4.
Retaining screws of the measuring assembly cover
9.
Keypad
5.
Plate carder
10.
Display
Figure
1.
Multiskan
EX
Unpack
the
filter wheel. Check that
all
filters are clean and un
aged. Place the wheel into the filter slot (Fig.
25)
so that the toothed edge faces the rear of the instrument.
A
magnetic locking mechanism will automatically
lmk
the wheel in the correct position and the optical
filter
position sensor will
make
sure that
the
comect filler
is used during measurement.
Artisan Technology Group - Quality Instrumentation ... Guaranteed | (888) 88-SOURCE | www.artisantg.com