thermopatch.com
6
4. Operating manual
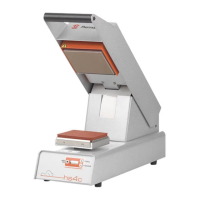
4.1 How to operate the HS-4-C
1. Switch on the machine: pushing the on-o switch at the back to “on” (C, see page 5).
2. Wait until the standard set temperature has been reached.
The standard sealing temperature is set on 204 °C. During warming up, which will take a
few minutes and the actual temperature is displayed. When the HS-4-C has reached
the desired temperature we advise to close it for several moments to heat up the silicone
rubber sealing pad.
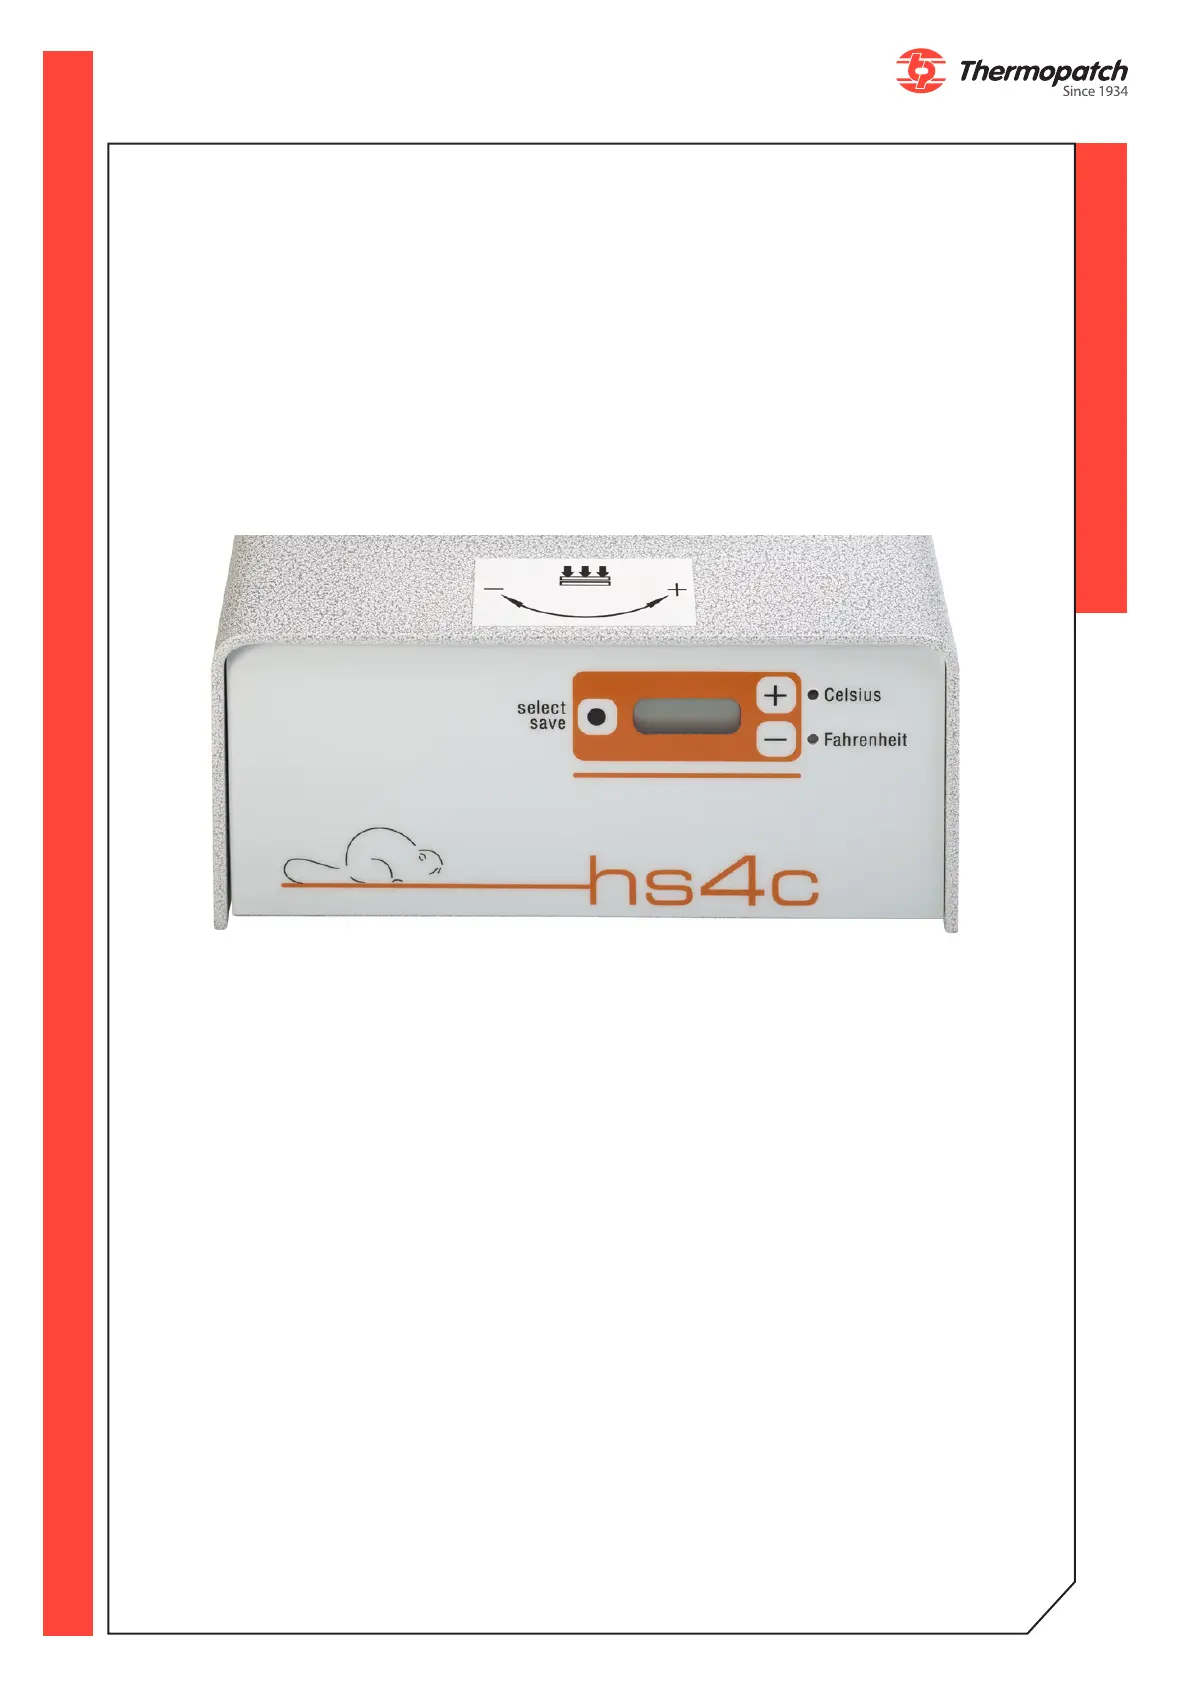
4.2 The HS-4-C display
4.3 Starting up
You can start operating the Thermoseal HS-4-C as soon as it is connected to the electricity
mains. Switch on the HS-4-C by pressing the on/o (I-0) switch, which is placed on the
back of the machine, to “on (I)”. Wait until the set temperature has been reached, which
will take about one minute.
The Thermoseal HS-4-C has been factory set for:
• TEMPERATURE 204°C
• TIME 12 seconds
• POWER SAVER TIMER 30 minutes
• POWER SAVER TEMPERATURE 149°C
3.2 Functionality
Switch the machine to the “On” position. Either the Celsius or Fahrenheit LED will blink
depending upon the machine settings. The actual temperature of the Heater Element is
displayed. During the heat up phase, and when the machine has achieved “Set
Temperature”, changes to the machine settings can be made for: Set Temperature,
Temperature Display in Celsius or Fahrenheit, Sealing Cycle Time, Power Saver Time and
Power Saver Temperature. Changes cannot be made to the machine settings when the
machine is active during a Sealing Cycle.