C4352
C4353
C4354
Disassembly 137/153 (cont’d)
1-10
GEAR PUMP 1.2
6. Procedure
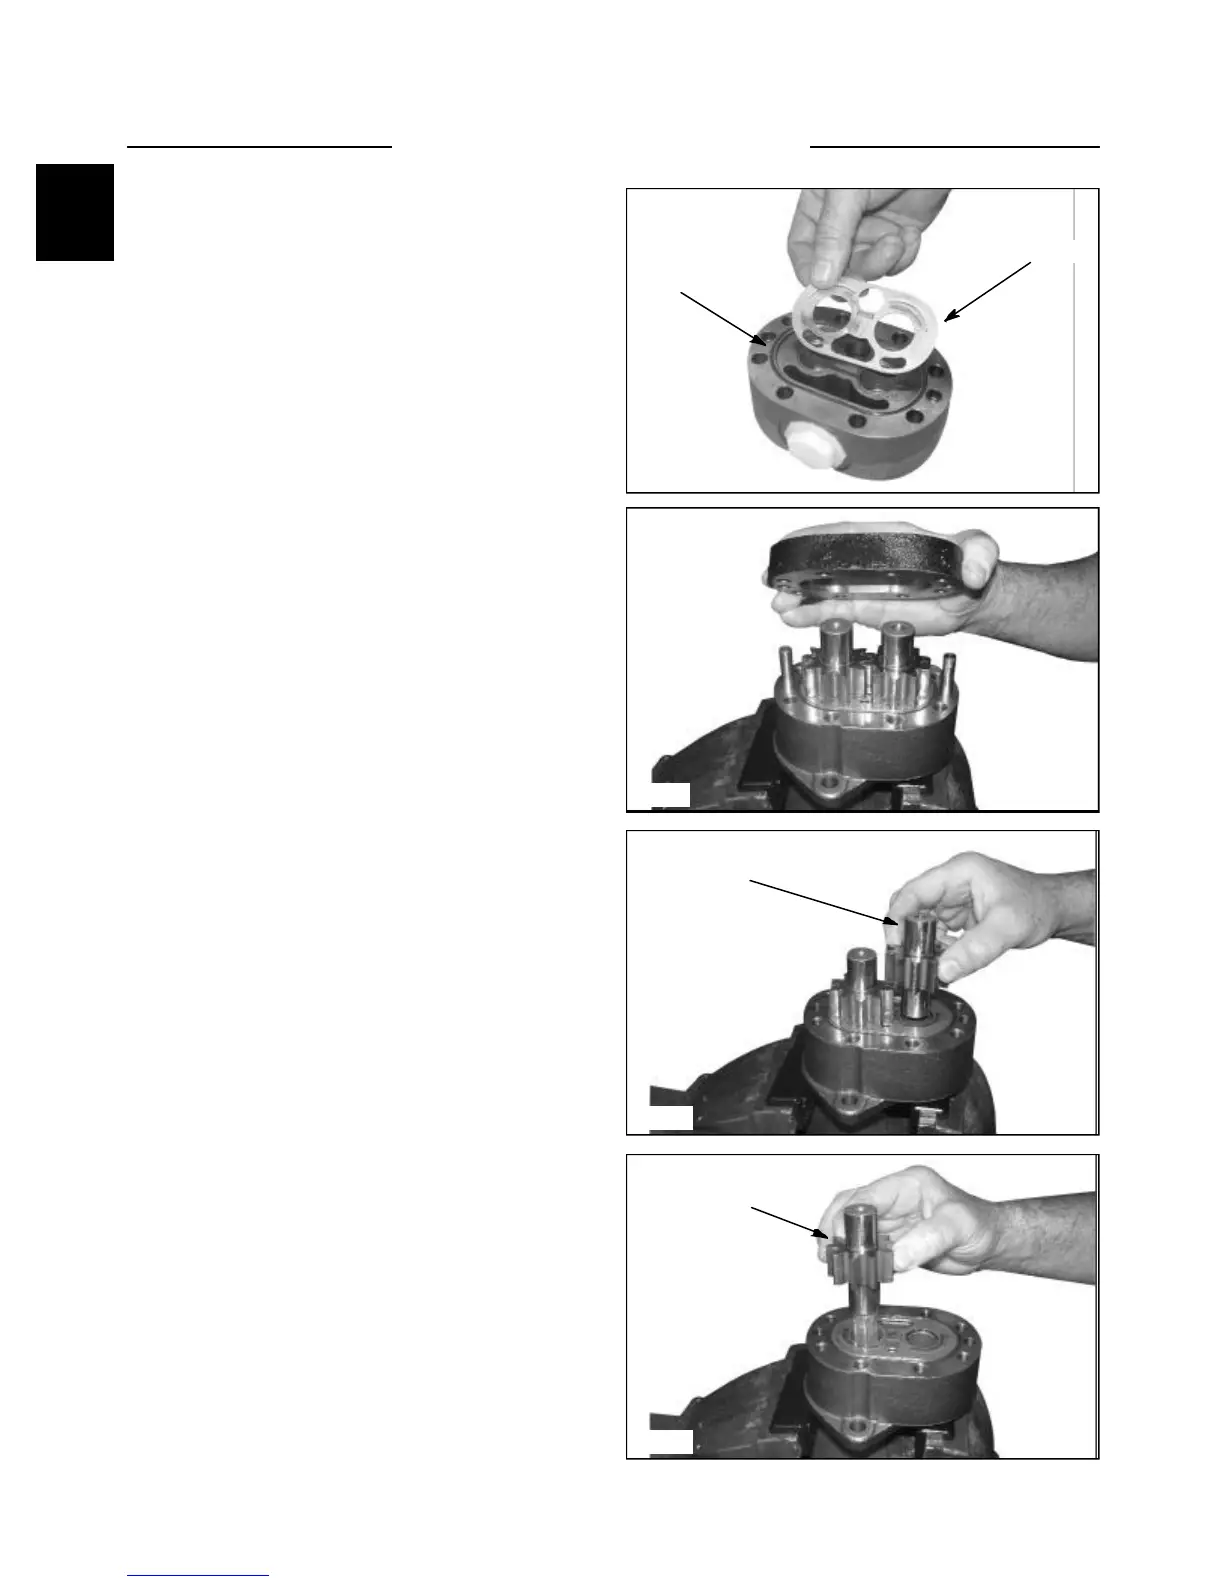
4. Place the cover assembly on the work bench
(fig. C4352). Inspect the wear plate for evidence of
extrusion or marks caused by overheating. Replace
if necessary. Remove the wear plate and seal ring on
the cover assembly. Do not use tools with sharp
edges to remove the seal, as damage to the housing
may result.
5. While disassembling the unit, you need to mark
the relative positions of the gear mesh (drive gear
tooth and idler gear tooth) and the body so they can
be reassembled in the same position. Carefully
remove the gear plate (fig. C4353). Remove the
dowel pins and place in the gear plate.
6. Remove the idler shaft and drive shaft from it’s
bearing bore. Inspect the journals and the flat faces
top and bottom of the gears. Ensure these surfaces
are free from burrs or scratches. If scratches are
found, clean them with a flat stone and/or a very fine
emery cloth. Rewash the gears with light oil after
this operation.
Wear Plate
Seal Ring
Idler Shaft
Drive Shaft
C4355