5
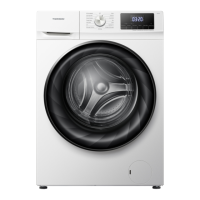
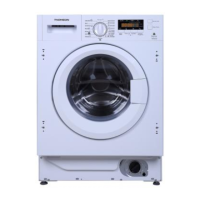
1 Temperature button
2 Spin button
3 Favourite button
4 Option button
5 Delay end button
6 Start/Pause button
1 + 2 Child lock function
2 + 3 Sound function
6 Reload function
INSTALLATION
Removing packing
1. Remove the cardboard box and styrofoam packing.
2.
Lift the w
ashing machine and remove the base packing. This will require 2 or more people.
3.
Remove the tape
securing the power supply cord and drain hose.
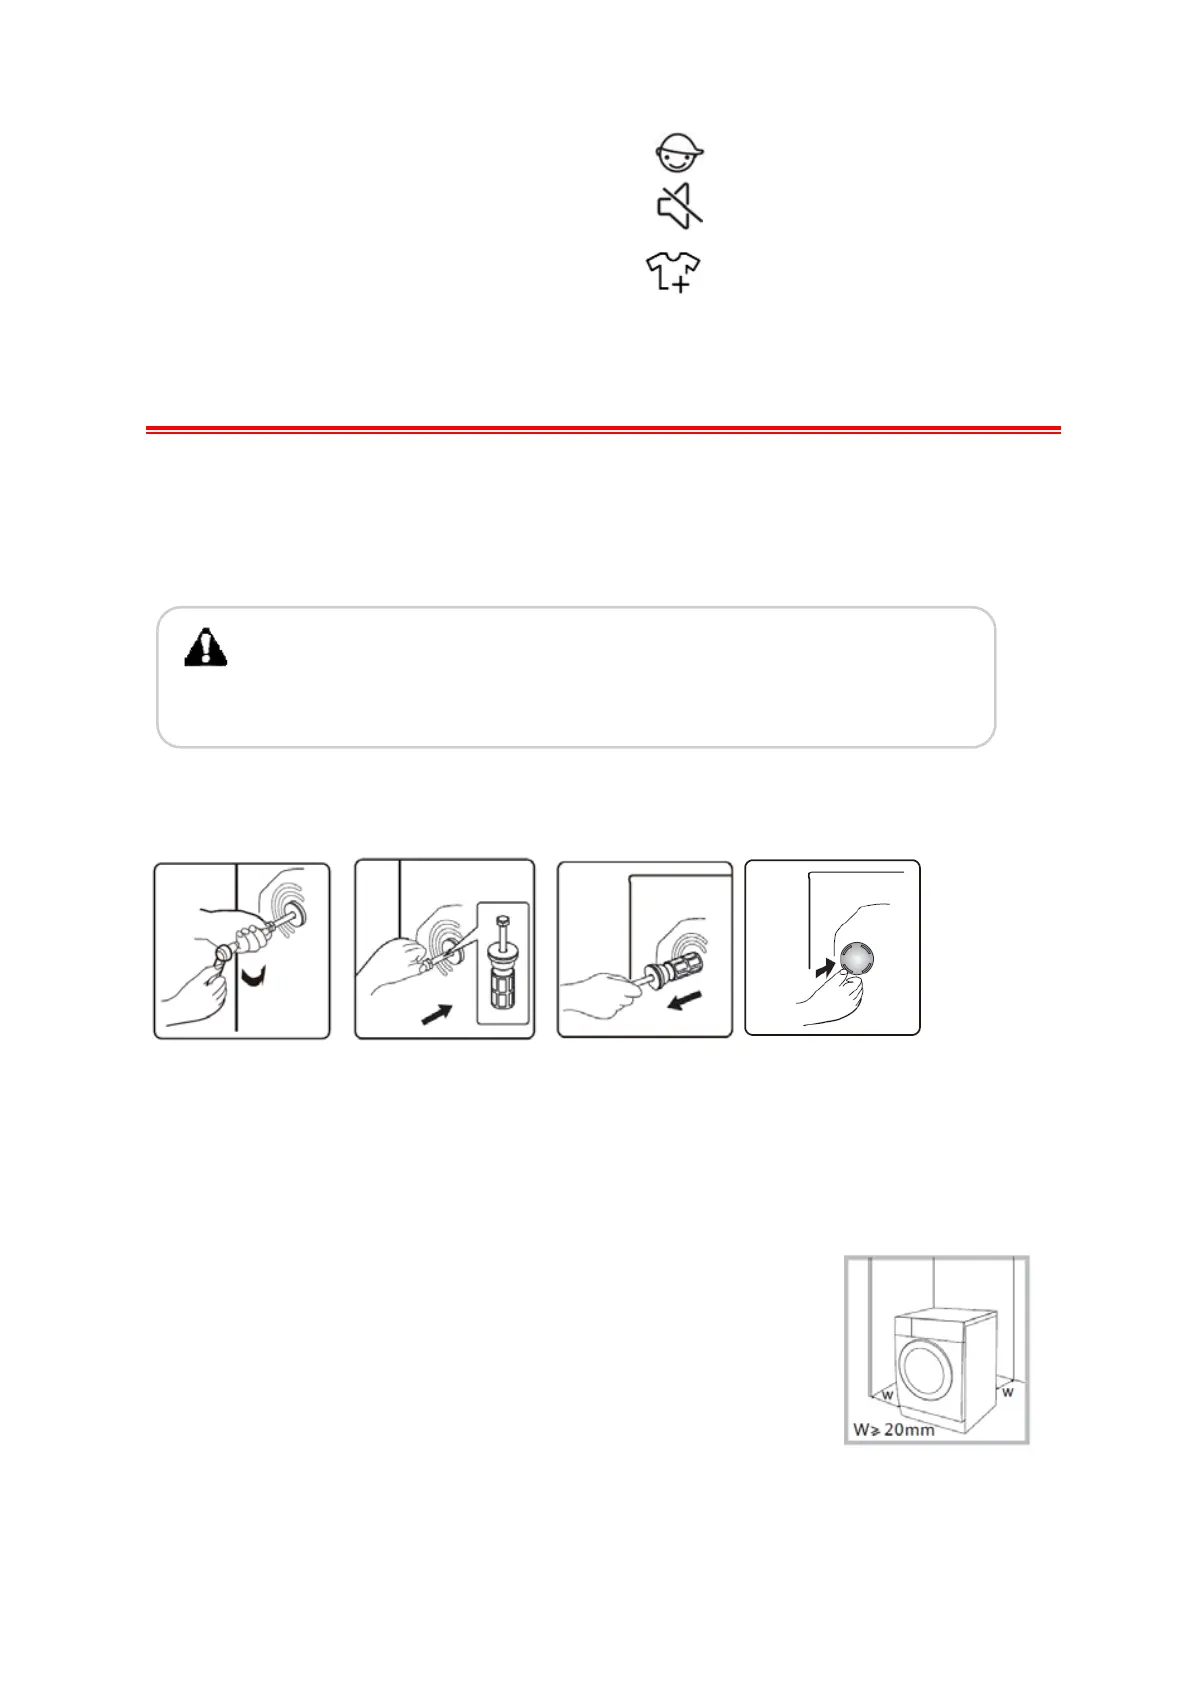
Removing transit bolts
The appliance is fitted with transit bolts to prevent internal damage during transport.
Packing and all transit bolts must be removed before using the appliance.
1. Use a wrench to turn the bolt heads anticlockwise until the bolts can be partially withdrawn.
2. Push transit bolts inwards to loosen them.
3. Remove tr
ansit bolts and rubber bushes by pulling outwar
ds.
4. Cl
ose the holes with the supplied caps.
Positioning
Install the appliance on a flat hard floor.
Make sure that air circulation around the appliance is not impeded by carpets,
rugs, etc.
Allow at least 2 cm of clearance at each side of the appliance.
Make sure that the appliance does not stand onto the power cord.
WARNING :
Packaging material (e.g. Films, Styrofoam) can be dangerous for children.
There is a risk of suffocation ! Keep all packaging away from children.