7
RETRACT INSTALLATION
Retract Installation (Optional)
See page 2 for a discussion on the retracts we recommend.
Begin by hinging the ailerons to the wing panels as shown in the
section on fixed gear.
❏ Remove the forward area that houses the retract servo from the
root rib and make marks on the sheeting where we will cut after wing
halves are joined.Repeat the same procedure on the wing.
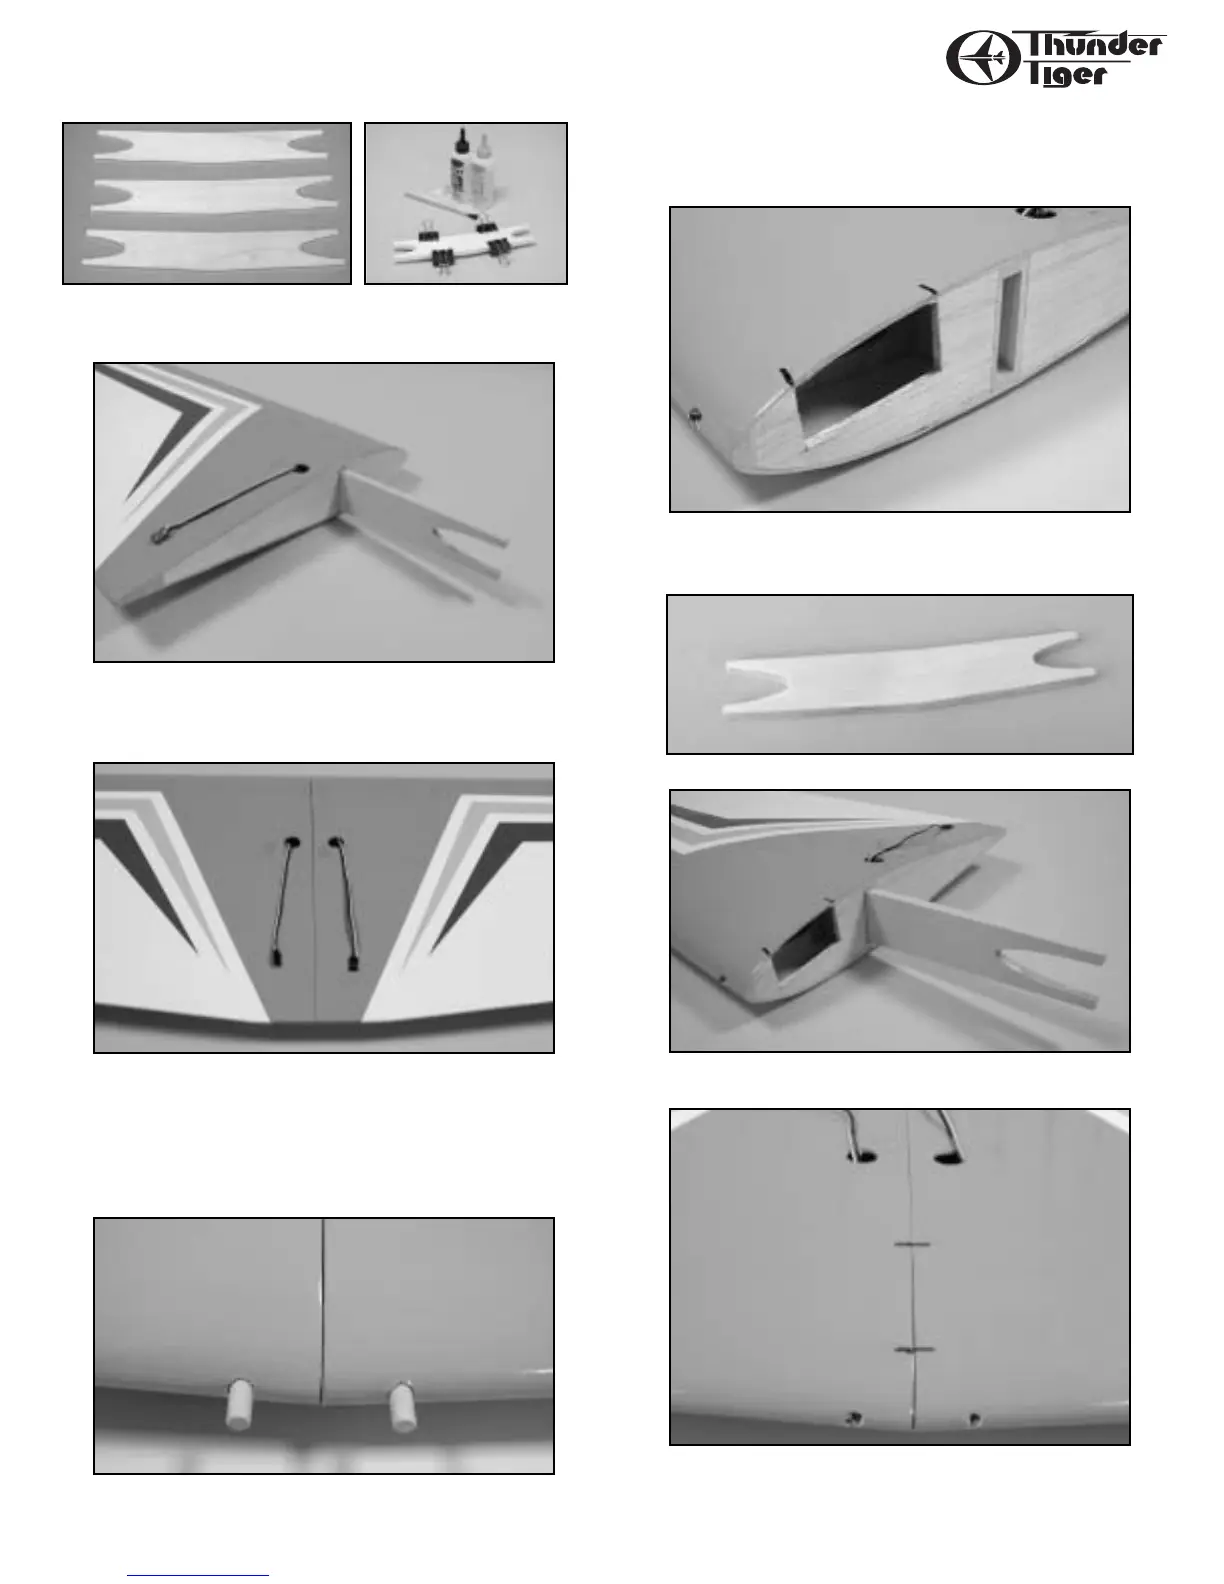
❏ Laminate the three ply dihedral braces together.
❏ Test fit the dihedral brace into both wing halves and sand as needed
for a good fit.
❏ Epoxy the wing halves together,making sure you coat all sides of
the dihedral brace plus where the ribs join. Use some masking tape to
hold the wing together as the glue sets.
❏ Locate the three plywood dihedral braces. Using epoxy or thick
CA,glue and clamp these pairs of pieces together. Keep the edges of
the pieces lined up and wipe off any excess glue.
❏ Before gluing the two wing halves together,trial-fit the wing joiner
into both wing panels. If it is not easy to slide into the wing, sand it
until it will. To fit properly,note that the wing has an upward “bend”
in it,called dihedral.
❏ With 30 minute epoxy,liberally coat all sides and edges of the wing
joiner and slip it into one wing half.
Join the two wing halves and firmly press wing panels together.Wipe
off any excess epoxy with a paper towel and rubbing alcohol.Make
sure the two panels are accurately aligned with each other and hold
together with several strips of masking tape.
❏ Glue the wing dowel in place as shown