119
NA11 - Manual - 02 - 2009
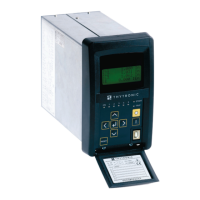
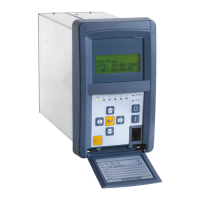
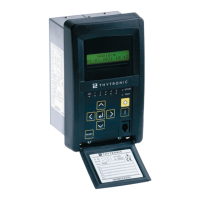
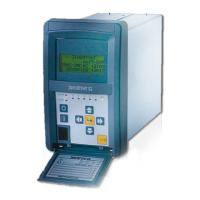
SETTING AND COMMISSIONING
Setting modifying (SET)
All changes in the setting parameters are carried out through MMI only if the Enable setting by MMI
parameter is ON. (ENABLE SETTING BY MMI submenu inside the SET menu).
To effect a change, having identifi ed the parameter intended for change, the following procedure
must be performed:
Select the parameter going through the menus by means the
,
and
keys
.
Press the
(Enter) button for a few seconds; the modifi cation in progress status is highlighted by
fl ashing of the START and TRIP LEDs and by appearance of the pointer on the bottom.
Move the cursor over the parameter intended for change using the
(Enter) button,
Change the parameters by means the
(increment) or
(decrement) buttons,
Press the
(Enter) button to move the cursor over the last parameter in the display,
Press the
(Enter) button once again; the cursor and the LED TRIP turn off (the LED START keeps
fl ashing),
Press the
(Enter) button for a few seconds; new message appears: “Confi rm settings?”
Answer to the message ENTER: YES to confi rm changes or RESET: NO to abort.
The end of the START LED blinking points out the end of procedure; the changes become right now
active.
The abort command may be used to abandon changes (prior to use of the ENTER: YES); the same
effect is achieved by removing the auxiliary power supply to the NA60 relay.
As example, to set the operating mode of the K1 output relay as ENERGIZED, LATCHED, the following
procedure must be issued:
By means
(Down) button select the Set menu “SET >>”,
Press the
(Right) button to enter; the following submenu title i displayed: “BASE >>”
Scroll menus by means
(Down) button
“INPUTS >>”
“RELAYS >>”
“LEDS >>”
“SELF-TEST RELAY >>”
“MMI >>”
“AUTO-RECLOSE 79 >>”
“PROFILE SELECTION >>”
“PROFILE A >>”
“PROFILE B >>”
“PLC >>”
“CIRCUIT BREAKER SUPERVISION 52 >>”
“CT SUPERVISION 74CT >>”
“REMOTE TRIPPING >>”
“PILOT WIRE DIAGNOSTIC >>”
“DEMAND MEASURES >>”
Select the Set menu “RELAYS >>”, the “K1 relay Setpoints >>” message is dis-
played,
Press the
(Right) button to enter; the following messages are displayed:
“Logic DE-ENERGIZED Mode NO LATCHED”
Press the
(Enter) button for a few seconds; the modifi cation in progress status is highlighted by
the both START and TRIP fl ashing.
Move the cursor over the parameter intended for change using the
(Enter) button, (in our case
on the message “Logic DE-ENERGIZED”,
Change the parameters by means the
(increment) or
(decrement) buttons, “Logic ENER-
GIZED”,
Press the
(Enter) button to move the cursor over the last parameter in the display, “Mode NO
LATCHED”,
Change the parameters by means the
(increment) or
(decrement) buttons, “Mode
LATCHED”,
Press the
(Enter) button once again; the cursor and the LED TRIP turn off (the LED START keeps
fl ashing),
Press the
(Enter) button for a few seconds; new message appears: “Confi rm settings?”
Answer to the message ENTER: YES to confi rm changes or RESET: NO to abort.
The end of the LED blinking points out the end of procedure.
•
•
•
•
•
•
•
•
•
•
•
•
•
•
•
•
•
•
•
•
•
 Loading...