Do you have a question about the Timeguard SLW360L and is the answer not in the manual?
Ensure mains supply is off and fuses removed or breaker turned off before installation or maintenance.
Consult or use a qualified electrician for installation according to current wiring regulations.
Verify total circuit load, including the PIR sensor, does not exceed cable, fuse, or breaker rating.
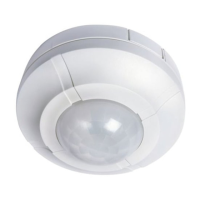
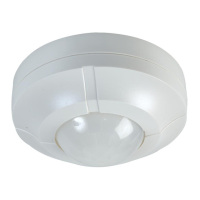
Specifies 230V AC 50 Hz power supply and detection range up to 6m diameter at 2.5m height.
Details Class II construction (non-earthed) and a 360° detection angle.
Lists maximum switching load capacities for various lamp types and fans.
Covers time/dusk adjustments, IP44 rating, CE approval, manual override, and multi-sensor switching.
Details detection zones and recommends a 2.5m mounting height for optimal coverage.
Advises positioning for optimal performance, noting higher sensitivity to cross-movement.
Instructs to avoid placing the sensor near heat sources or other light sources to prevent false activation.
Warns that reflective surfaces like water or white walls can cause false activations.
Before installation, ensure the mains supply is switched off and circuit protection is disengaged.
Recommends installing an isolating switch for safe maintenance and manual/auto override activation.
Instructions for removing the sensor cover and marking mounting hole positions.
Guide on drilling holes, avoiding obstructions, and routing cables through the gasket for IP rating.
Details the standard 230V mains connection, including wiring terminals for N, E, L, and L1.
Explains voltage-free installation for DC loads or different phase supplies, including wiring L1 and L2.
Steps for fitting the mounting plate, inserting screws, and securing the sensor assembly to the wall.
Sets TIME to anti-clockwise and DUSK to clockwise for initial 'Walk Test Mode'.
Explains the warm-up period and how Test Mode indicates correct wiring.
Guides on testing detection range and pattern by walking around the sensor during Test Mode.
Adjusts the duration the light stays on after motion ceases, from 5 seconds to 18 minutes.
Sets the ambient light level required for operation, by adjusting the DUSK control.
Instructions for refitting the top cover securely after completing the setup.
Mask the sensor lens to prevent detection in unwanted areas and adjust coverage zones.
Switch the isolation switch twice (OFF/ON, OFF/ON) to activate continuous illumination.
Switch the isolation switch OFF and back ON within 1 second to return to normal detection.
Check for heat/reflective sources or wiring if the lamp remains constantly illuminated.
Check for heat, wind, or reflective sources causing random PIR activation.
Verify power is ON, check wiring, and ensure the lamp is functional and seated correctly.
Adjust DUSK control clockwise if ambient light is too high for night operation.
Adjust DUSK control anti-clockwise to require lower ambient light for activation.
Re-locate the unit if PIR coverage is poor or sporadic, referring to location selection.
Seasonal adjustments may be needed due to climatic conditions affecting sensor effectiveness.
| Voltage | 230V AC |
|---|---|
| IP Rating | IP44 |
| Frequency | 50Hz |
| Operating Temperature | -20°C to +40°C |
| Timer Type | Adjustable |
| Detection Range | 12 meters |
| Detection Angle | 360° |
| Adjustable Lux Level | Yes |
| Standards | EN 60669-2-1 |
| Display | No |