35
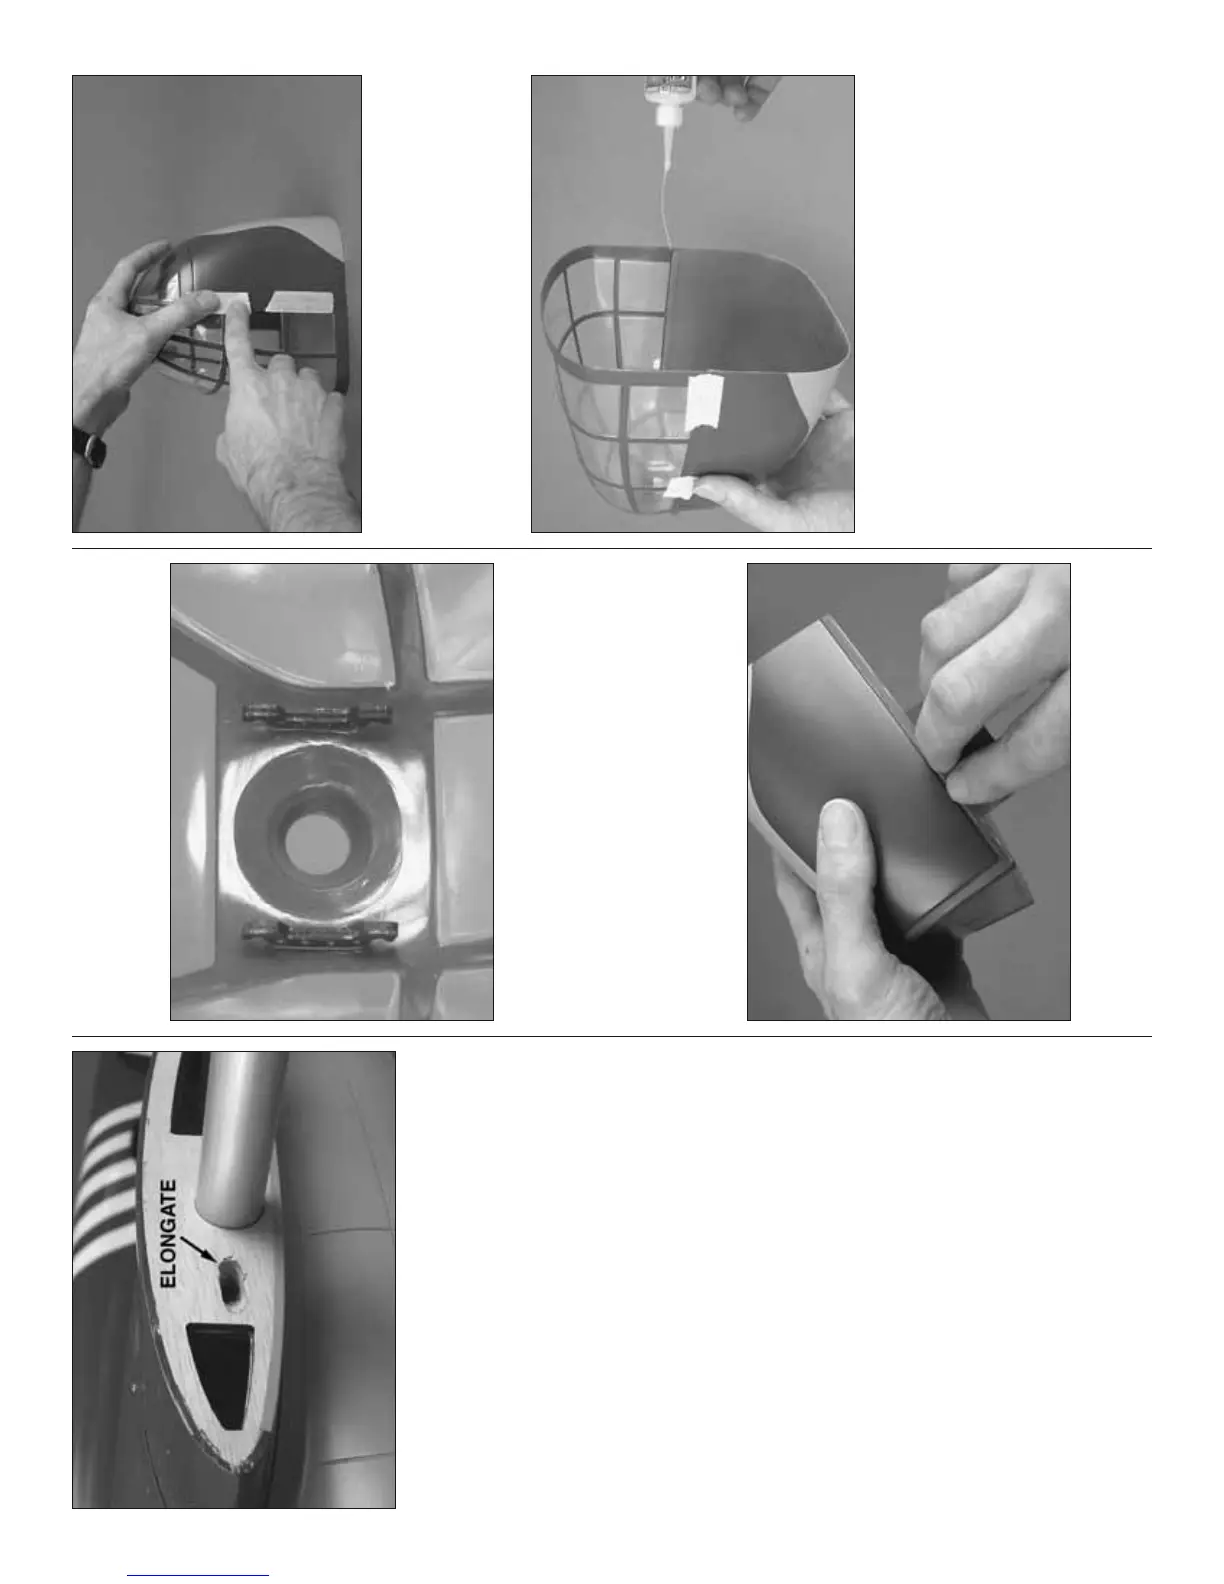
❏ 9. When you remove the outboard panel, if you have
diffi culty with the nylon bolt getting stuck in the hole of
the inboard panel, use a rotary tool or a hobby knife to
elongate the aft end of the hole for the wing bolt.
❏ 10. Re-fi t the outboard panel. Bolt the other end
of the tube in the wing with another 4-40 x 3/4"
[19mm] SHCS.
❏ 11. Mount the other outboard wing panel the
same way.
SCALE FEATURES
MOUNT THE NOSE-GUNNER CANOPY
❏ 1. Use medium CA to glue the plywood rubber band
hooks inside the clear, plastic nose-gunner window.
❏ 2. Test fi t the nose-gunner canopy window to the
fi berglass nose-gunner canopy bottom. If necessary,
use a bar-sander with medium-grit sandpaper to true
the edges of the window frame where necessary for
a good fi t.
❏ 3. Use medium-grit sandpaper to scuff the edges
of the bottom and the window frame where they
will join.
❏ 4. Use masking tape to hold the top to the bottom—
the best way is to lay both pieces upright on your
workbench and tape them together.
IMPORTANT: For the following two steps a CA tip is
necessary for gluing together the nose-gunner canopy.
❏ 5. Working carefully and taking your time, from
inside the canopy use thin CA to glue only the side
seams together. Start by fi rst tacking the parts with
a drop of thin CA at the back–don't apply any CA
where there is masking tape. Otherwise, it could wick
under the tape and get on the outside. Add another
drop of CA to the same area on the other side of
the canopy. Now tack the front of the side seams
together. Remove the tape, then carefully glue the
rest of the side seams together. Wait several minutes
to allow the CA to dry before gluing the front seam in
the next step.