Topcom Twintalker 5010 5
Topcom Twintalker 5010
ENGLISH
door. Or install 3 ‘AAA’ alkaline or rechargeable batteries following the polarity
as shown.
4. Re-install the battery cover and belt clip (see chapter 8.1).
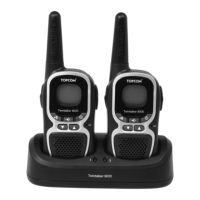
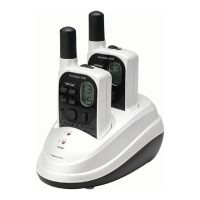
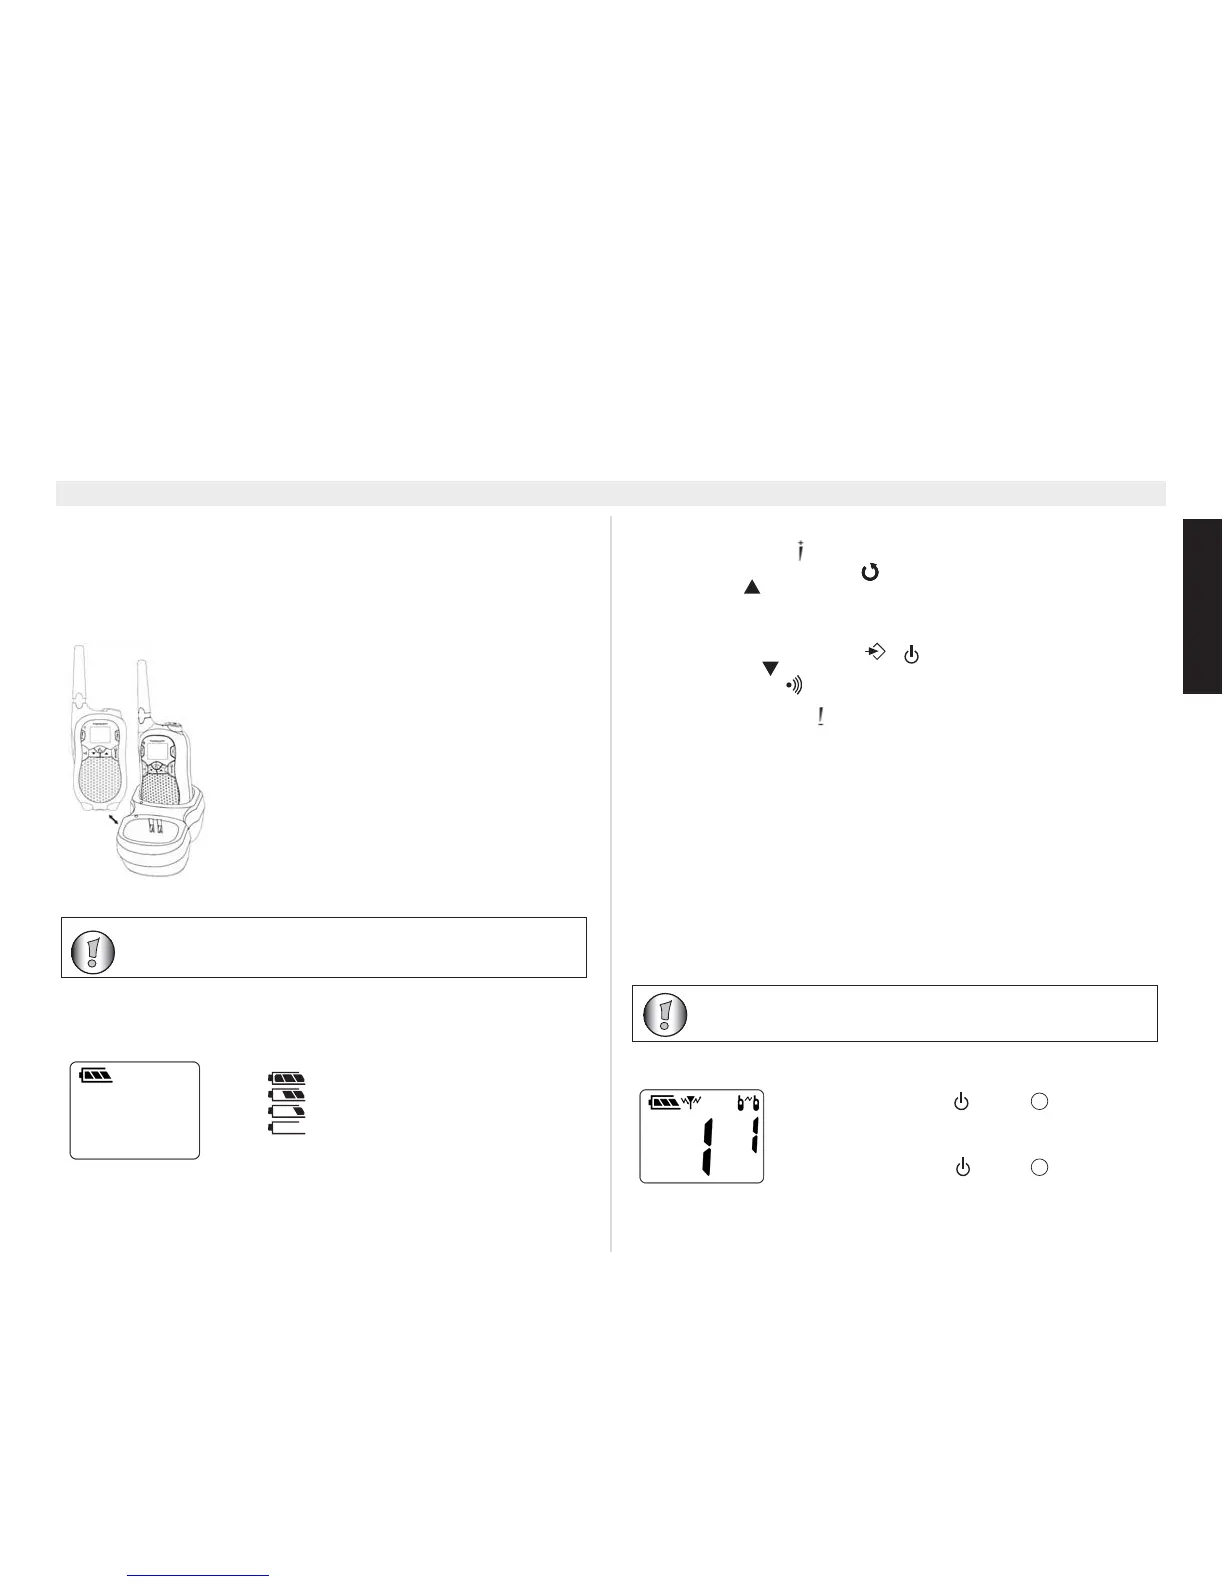
9 Charging batteries
When NiMh battery packs are installed, the desktop charger provides drop-in charging
convenience.
1.Put the desktop charger on a flat surface.
2.Plug the supplied adapter into the electric socket. Pay
attention to the mentioned voltage and compare this with
the indications of the power supply. Connect the low
tension plug at the end of the cable with the connector
at
the backside of the desktop charger.
3.Put the PMR in the charger as indicated.
4.The charging LED will turn on if it’s properly inserted
and charging.
It will take about 12 to 14 hours to fully charge the
batteries. There is no indication on the display when the
batteries are being charged.
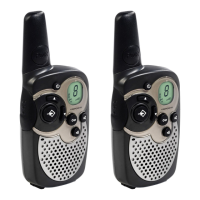
10 Battery charge level
The battery charge level is indicated by the number of squares present inside the
battery icon on the LCD display.
• Battery full
• Battery 2/3 charged
• Battery 1/3 charged
• Battery empty
When the battery charge level is low, a beep will be
heard.
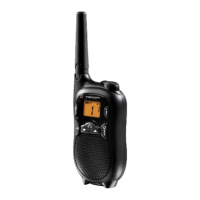
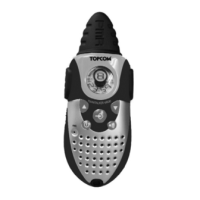
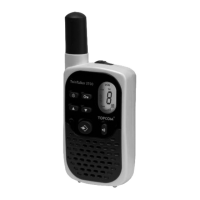
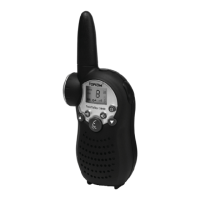
11 Description
See folded cover page - illustration 1
1. Earpiece connector
2. LCD display
3. Volume up button
4. Monitor / scan button MON /
5. Up button
6. Microphone
7. Optional power supply connector
8. Speaker
9. Menu / on-off / unlock button /
10. Down button
11. Call button
12. Push to talk button PTT
13. Volume down button
14. Power / transmission LED
15. Antenna
12 LCD display information
See folded cover page - illustration 2
16. Antenna icon
17. Key lock icon
18. Scan icon
19. Roger beep icon
20. CTCSS code
21. VOX indication
22. Channel number
23. Battery charge level indication
13 Using the Twintalker 5010
13.1 Turning the unit on/off