89
6 CHECK AND ADJUSTMENT
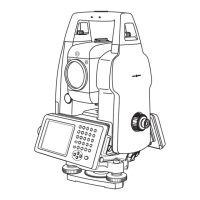
• H direction confirmation (Do not move V direction).
6 Turn the horizontal tangent screw, move the collimating point to the left side of prism gradually until
buzzer sound stops.
7 Turn the horizontal tangent screw slowly, and move the collimating point to the prism center gradually
until at the position buzzer starts.
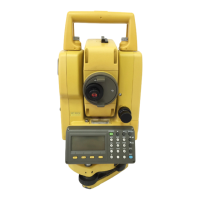
Confirm the level of the signal (light quantity level) in display to adjust at the level of one to two as shown
in below by turning the horizontal tangent screw.
8 Note the horizontal angle displayed.
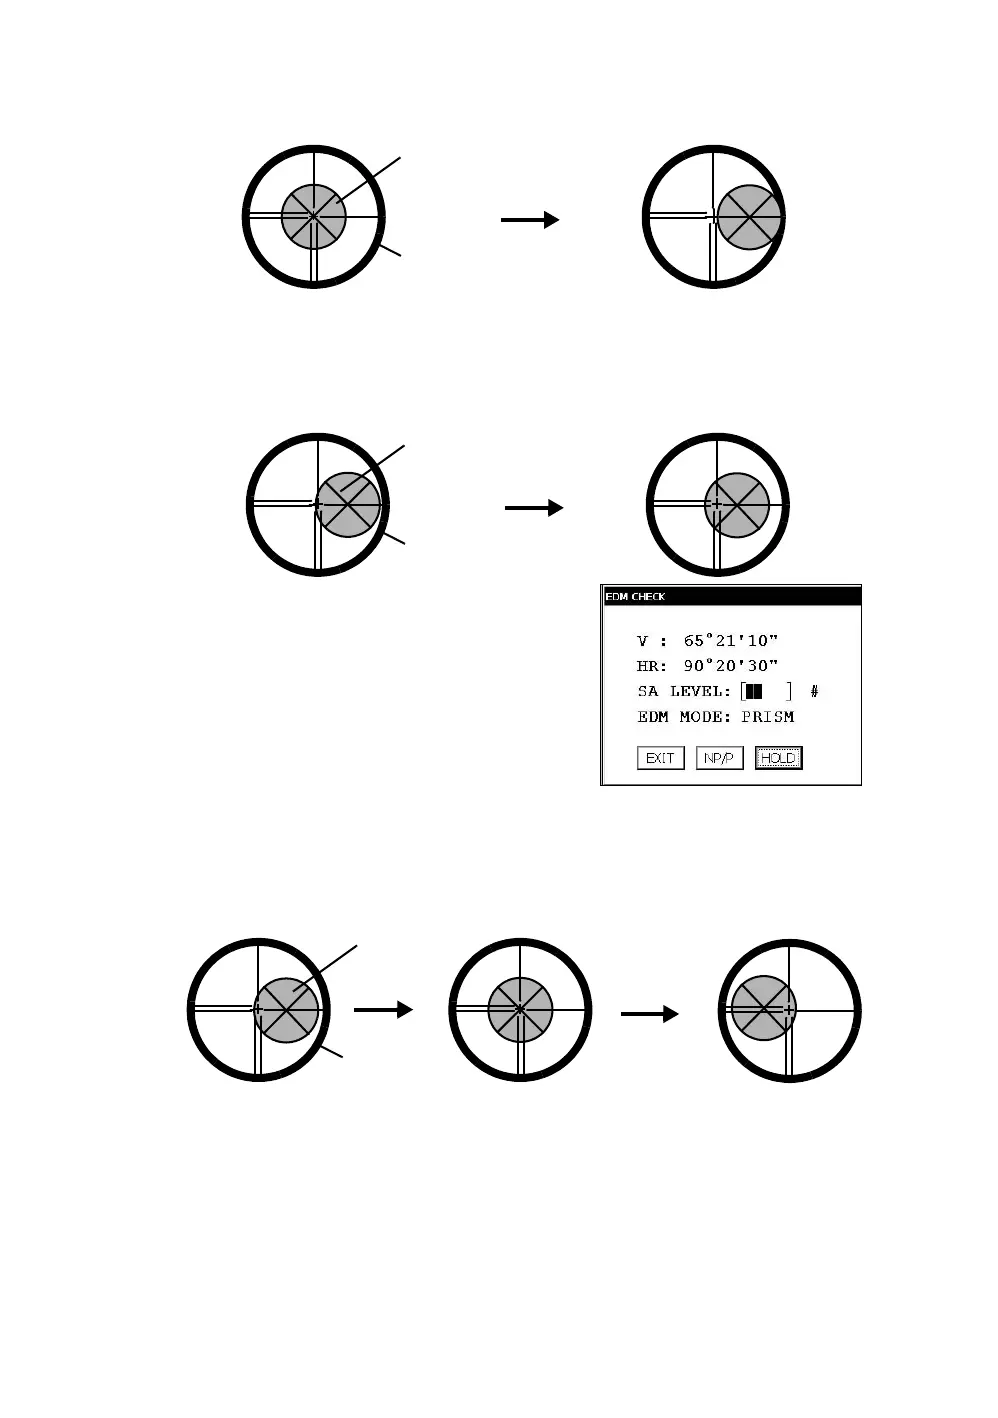
9 Turn the horizontal tangent screw, move the collimating point to the right side of prism gradually until
buzzer sound stops.
10 Move the collimating point to the center of prism gradually until buzzer sound starts.
Turning the horizontal tangent screw to be one to two level of SIG value to adjust the collimating point
same as step 7 procedure.
11 Note horizontal angle same as step 8 procedure.
Prism
Reticle
Quantity level two
 Loading...