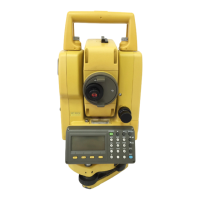
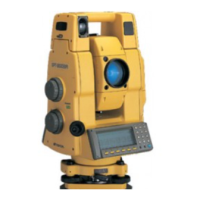
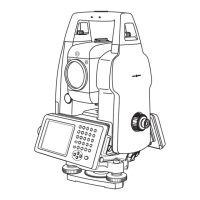
Do you have a question about the Topcon GPT-3005 and is the answer not in the manual?
Details safety guidelines and classifications for laser beam usage.
Detailed steps for leveling and centering the instrument on a tripod.
Explanation and setting of automatic tilt correction for angle measurements.
Procedure for measuring horizontal and vertical angles to a target.
How to input atmospheric conditions for correction.
Setting correction values for prisms and non-prism targets.
Performing continuous distance measurements to a target.
Measuring distance multiple times or as a single shot.
Using the instrument to lay out points based on specified distances.
Performing measurements to points not directly visible or accessible.
Measuring offset points using angle and distance data.
Measuring offset points using distance and direction data.
Measuring points on a plane where direct measurement is difficult.
Measuring points around a cylindrical object.
Defining the instrument's position and orientation using known coordinates.
Inputting the height of the instrument above the ground.
Inputting the height of the prism or target being measured.
Procedure for performing coordinate measurements after setting parameters.
Accessing and using special measurement programs.
Measuring the elevation of inaccessible points using prisms.
Calculating distances and angles between targets without direct line of sight.
Setting the vertical (Z) coordinate for the instrument's location.
Enabling or disabling tilt correction for angle measurements.
Correcting systematic errors in angle measurements.
Setting the instrument's location and backsight point for measurements.
Step-by-step guide for performing data collection.
Collecting data for offset points not directly sighted.
Measuring offset points using angle and distance data.
Measuring offset points using distance and direction data.
Measuring points on a plane using offset techniques.
Step-by-step process for performing layout operations.
Procedures for checking and adjusting instrument constants.
Verifying and adjusting the alignment of EDM and theodolite optical axes.
Detailed steps to check the alignment of EDM and theodolite axes.
Verifying and adjusting the laser pointer's optical axis alignment.
Ensuring the telescope's line of sight is perpendicular to the horizontal axis.
Aligning the laser plummet's optical axis with the measuring point.
Setting the vertical angle datum for accurate measurements.
Setting the instrument's constant for prism and non-prism measurements.
Correcting systematic errors in instrument measurements.
General precautions for handling, storage, and maintenance of the instrument.
| Brand | Topcon |
|---|---|
| Model | GPT-3005 |
| Category | Measuring Instruments |
| Language | English |


