Do you have a question about the Topcon GTS-236N and is the answer not in the manual?
Important guidelines for safe and proper handling of the instrument.
Lists critical safety warnings and precautions to prevent hazards.
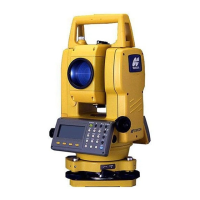
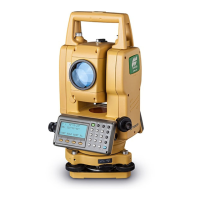
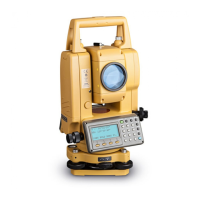
Explains the function of each key on the instrument's control panel.
Step-by-step guide for setting up the instrument on a tripod and leveling.
Describes the automatic tilt correction for angles and its settings.
Detailed procedure for measuring horizontal and vertical angles.
How to set atmospheric correction values based on temperature and pressure.
Procedure for performing continuous distance measurements.
Explains the different distance measurement modes: Fine, Tracking, and Coarse.
Guide for using the Stake Out function to lay out points.
Overview of the four offset measurement modes available.
Detailed steps for measuring angles to offset points when direct measurement is difficult.
Procedure for measuring distances to offset points using horizontal offsets.
How to measure points on a plane for coordinate and distance calculations.
Steps for measuring circumscription points of a column.
How to input the instrument's occupied point coordinates.
Procedure for setting the instrument height for measurements.
How to input the target (prism) height for accurate measurements.
Steps to perform coordinate measurements using entered heights and points.
Accessing and using various application programs like REM, MLM, etc.
Procedure for measuring the elevation of inaccessible points.
Measuring distances and angles between two target prisms.
Setting the instrument's occupied point and backsight for data collection.
Setting the instrument's location and orientation for layout.
Setting the backsight point for orientation during layout.
Procedures for performing layout tasks using points from memory or direct input.
Methods for establishing new points when existing control points are unavailable.
Instructions for removing, charging, and refreshing the on-board battery.
Procedure to check and adjust the instrument constant for accuracy.
Verifying the alignment of the EDM and theodolite optical axes.
General guidelines and sequence for adjusting theodolite functions.
Procedure to check and adjust the plate level's perpendicularity.
Checking and adjusting the circular level for proper centering.
Adjusting the vertical cross-hair for accurate horizontal angle measurements.
Ensuring the telescope's line of sight is perpendicular to the horizontal axis.
Adjusting the optical plummet to coincide with the instrument's vertical axis.
Setting the vertical angle 0 datum for accurate measurements.
Setting the instrument constant obtained from checks.
Adjusting systematic errors for collimation and axis alignment.
| Interface | RS-232C |
|---|---|
| Telescope Magnification | 30x |
| Type | Total Station |
| Distance Measurement | +/- (3mm + 2ppm) m.s.e. |
| Distance Accuracy (Prism) | +/- (3mm + 2ppm) m.s.e. |
| Distance Measurement Accuracy | +/- (3mm + 2ppm) m.s.e. |
| Display | Dual LCD |
| Operating Temperature | -20°C to +50°C |
| Working Temperature Range | -20 to +50 degrees Celsius |