19
Checking and Adjusting
Horizontal Calibration
Checking
1
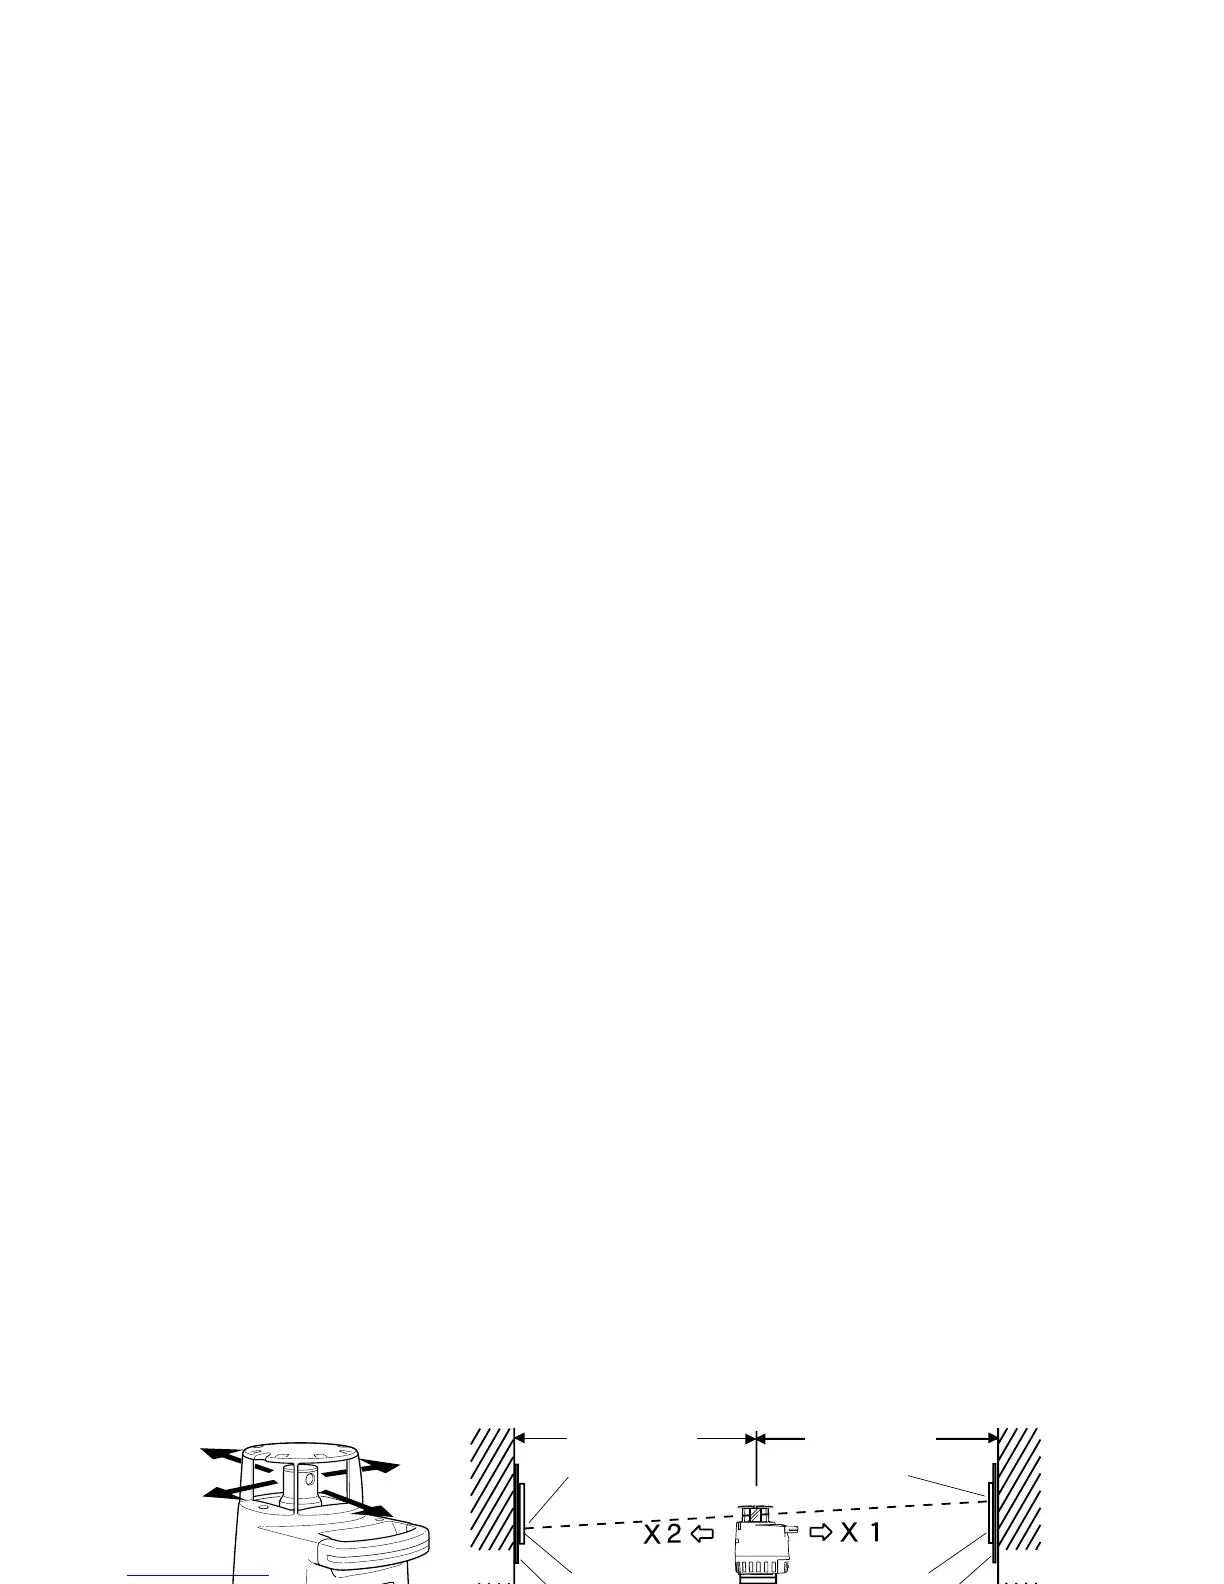
Set up the tripod at a midpoint between two walls, A and B. Ideally, the walls should be
40 meters (130 feet) apart. Take care when setting up the tripod to make sure the tri-
pod head as level as possible and that it is securely positioned.
2
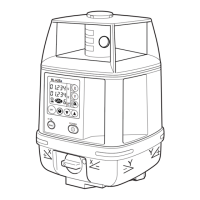
Mount the instrument to the tripod so side X2 is facing wall A, and X1 is facing wall B
(see illustration above). Turn power on and allow the instrument to auto-level.
3
Turn on the LS-70 laser sensor and set it to fine precision (see page 27).
4
Attach a piece of paper to each wall so it is approximately centered in the path of the
rotating laser beam. Using the LS-70, locate the exact position of the laser on wall A
and mark the position on the paper. Call this mark A1. Repeat this procedure on wall
B. Call this mark B1.
POWER
Y1
Y2
X1
X2
about 20m(66ft)
about 20m(66ft)
Mark
A1
Laser Sensor
Wall A
Laser Sensor
Paper
Wall B
Paper
Mark
B1
 Loading...