2. If you have not yet done so, you must make sure that the
PathPilot controller is updated to the latest version of
PathPilot.
3. From the PathPilot interface, on the Settings tab, select the
ATC radio button.
Figure 2-14: ATC radio button on the Settings tab.
The ATC tab appears in the PathPilot interface.
Note: If prompted, you may need to update the
firmware for the ATC. Follow the on-screen
instructions.
4. Load an empty tool holder into the spindle:
a. Push and hold the collet open button on the side of the
ATC.
The collet opens.
b. Load a tool into the spindle.
c. Release the button.
The collet closes.
5. From the PathPilot interface, on the Main tab, in the RPM
DRO field, type 1000. Then select the Enter key.
6. Select FWD.
The spindle starts.
7. From the Status tab, make sure that the VFD Running green
light comes on.
Figure 2-15: VFDRunning light on the Status tab.
Note: If the VFDRunning light did not come on in
Step 8, we can help. Email support@tormach.com to
contact Tormach Technical Support for guidance on
how to proceed.
8. Select Stop.
The spindle stops.
2.1.5 Make Final Alignments to the Automatic Tool
Changer (ATC)
Complete the following steps in the order listed:
Adjust the Tool Alignment and Set the Tool Tray Height and
Encoder Position 9
Adjust the Tool Alignment and Set the Tool Tray Height and
Encoder Position
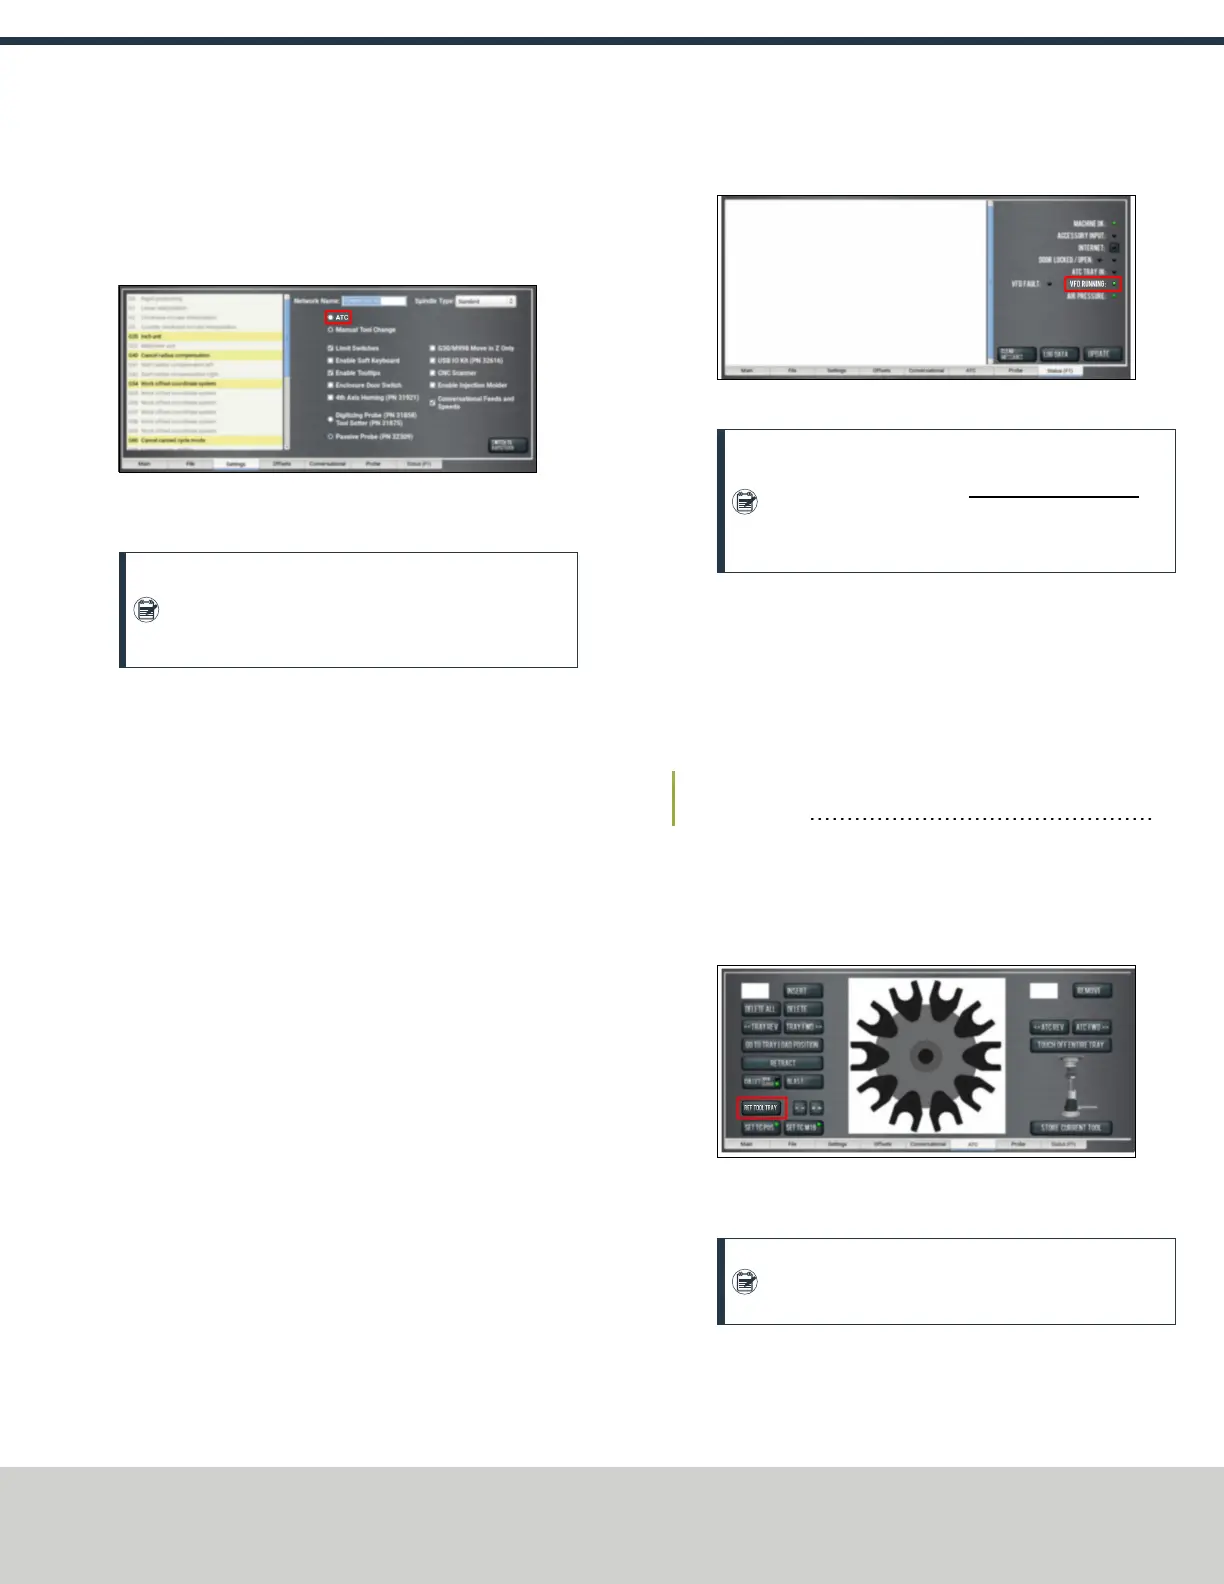
1. From the PathPilot interface, on the ATC tab, select Ref Tool
Tray.
Figure 2-16: Ref Tool Tray button on the ATCtab.
The tool tray spins.
Note: You're only required to reference the tool tray
once, unlike the mill axes’ referencing procedure.
2. If you haven't already done so, load a tool into the spindle.
3. Manually rotate the spindle two revolutions by hand.
The encoder has now been oriented.
Page 9
©Tormach® 2019
Specifications subject to change without notice.
tormach.com
TD10627: Owner's Guide: 770MX Automatic Tool Changer (ATC) (1019A)
TECHNICAL DOCUMENT
 Loading...

