g315989
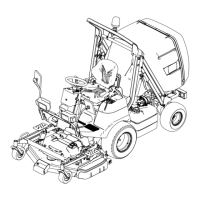
Figure3
1.Longbolt5.Locknut
2.Flatwasher
6.Spacer
3.Flangenut7.Hook
4.Spring
2.Installtherodconnectortothehookwitha
longbolt,atwasher,bushing,angenut,and
locknut(Figure4).
Note:Ensurethatthelocknutisnotfully
installedontothebolt.Thespacebetweenthe
angenutandlocknutisusedforthespring
(Figure6).
3.Installtherodconnectortothehookwithashort
bolt,atwasher,bushing,andlocknut.(Figure
4).
g315987
Figure4
1.Longbolt5.Flangenut
2.Flatwasher6.Locknut
3.Rodconnector
7.Shortbolt
4.Bushing
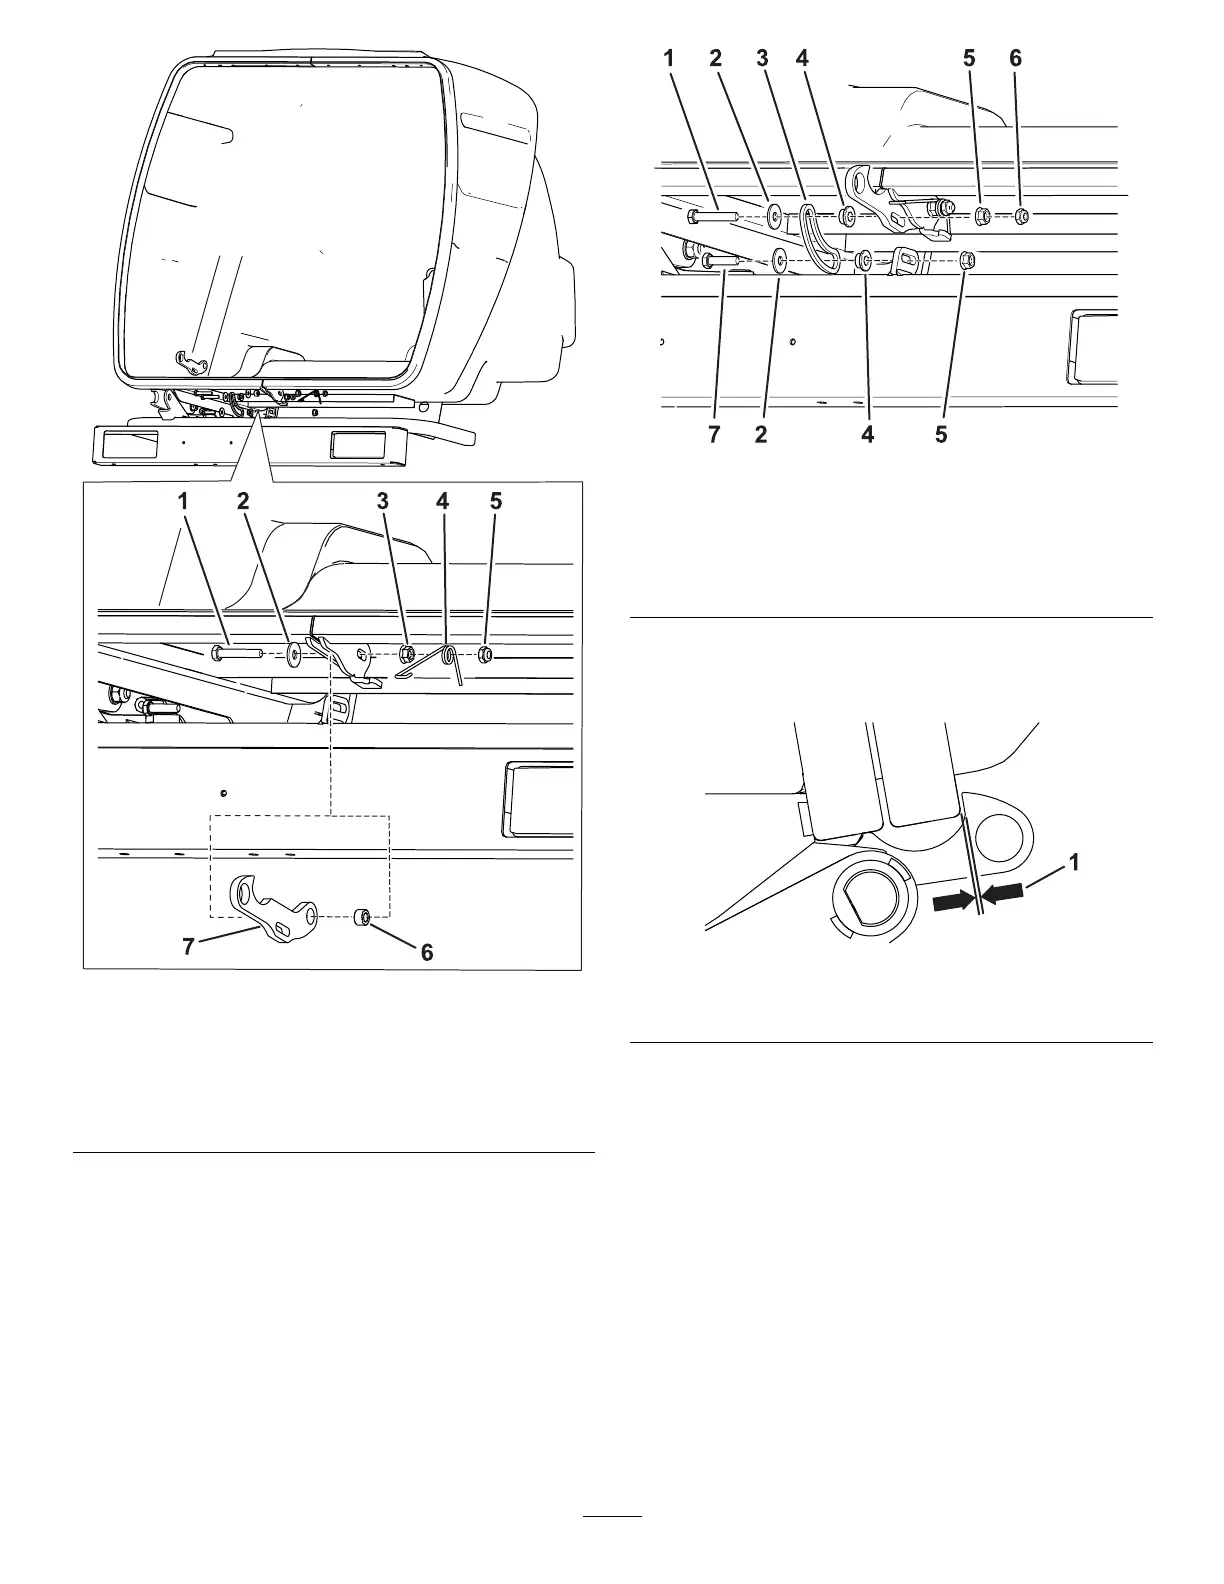
4.Checkthegapbetweenthehookandtheclosed
hopperdoor.Ensurethatthegapis2mm(1/16
inch)andadjustifnecessary(Figure5).
g316170
Figure5
1.2mm(1/16inch)gap
5.InstallthespringendsasshowninFigure6.
4