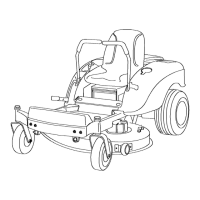
Figure 54
Left side shown
1. Pivot bracket 3. Rear pivot bracket
2. Bolt installed in the middle of the slot 4. Front pivot bracket
14. T he right blade at the front position ( Figure 56
or Figure 57 ) needs to be the same height as
the left blade at the front position.
If there is more than an 1/8 inc h (3 mm)
difference betw een left and right, then adjust
the mounting bolts in the slot to lev el the
mo w er dec k left to right.
Note: T he mo w er dec k cutting height can
be adjusted. Loosen the height of cut brac k et
and adjust it forw ard or bac kw ard to g et the
cor rect height. Tighten the brac k et after the
adjustment is made .
Servicing the Cutting Blades
Maintain shar p blades throughout the cutting
season because shar p blades cut cleanly without
tearing or shredding the g rass blades . T earing and
shredding tur ns g rass bro wn at the edg es , whic h
slo ws g ro wth and increases the c hance of disease .
Chec k the cutter blades daily for shar pness , and
for any w ear or damag e . File do wn any nic ks
and shar pen the blades as necessar y . If a blade is
damag ed or w or n, re place it immediately with a
g en uine T oro re placement blade . F or con v enient
shar pening and re placement, y ou ma y w ant to
k ee p extra blades on hand.
45