Assembly
8
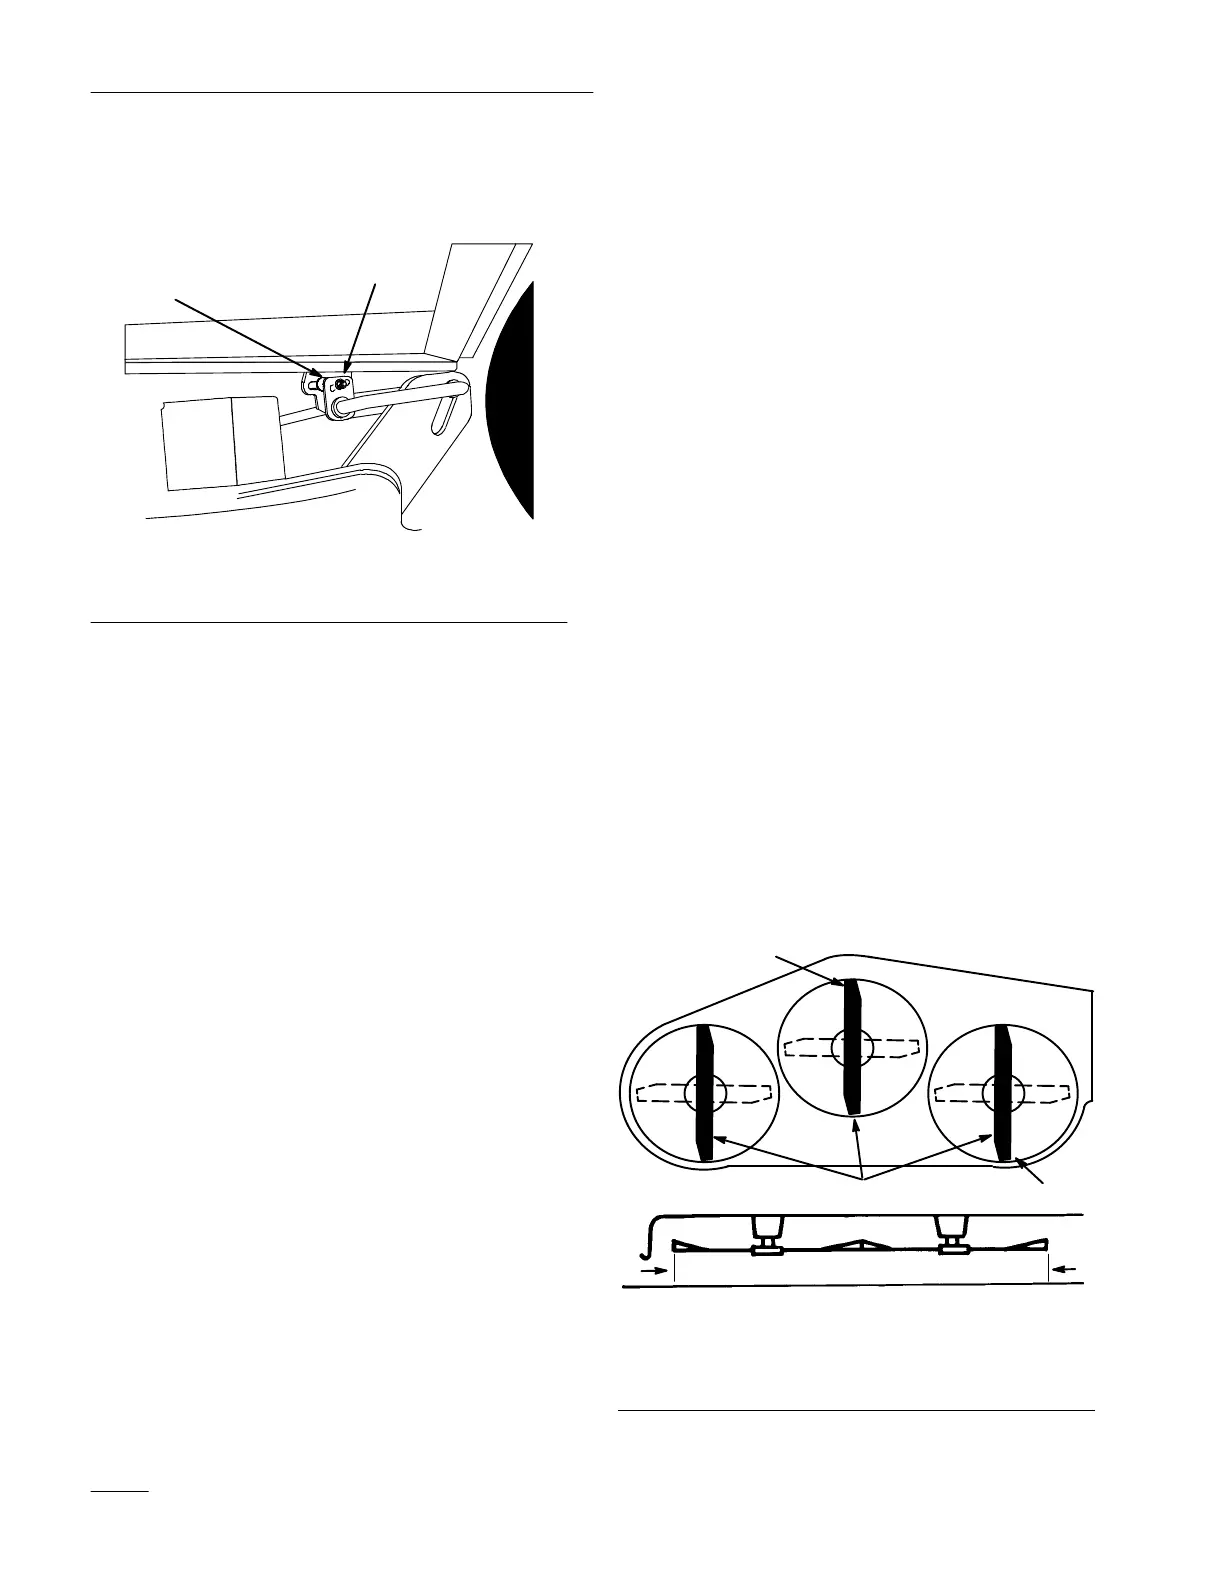
IMPORTANT: If hanger is rotated to the end
of adjustment on one side and mower is not
level, adjust the opposite side.
1
2
1224
Figure 9
1. Bolt 2. Hanger
bracket
6. Now check the front-to-rear blade slope; refer to
Front-to-Rear Blade Slope, page 8.
7. Check that both links have equal tension.
3/4” to 2-3/4” Height-of-Cut Range
When the mower height-of-cut is set to the 3/4” to
2-3/4” range the rear gage wheels contact the ground.
There is no side-to-side adjustment for this height
range, see Front-to-Rear Blade Slope.
Front-to-Rear
Blade Slope
Check the front-to-rear blade slope any time you
install the mower. Before checking the slope, set air
pressure in the front and rear tires as specified in the
tractor operator’s manual. If the front blade tip is not
0–3/8” lower than the rear blade tip, adjust the blade
slope using the following instructions:
1. Park the tractor on a flat surface, disengage the
power take off (PTO), set the parking brake, and
turn the ignition key to “OFF” to stop the
engine. Remove the ignition key.
2. Check and adjust side-to-side blade level if you
have not checked the setting; refer to
Side-to-Side Mower Leveling, page 7.
3. Adjust the Dial-A-Height knob so the
height-of-cut is in the middle of the range and
lower attachment lift.
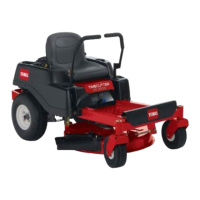
4. Carefully rotate blades so they are facing front
and rear (Fig. 10).
5. Measure from the tip of the front blade (Fig. 10).
and the tip of the rearward blades to a flat
surface. If the front blade tip is not 0–3/8” lower
than the rear blade tips adjust front adjustment
links.
Front
1078
1
2
3
4
4
Figure 10
1. Blade
front to rear
2.
Measure front blade tip
3.
Measure rear blade tip
4.
Measure here